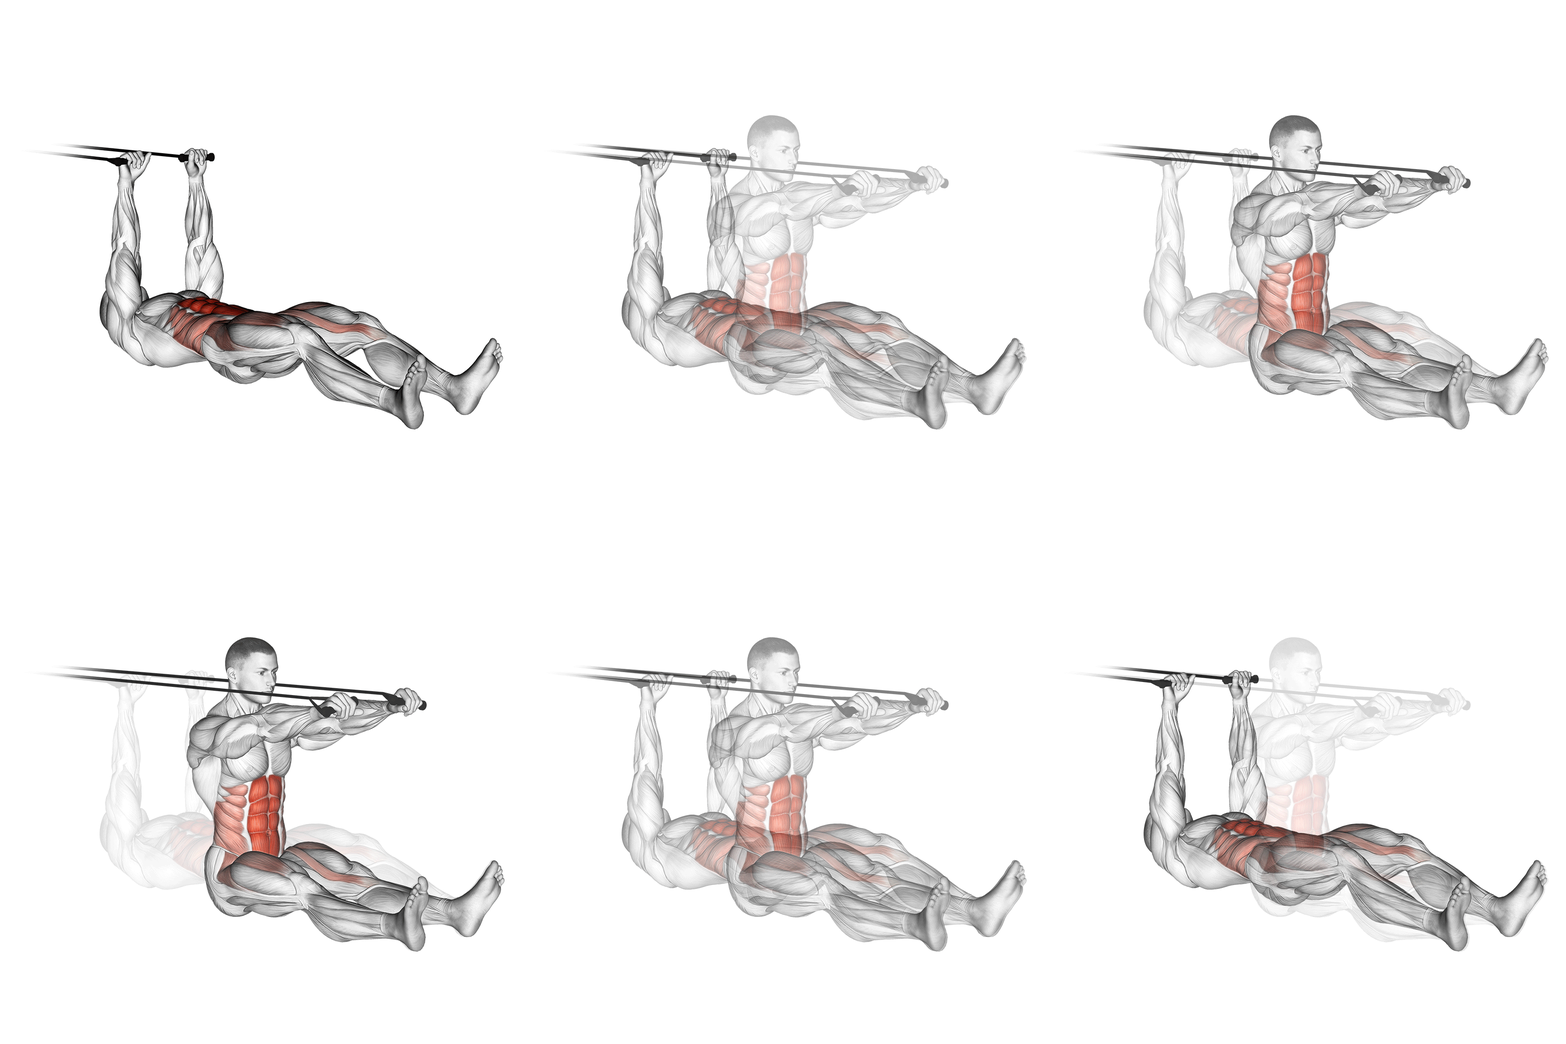
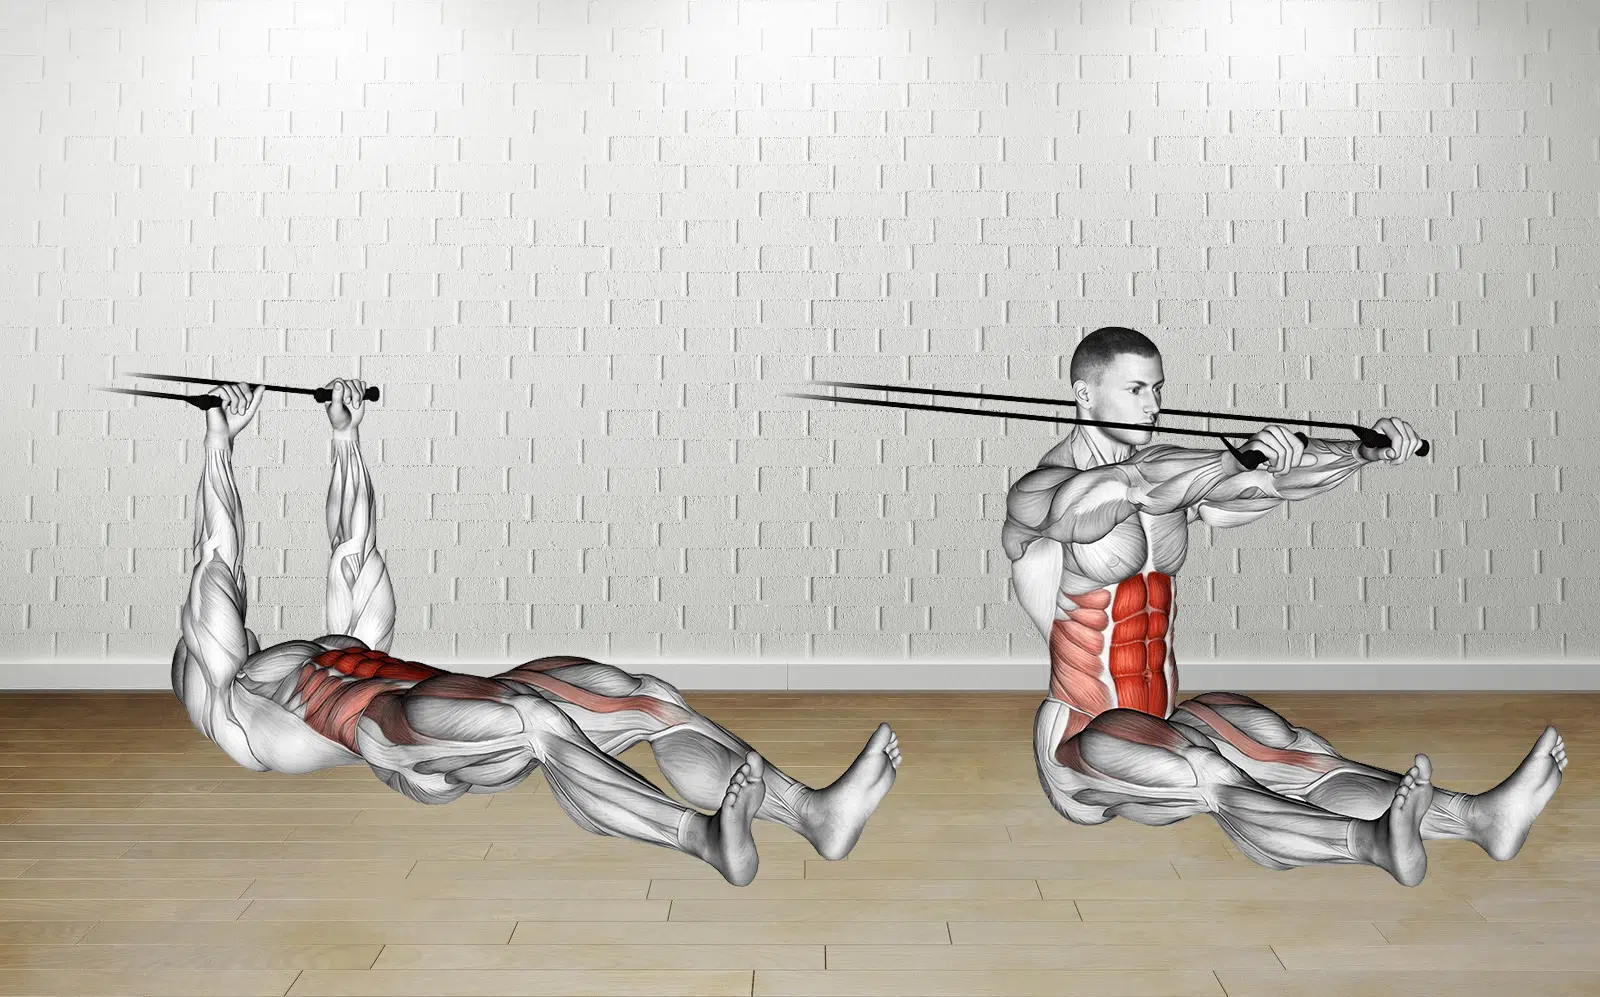
The Band Push Sit-Up reimagines the classic sit-up by introducing a resistance band. This addition provides a targeted, intensified challenge for your abdominal muscles, specifically the rectus abdominis and obliques. Beyond sculpting your midsection, the movement engages your shoulders and arms, fostering greater upper-body stability and control.
Incorporating this exercise into your routine two to three times a week supports enhanced posture, stronger core stability, and overall functional fitness. The adjustable nature of the resistance band allows you to tailor the exercise to your fitness level—perfect for both beginners seeking foundational core strength and experienced athletes looking to push their limits.
How to Do a Band Push Sit-Up

- Set Up Your Position:
- Lie on your back on a mat or flat surface for comfort and support.
- Bend your knees with feet planted firmly on the ground, hip-width apart.
- Secure a resistance band around your upper back (just below your shoulder blades), holding the ends in your hands.
- Extend your arms toward the ceiling, aligning them with your shoulders.
- Engage Your Core:
- Consciously tighten your abdominal muscles, pressing your lower back gently into the mat to avoid arching.
- Take a deep breath in to stabilize your torso.
- Push and Sit Up:
- Exhale as you simultaneously push against the band and lift your upper body off the mat.
- Use your core muscles (rather than your neck or shoulders) to drive the movement.
- Aim for a smooth, controlled ascent, rising until your torso is almost upright.
- Maintain Tension at the Top:
- Pause briefly at the top, feeling the tension in your abs and the band’s resistance in your arms.
- Keep your shoulders relaxed and avoid rounding your back.
- Lower with Control:
- Inhale as you slowly lower your torso back down to the mat.
- Focus on resisting the band’s pull to maintain tension and protect your spine.
- Stop just before your shoulders touch the mat, then proceed with the next rep.
Tip: If you find the resistance too challenging, reduce the band’s tension or opt for a lighter band. Conversely, if it’s too easy, move to a thicker band or shorten the band’s length to increase resistance.
Common Mistakes in Band Push Sit-Ups
- Not Engaging the Core: Failing to fully tighten your abs shifts stress to your neck or lower back. Always start by bracing the core, pushing your lower back gently into the mat.
- Incorrect Band Positioning: Placing the band too low on your back diminishes resistance. Keep it high enough (around the upper back/shoulder blade area) for optimal tension and muscle recruitment.
- Using Momentum: Jerking or swinging the upper body to sit up may strain the spine and reduce the exercise’s effectiveness. Maintain a slow, controlled motion for best results.
- Neglecting Breathing: Holding your breath can make the movement more difficult. Inhale as you lower, exhale as you lift, to synchronize breath with muscle contraction.
- Overextending the Arms: Extending your arms too far back or flaring your elbows can stress shoulder joints. Keep your arms in line with your shoulders and maintain alignment throughout the sit-up.
Benefits of Band Push Sit-Ups
- Enhanced Core Strength: By adding resistance, the band targets your abs more intensely than standard sit-ups, promoting better core stability.
- Improved Muscle Endurance: The band creates continuous tension on the abs, fostering better stamina and endurance for high-rep sessions.
- Better Posture: Stronger abs help stabilize your spine, reducing the likelihood of slouching and lower back pain.
- Customizable Resistance: Adjust the band’s thickness or anchoring point to suit various fitness levels—from beginners to advanced athletes.
- Increased Functional Strength: The sit-up motion mimics daily tasks requiring forward bending and pushing, improving overall functional fitness.
Progression and Variations
Modify the Resistance: If the standard Band Push Sit-Up becomes too easy, switch to a more resistant band. For more support, use a lighter band or place it slightly lower on your back.
Band Push Crunch: For beginners or those with lower back sensitivity, focus on a half crunch instead of a full sit-up. Keep your lower back on the mat and lift only your shoulder blades.
Single-Arm Band Push Sit-Up: Hold the band with one hand while the other rests across your chest. This approach challenges the obliques more intensely due to unilateral tension.
Pause Reps or Slow Eccentric: Pause at the top for 2-3 seconds or lower slowly (counting to 3-4) to increase time under tension and maximize muscle engagement.
Alternatives to Band Push Sit-Ups
- Band-Resisted Crunch: Secure the band overhead and perform crunches, emphasizing upper ab contraction.
- Band Bicycle Crunch: Combine oblique work with band resistance for a rotational core challenge.
- Weighted Sit-Ups: Instead of a band, hold a light dumbbell or plate across your chest to increase resistance.
- Decline Bench Sit-Ups: Adjust a decline bench to amplify the resistance using your body weight, targeting the lower abs more aggressively.
Safety Precautions for Band Push Sit-Ups
Taking appropriate safety measures ensures a productive workout without injuries:
- Secure the Band:
- Check the band for any signs of wear, tears, or weak spots. Replace it if you notice damage.
- Position it firmly around your upper back to avoid slipping or snapping.
- Optimize Your Posture:
- Maintain a natural spine curvature with your lower back slightly pressed into the mat when starting.
- Avoid overarching your back or hunching your shoulders.
- Use Controlled Movements:
- Don’t jerk the band. Perform each rep slowly and with precision.
- Focusing on control lowers the risk of muscle strain.
- Listen to Your Body:
- Stop immediately if you experience sharp pain or discomfort in your back or neck.
- Gradually increase resistance. Overdoing it can compromise form and lead to injuries.
- Stay Hydrated and Warmed Up:
- Perform light cardio or dynamic stretches (e.g., hip bridges, cat-camel) to warm up your core.
- Proper hydration also aids in muscle function and recovery.
Workout Tips and Programming
Consider adding Band Push Sit-Ups as part of your core or full-body routine, 2-3 times per week. Aim for 2-4 sets of 10-15 reps, focusing on slow, controlled form rather than rushing through the motion. Pair them with complementary exercises like planks, Russian twists, or mountain climbers for a complete core workout.
Pay close attention to your progress. If you find the movement becoming too easy, try a thicker band, incorporate pause reps, or add unilateral variations. Conversely, if you struggle to complete a set with proper form, reduce the band resistance or shift to a simpler bodyweight exercise like standard crunches until you build enough strength to handle the band effectively.
Conclusion
The Band Push Sit-Up adds an exciting twist to a foundational core exercise, offering targeted resistance that challenges your abs, shoulders, and arms. By following the proper setup, maintaining control, and progressing sensibly, you can enjoy significant gains in core strength and muscular endurance.
Integrate this movement into your regular training routine to boost your posture, enhance stability, and cultivate stronger, more defined abs. Whether you’re new to resistance training or an experienced athlete, Band Push Sit-Ups provide a fresh opportunity to elevate your core game.
Interested in measuring your progress? Check out our strength standards for Sit Ups, Mountain Climbers, Bicycle Crunch, and more.
Tip: If you're signed in to Google, tap Follow.


