The fitness industry sees several new trends every year. In this trade, opinions, training, and diet plans usually move first, and science catches up later. This allows the fads to stick around for a long time. However, most programs without any-scientific backing run their course within a few years. A few principles, concepts, and techniques stand the test of time. These principles are worth learning about. Pliability belongs to the latter group.
Pliability was popularized by NFL superstar Tom Brady who incorporated pliability training into his TB12 training method. Brady is known for his exceptional fitness and played at the top level well into his 40s. His pliability training involves resistance bands and is followed by very specific massages to lengthen and soften muscles.
“If I can keep my muscles pliable, I can hopefully limit the intensity or limit the injury altogether.” — Tom Brady.
What is Pliability?
In fitness, pliability refers to muscle flexibility, adaptability, or suppleness. Pliability training primes the muscles to absorb and disperse impact and improve the range of motion (ROM), improving overall performance and reducing your risk of injury.
Muscle pliability is the muscle’s ability to bend without breaking. Pliable muscles are highly elastic, improving your range of motion and functionality. Muscle pliability is especially important in sports that require explosive strength and quick change of direction, such as football, basketball, weightlifting, and hockey.
Pliability training focuses on impact absorption, dispersing daily forces, and slowing the gradual wearing down of joints, tendons, connective tissues, and muscles.
Pliability training focuses on building muscle tissue, connective tissue, ligament, and joint health and strength. It will help your body withstand a beating, improve your recovery after training sessions, and significantly reduce your risk of injury.
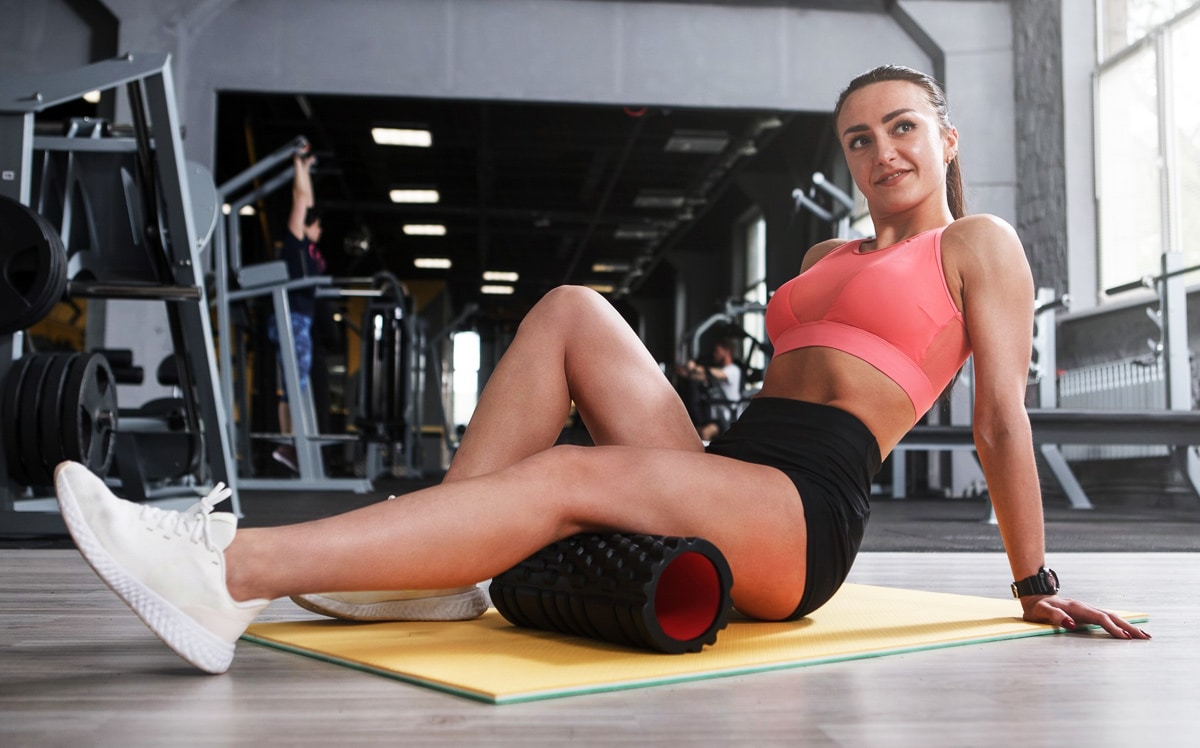
Muscular pliability training revolves around myofascial release, self-massage, and manual therapy. You can do it in the gym or the comfort of your home with minimal equipment, such as foam rollers, vibrating pliability rollers, and resistance bands.
Pliability is the state where your muscles are long, resilient, and move without restriction, priming them to absorb and disturbe impact and force.
Pliability complements your cardio and strength training workouts, and you must combine it with an active lifestyle to get the best bang for your buck.
17 Best Pliability Exercises
Dynamic and static stretches also help you warm up before a session and cool you down after a workout. Your pliability training routine should include a mix of resistance bands, lacrosse balls, and foam roller exercises. Here are the 17 exercises that should be a part of your pliability workout:
- Resisted Lateral Walking Plank
- Banded Core Rotation
- Banded Pallof Press Squat
- Banded Lat Pulldown
- Hamstring Foam Roll
- Glute Foam Roll
- Lats Foam Roll
- Calf Foam Roll
- Triceps Foam Roll
- Forearm Sphere Roll
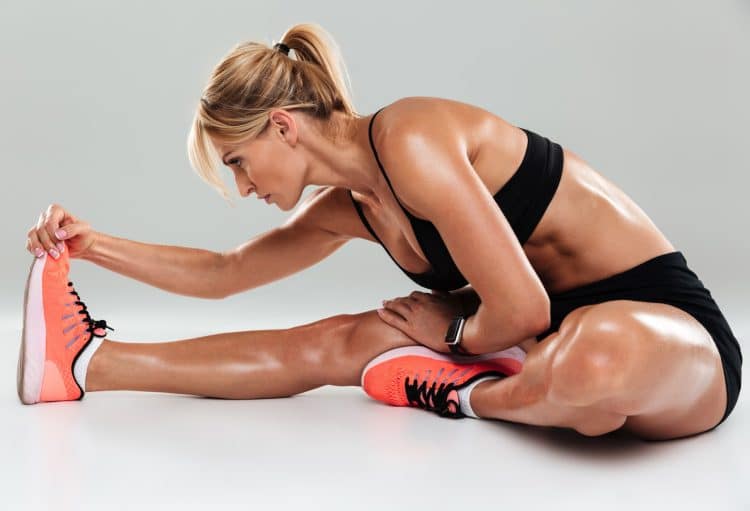
- Knight to Hamstring Stretch
- Overhead Triceps Stretch
- Pigeon Pose
- Downward Facing Dog
- Lying Banded Hamstring Stretch
- Lying Hip Rotations
- Massage
Resisted Lateral Walking Plank
Steps:
- Tie one end of a loop resistance band around a sturdy object like a squat rack pole.
- Tie the other end around your waist.
- Get on all four with your side toward the squat rack.
- Assume a low plank position. Your body should be in a straight line from head to toe.
- The band should be taut at the starting position.
- Simultaneously lift your outside arm and leg off the floor and step to your side.
- Follow suit with your other side.
- Move as far away from the rack as possible.
- Return to the starting position.
- Repeat for recommended reps before switching sides.
Pro Tip: Keep your shoulders square while performing this exercise. Avoid pulling back your shoulder blades.
Banded Core Rotation
Steps:
- Anchor one end of a resistance band around a squat rack pole at waist height.
- Stand with your side toward the pole.
- Grab the other end of the band with the hand closest to the pole and interlace your fingers.
- Take a step away from the pole.
- Brace your core and turn to your right side while keeping your elbows locked.
- Slowly return to the starting position.
- Repeat for recommended reps before switching sides.
Pro Tip: Stand a foot behind the bar to ensure the band doesn’t brush your body during the exercise. Your hands should be in line with the bar when your arms are extended in front of your body.
Banded Pallof Press Squat
Steps:
- Tie one end of a resistance band around a squat rack pole.
- Stand upright with a hip-width stance with your side toward the pole.
- Hold the other end with the hand closest to the rack. Interlace your fingers and hold your hands against your chest.
- Extend your arms in front of your body. Lower into a squat.
- Reverse the movement to return to the starting position.
- Repeat for recommended reps.
- Change sides.
Pro Tip: You should feel tension in your sides while performing this exercise. Stand farther from the pole for greater tension on your sides.
Banded Lat Pulldown
Steps:
- Wrap one end of a resistance band around the top of a squat rack.
- Grab the band with a neutral (palms facing each other) grip.
- Sit a foot behind the rack with your legs extended and placed flat on the floor.
- Your hands should be shoulder-width apart.
- Keeping your torso upright, pull your hands toward your chest by driving through your elbows.
- Pause at the isometric contraction point at the bottom.
Pro Tip: You could use a pronated (overhand) grip to train your lats from a different angle.
Hamstring Foam Roll
Steps:
- Place a foam roller on the floor so it is perpendicular to your body.
- Sit upright, place your left foot on the floor and your right hamstring on the roller.
- Lift your hips off the floor by driving your hands and left foot into the floor.
- While supporting your body weight on your hands and leg, move your hamstring over the roller for the recommended time.
- Repeat on the other side.
Pro Tip: Turn your hamstring to the outside and inside for optimal muscle stimulation.
Glute Foam Roll
Steps:
- Place a foam roller on the floor.
- Sit on the roller and place your hands on the floor behind you to support your body.
- Lift your right foot off the floor and place your ankle at the bottom of your left thigh.
- Shift your weight to your right hip. Your left hip should be off the roller.
- Use your arms and left leg to roll.
- Repeat on the left side.
Pro Tip: Actively drive your glutes into the roller for better muscle stimulation.
Lats Foam Roll
Steps:
- Place a foam roller on the floor.
- Lie on your left side and position the roller just below your armpit.
- Plant your right foot flat on the floor and lift your hips off the ground.
- Slowly move over the roller until it is just below your nipple level.
- Return to the starting position.
- Repeat for the recommended time before switching sides.
https://www.youtube.com/watch?v=heXOxQtUbj4&pp=ygUYTGF0cyBGb2FtIFJvbGwgRm9hbSBSb2xs
Pro Tip: This exercise is much more difficult than what it might look like. You could use your hands to alleviate some pressure off your lats during the exercise.
Calf Foam Roll
Steps:
- Place a foam roller on the floor.
- Sit on the floor, place your hands behind your torso, and ground your left foot.
- Place your right calf on the roller.
- Lift your hips off the floor and use your arms and leg to massage your right calf.
- Repeat for the recommended time before switching sides.
Pro Tip: Make this exercise more challenging by placing your non-working ankle over your working leg’s toes.
Triceps Foam Roll
Steps:
- Place a foam roller on the ground.
- Get on all four in front of the roller.
- Place your left triceps on the roller. Your left hand should face the ceiling, and your right should be on the floor.
- Slowly roll your triceps by extending your knees and hips.
Pro Tip: Keep your head over your upper arm throughout the exercise to maintain optimal tension on the triceps.
Forearm Sphere Roll
Steps:
- Place a lacrosse ball on the floor.
- Get on all fours.
- Lower toward the floor and place your right forearm on the ball. Your palm should be facing the floor.
- Press your forearm into the ball and move it across your lower arm.
- Repeat on the other side.
Pro Tip: Keep the movement slow and controlled. Don’t rush the exercise. Spend more time on areas that feel stiff.
Knight to Hamstring Stretch
Steps:
- Kneel on the floor.
- Step forward with your left leg. Your left upper and lower leg should be at 90 degrees, while your right knee should be under your hips.
- Place your hands on your sides and drive your hips forward.
- Then, slowly drive your hips toward the wall behind you and lower your torso toward the floor by hinging at your hips. Your left leg should be fully extended, and you must lower your torso as close to the floor as possible.
- Repeat for recommended reps before switching sides.
Pro Tip: Take a wider step for greater hip engagement. Spend at least a couple of seconds at the movement’s top and bottom.
Overhead Triceps Stretch
Steps:
- Stand upright with a shoulder-wide stance.
- Raise your right arm overhead so it is at 90 degrees. Your upper arm should touch your ear.
- Bend your elbow and bring your hand to the center of your upper back.
- Press down on your right elbow using your left hand.
- Hold for the recommended time.
- Repeat on the left side.
Pro Tip: Hold onto a light dumbbell while performing this exercise for a deeper triceps stretch.
Pigeon Pose
Steps:
- Get into a high plank position.
- Lift your left leg off the floor and place your knee under your chest while your right foot is grounded.
- Your left leg should be flat against the floor.
- Bend your elbows and place your forearms on the floor.
- Drive your chest into your knee.
- Hold for the recommended time before switching sides.
- Repeat on the other side.
Pro Tip: Drive your hips into the floor during the hold for optimal muscle fiber stimulation.
Downward Facing Dog
Steps:
- Get into a high plank on the floor.
- Push back through your hands to lift your hips and straighten your legs.
- Your body should resemble an inverted ‘V’ at the top.
- Hold the position for the recommended time.
- Rinse and repeat.
Pro Tip: Contract your glutes and hamstring during the isometric contraction at the top to take tension off your shoulders. The shoulders tend to give out before the lower body during this yoga pose.
Lying Banded Hamstring Stretch
Steps:
- Lie on your back on the floor.
- Wrap one end of a resistance band around the middle of your left foot and grab the other end with both hands. Your right leg should be flat on the floor.
- Lift your left leg toward the ceiling as high as possible while keeping your right leg grounded.
- Pull the band toward your torso for a deeper hamstring stretch.
- Hold for the desired time before switching sides.
Pro Tip: Make sure your non-working leg’s knee doesn’t come off the floor during the exercise, as it will remove the tension from your working hamstring.
Lying Hip Rotations
Steps:
- Lie supine on the floor with your knees bent and feet grounded shoulder-width apart.
- Lift your left foot off the floor and place the outside of the ankle on the bottom of the right leg’s thigh.
- Your left lower leg should be perpendicular to your right leg.
- Place your left hand on your left knee.
- Keeping your lower back and hips grounded, push your left knee away from your body.
- Hold for the desired time.
- Repeat on the right side.
Pro Tip: Keep your elbow locked out for optimal pressure and drive your hips and lower back into the floor throughout the exercise.
Massage
Although not an exercise, massages should be a part of your routine to promote muscle pliability.
Getting weekly massages from a trained professional is one of the most effective ways to keep your muscles supple, improve your recovery, reduce muscle inflammation, and reduce your risk of injury while training. You could opt for a general or specific massage on a troubled area.
Best Pliability Workout For Better Performance
You could do a pliability routine before or after a training session to improve your performance and functionality. Here is a 10-minute pre-training pliability workout:
| Exercises | Time |
| Banded Core Rotation | 1-minute |
| Banded Pallof Press Squat | 1-minute |
| Resisted Lateral Walking Plank | 1-minute |
| Hamstring Foam Roll | 1-minute |
| Calf Foam Roll | 1-minute |
| Glute Foam Roll | 1-minute |
| Knight to Hamstring Stretch | 1-minute |
| Pigeon Pose | 1-minute |
| Downward Facing Dog | 1-minute |
| Banded Lat Pulldown | 1-minute |
Have all the required equipment close to you before starting the pliability workout to keep the transition time before exercises short and wrap up this routine within 10 minutes. Do a five-minute pliability session after a workout to cool down and kickstart your recovery.
Benefits of Pliability
Adding pliability training to your daily routine entails the following advantages:
Boosts Performance
Muscle pliability improves functionality and performance in exercises like snatches, clean and jerks, and squats. Pliability training is a must for athletes engaged in sports that requires explosive strength, sudden direction changes, starts or stops, or involve muscular impact in any way, shape, or form.
Improves Flexibility and Mobility
Pliability training can improve your flexibility and mobility, enhancing your performance through a more extensive range of motion. It will also make your movements stronger and more fluid and reduce your risk of injury.
Enhances Recovery
Pliability routines done after a resistance training session can boost your recovery by flushing lactic acid out of your muscles. It also increases blood flow throughout the body, delivering essential nutrients and oxygen to the target muscles.
Beginner-Friendly
Pliability exercises are simple and can be done by beginners. Plus, since pliability exercises require minimal equipment, you can perform them in the gym, at home, or while on the road.
Difference Between Pliability, Flexibility, and Mobility
Many people use pliability, flexibility, and mobility interchangeably. However, these are three different concepts. Here is a brief on the trio:
Pliability
Muscle pliability is the adaptability and suppleness of muscles and connective tissues. Besides flexibility, muscle pliability refers to a muscle’s ability to respond effectively to different movements and forces.
Flexibility
It refers to the range of motion around a joint. Flexibility is the muscle’s and tendon’s ability to elongate, allowing the joints to move through a greater range of motion. Flexibility is a component of pliability; however, it doesn’t guarantee optimal movement control or strength within the ROM.
Mobility
Another component of pliability, mobility, goes a step further than flexibility as it involves active control of the range of motion. Mobility involves using strength and coordination to move through the full ROM, making it a crucial aspect of functional training. Mobility is highly valued in sports like CrossFit and Olympic weightlifting, as the athletes need to maintain force while maintaining proper form throughout the ROM.
FAQs
When should I do pliability training?
You could do a pliability routine before a training session as a warm-up. Pliability training before a workout will get your blood pumping and improve your flexibility and mobility. You could also do it after your workout to enhance your recovery.
How often should I do pliability training?
The frequency of your pliability training will depend on your current physique and training objectives. Individuals with poor pliability should do pliability training before and after every training session. Lifters with decent mobility can limit pliability training to thrice a week.
Should I do pliability work on my rest days?
Absolutely! You can do pliability exercises on your rest days to reduce muscle soreness and fatigue. Pliability training lowers the chances of delayed onset muscle soreness (DOMS), which can improve your performance in the upcoming workouts.
What equipment do I need for pliability training?
For pliability training, you will need a foam roller, lacrosse ball, and resistance band. Tom Brady recommends vibrating rollers and spheres as they can deliver deeper muscle tissue stimulation. People with the means should also take professional massages to improve muscle pliability.
Wrapping Up
Muscle pliability refers to the adaptability and suppleness of muscles and connective tissues. Pliability training is designed to improve your physical performance while limiting your risk of injury.
The 17 pliability exercises listed in this article are everything you need to improve your overall functionality. Combine the pliability workout listed in this article with a balanced diet, training, and recovery program to ensure you’re not leaving any gains on the table. Best of luck!


