I’m a veteran personal trainer and spend most of my working day helping people achieve their fitness goals. Invariably, this involves writing effective programs, guiding my clients through their workouts, and providing nutritional advice.
Needless to say, after more than 30 years in the fitness industry, it’s clear that I enjoy my job!
However, there are times when gym sessions don’t go as smoothly as they should, and my clients feel out of sorts. Minor aches and pains are a common issue, especially for those who spend their days sitting at a desk.
Prolonged sitting often leaves your muscles feeling short and tight, and the resulting tension may interfere with free, easy movement.
In short, sitting all day can make exercise feel awkward and even uncomfortable. Your body sort of “seizes up” after hours of being stuck in the same position.
Warming up helps restore any lost mobility, and in most cases, a little dynamic stretching is all that’s needed to free up those tight muscles. That said, more stubborn muscles sometimes need a more targeted approach, such as foam rolling.
In this article, I explain the basics of foam rolling and share a 10-minute foam rolling routine for easing upper body tension.
What is Foam Rolling?
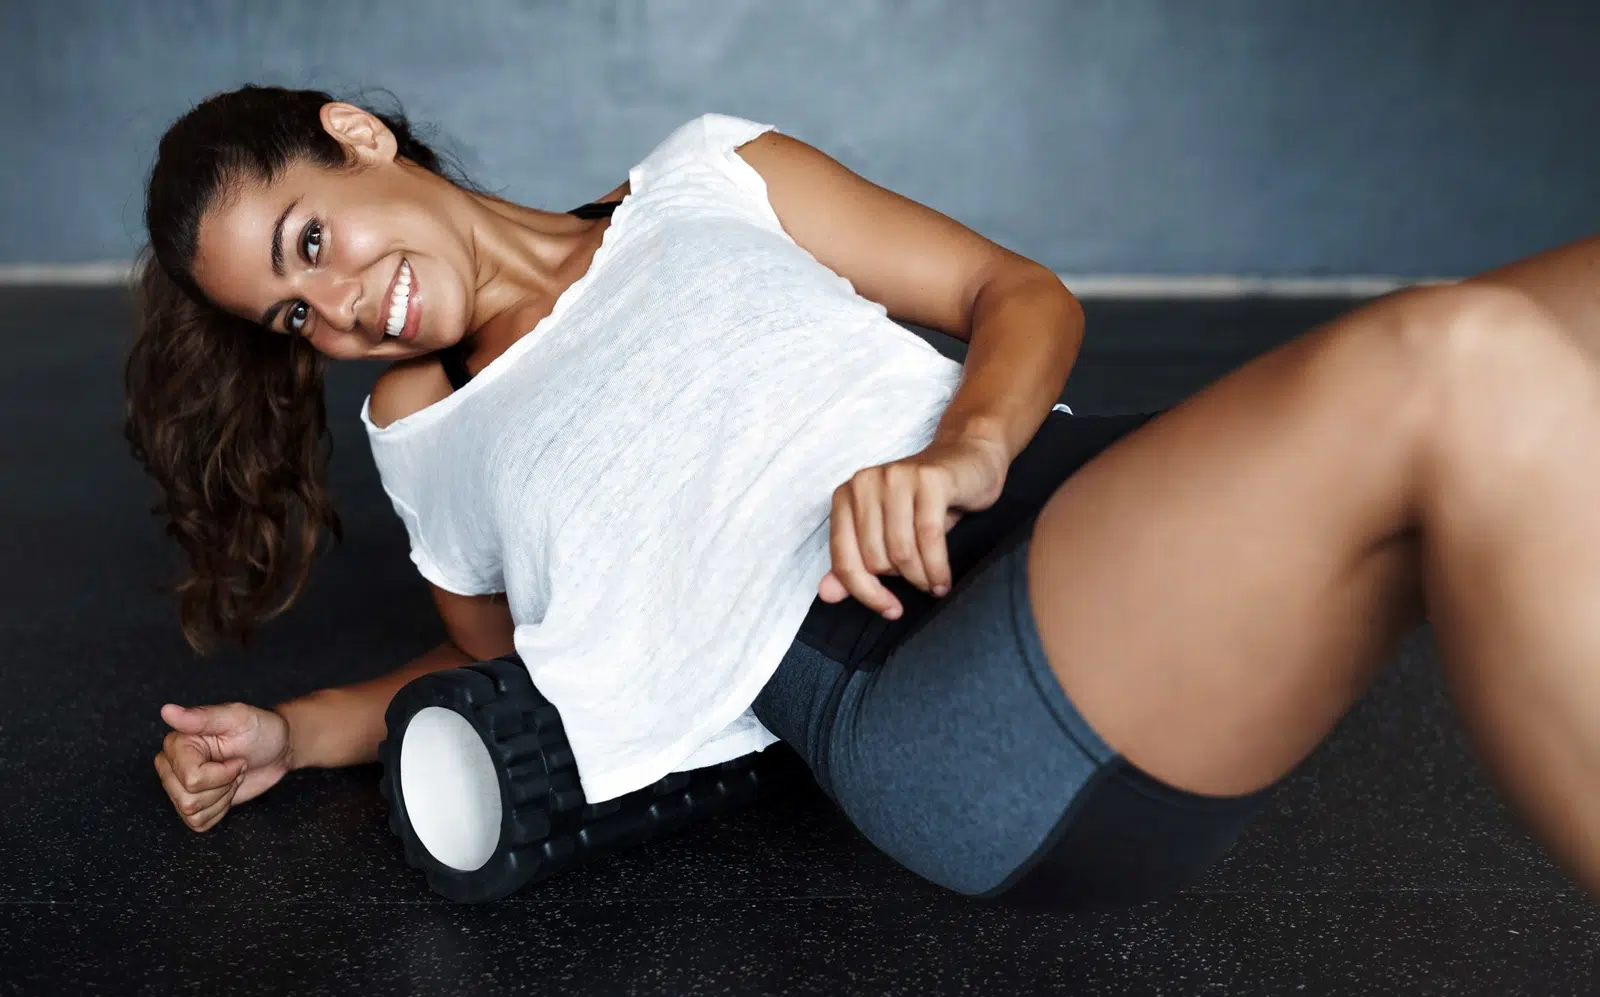
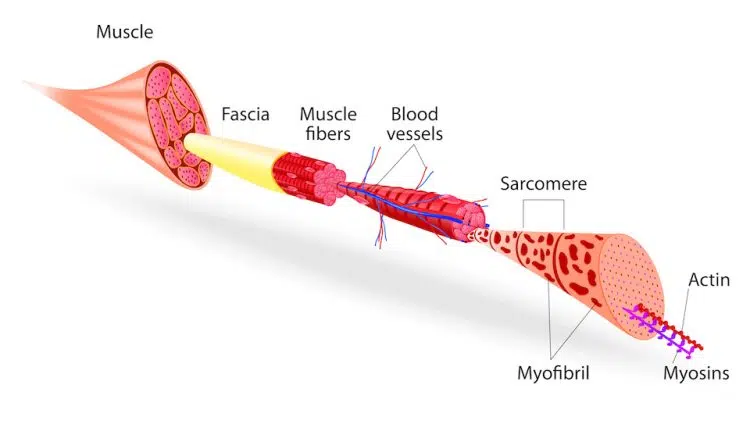
Foam rolling is a form of self-massage that targets muscles and their surrounding fascia. Fascia is a thin layer of connective tissue that envelopes all muscles and organs, helping to keep them separate.
We used to think of fascia as passive and inert but more recently we’ve learned that it is contractile and contains nerves. Fascia stores energy like a coiled spring to aid movement and can also be a source of pain and tightness. It’s even affected by your emotional state (1).
While conventional static stretching helps lengthen muscles, it doesn’t do much for the surrounding fascia. That’s because static stretching only extends your muscles lengthways, while fascia is multidirectional.
Related: 7 Stretching Mistakes Everyone Makes (And How to Avoid Them)
In other words, muscles are like ropes – they have two ends and, during stretching, those ends are pulled away from one another. In contrast, fascia is more like a thin rubber sheet that stretches in many different directions at once.
Fascia is amazing stuff but, like almost every aspect of your body, it sometimes goes wrong. Prolonged immobility, such as sitting for many hours, can cause the fascia to tighten up and become adhered (stuck) to the muscles it surrounds. This can result in movement restrictions, tightness, and pain.
Related: 5 Life-Changing Stretches for People Who Sit All Day
A hands-on massage will help free your fascia and get things moving again but massages can be expensive and they’re not always practical. The next best option is using a foam roller. Like massage, foam rolling helps unstick your fascia so it can move freely (2).
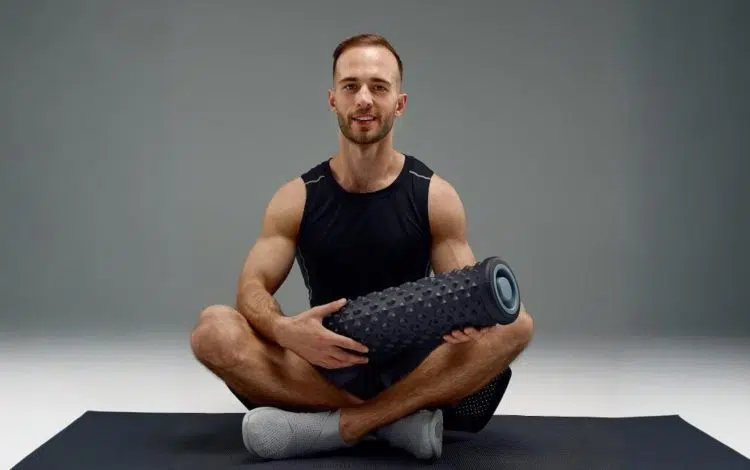
You can buy a foam roller for less than the price of a single session with a massage therapist and use it to keep your muscles and fascia supple and pain-free. While you can use a foam roller on your legs, they’re especially good for treating upper-body muscle tension.
10-Minute Upper Body Foam Rolling Routine
Upper body tightness is a common problem. Long hours spent driving, sitting at a desk, or doing repetitive upper body movements, especially overhead, can leave your muscles tense and sore. The good news is that relief is only ten minutes away!
But before you start…
Foam rolling is generally safe, but there are a few things to consider before you use a foam roller for the first time:
Start with a light pressure – don’t do too hard too soon or you may end up sore and bruised. Increase the pressure gradually over the coming days and weeks.
Do not foam roll bones or joints – avoid any bony prominences or joints as foam rolling these structures can cause severe pain and could result in injuries. Avoid your ankles, knees, elbows, etc.
Avoid rolling your lower back – foam rolling can cause short-term inflammation. The last thing anyone needs is more lower back pain! Resist the temptation to place your foam roller beneath your lower back unless told to do so by a physical therapist or similar medical professional.
Do not hold your breath – because of how your nervous system is wired, holding your breath increases muscle tension, defeating the main purpose of foam rolling. Avoid this problem by breathing slowly and evenly throughout your foam rolling session.
Allow time for recovery between sessions – while foam rolling is a relatively gentle therapy, you should not do it every day. Allow your muscles to rest and recover between sessions for best results. A day-on/day-off schedule works well for most people.
So, grab your foam roller, and let’s say goodbye to upper body tension and hello to relaxed, pain-free muscles. Do this routine 3-4 times a week or whenever your upper body feels tight.
| Exercise | Duration | |
| 1 | Thoracic extension | 120 seconds |
| 2 | Rhomboids/Traps roll | 60 seconds |
| 3 | Shoulder roll (left side) | 60 seconds |
| 4 | Shoulder roll (right side) | 60 seconds |
| 5 | Lats roll (left side) | 90 seconds |
| 6 | Lats roll (right side) | 90 seconds |
| 7 | Chest roll | 60 seconds |
| 8 | Neck roll | 60 seconds |
| Total Time: 10 minutes | ||
Exercise Instructions
Get the most from your foam rolling routine by doing each exercise slowly and correctly. Follow these step-by-step instructions for the best results!
1. Thoracic Extension
Slouching over a desk or steering wheel gives you a hunched, rounded upper back and can cause a lot of tension in your upper body. This exercise is designed to reverse your hunch and stretch the muscles on the front of your torso. You may hear a few cracks in your upper back when you first do this exercise, but that’s entirely normal.
Steps:
- Lie on your back and place your foam roller under your shoulders.
- Bend your legs and place your feet flat on the floor and your hands behind your head.
- Move the roller until it sits directly below your sternum, i.e., your mid-upper back.
- Relax over the roller and allow gravity to pull your upper back into extension.
- Raise your shoulders and then re-extend your thoracic spine, moving a little further as you feel your muscles relax.
- Continue for about two minutes.
- Transition to the next exercise without getting up.
2. Rhomboids/Traps Roll
The rhomboids and trapezius (traps) muscles are located across and between your shoulder blades. Together, they can hold a lot of muscle tension and are a common source of upper body pain. This exercise massages the tightness out of your upper back and will leave you feeling relaxed and free from stress.
Steps:
- Lie on your back with the foam roller under your shoulders.
- Bend your legs, place your feet flat on the floor, and cross your hands over your chest.
- Move the roller until it lies directly below your sternum.
- Using your legs, roll up and down your upper back, pausing for a few seconds on any hotspots or areas of greater tension.
- Shift your weight from side to side to increase the pressure on any areas that need more attention.
- Continue for about 60 seconds.
3 & 4. Shoulder Roll
The deltoids or shoulders are very hard-working muscles. In fact, it’s hard to think of an upper body exercise or movement where they are not involved. Consequently, they are a common site of tension. This exercise will gently squeeze the stress out of your shoulders, one side at a time.
- Lie on your side with your legs bent, arms by your sides, and your foam roller below your shoulder.
- Use your legs to move your roller along the side of your shoulder muscle.
- Lean forward and backward slightly to work your front and rear deltoids.
- Continue for 60 seconds and the roll over and repeat on the opposite shoulder.
5 & 6. Lats Roll
The latissimus dorsi (lats) are the large muscles located on the side of your upper back. They have numerous functions but, essentially, connect your arms to your torso. Tight lats can affect your shoulders and are a common source of tension and pain. The lats are not especially easy to stretch, but they respond extremely well to foam rolling.
Steps:
- Lie on your side and extend your lowermost arm. Place your foam roller crossways under your armpit.
- Using your legs, move the roller down to your upper ribs and back up to your armpit.
- Lean slightly forward and back to seek out any hotspots.
- Continue for 90 seconds and then switch sides.
7. Chest Roll
The pectoralis major and minor are your main chest muscles. Many people have tight pecs because they overwork their chests in the gym and fail to stretch these muscles often enough. Tight pecs will affect your shoulder mobility and posture, so time spent foam rolling your chest is time well-spent.
Steps:
- Lie on your front with your foam roller beneath your upper chest.
- Extend your arms in front of you and rest on your forearms.
- Use your arms and feet to push yourself up the roller.
- Stop with the roller just above your abdomen.
- Return to the starting position and repeat for 60 seconds.
- Shift your weight from one arm to the other to emphasize each side of your chest separately.
8. Neck Roll
Your neck is a very hard-working body part, supporting the weight of your head all day long. Thrust your head forward, as most people do when using any kind of screen, and that workload increases significantly. It’s no wonder that so many people carry so much tension and stress on their necks. A tight neck can cause all sorts of discomfort, including headaches.
Steps:
- Lie on your back with your legs bent and feet flat.
- Place your foam roller crossways behind your neck, just below the base of your skull.
- With your neck in a slightly extended position, slowly turn your head to the left and right.
- Repeat for 60 seconds.
Closing Thoughts
When it comes to mobility and stretching, most exercisers tend to emphasize their legs. This makes a certain amount of sense given that being able to touch your toes is often seen as a flexibility standard that everyone should be able to reach – pun intended.
However, that doesn’t mean you should neglect your upper body. Tension in your deltoids, lat, traps, pecs, and neck can affect your shoulders and upper back, leading to dysfunction and pain. It can even make exercises like shoulder presses and lat pulldowns uncomfortable and less effective.
Regular stretching and massages will help alleviate upper body muscle tension, but, in my professional opinion, foam rolling is the best way to ease tension and restore lost mobility. For that reason, I often include foam rolling in my client’s warm-ups and cool-downs and prescribe it as pre-hab and rehab “homework for them to do between workouts.
So, whether you are currently dealing with upper body tension or just want to avoid it in the future, adding foam rolling to your workout schedule is a great use of your time.
References:
- Bordoni B, Mahabadi N, Varacallo M. Anatomy, Fascia. [Updated 2023 Jul 17]. In: StatPearls [Internet]. Treasure Island (FL): StatPearls Publishing; 2024 Jan-.
- Hendricks S, Hill H, Hollander SD, Lombard W, Parker R. Effects of foam rolling on performance and recovery: A systematic review of the literature to guide practitioners on the use of foam rolling. J Bodyw Mov Ther. 2020 Apr;24(2):151-174. doi: 10.1016/j.jbmt.2019.10.019. Epub 2019 Nov 2. PMID: 32507141.


