Anderson squats are the namesake of Paul Anderson, an Olympic weightlifter and competitive strongman. They start from the bottom position, eliminating the stretch reflex and forcing you to initiate the lift from a dead stop.
Many lifters use this squat variation to overcome the sticking points in their squat range of motion, as it helps with targeted strength and power development.
Let’s start with a simple guide covering the most important coaching cues and form instructions for performing Anderson squats correctly.
How To Do Anderson Squats
Here is a step-by-step guide to perform this exercise correctly:
Step One — Rack the Barbell at the Appropriate Height
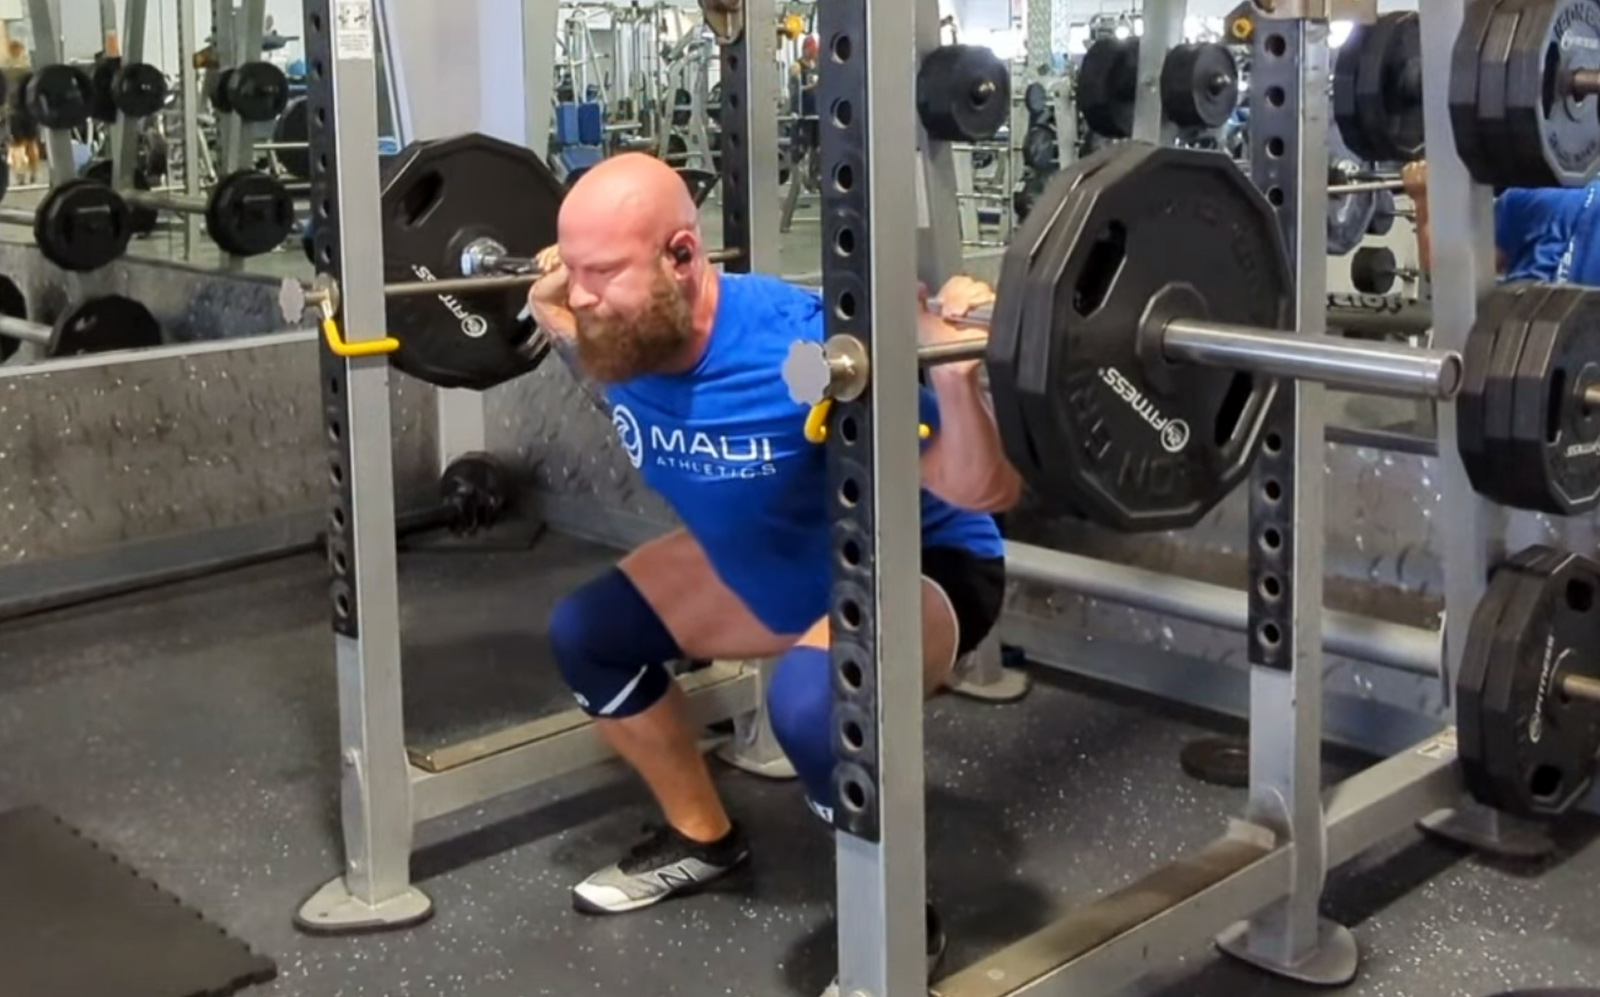
Position the safety pins at a desirable height inside a squat rack. Depending on your sticking point, this can be at the bottom of your squat range of motion or a random point between the top and bottom positions. Place the barbell on the safety pins.
Pro Tip: I usually set the pins just below parallel, as it is a weak point for most people after they come out of the hole. This approach has consistently proven to be the most beneficial for correcting form, overcoming plateaus, and enhancing raw strength and power.
Step Two — Assume the Starting Position
Tuck underneath the barbell and position it on your upper back as you would for a regular squat.
Assume a shoulder-width stance and slightly point your toes outward for a more natural knee movement during the exercise. Your back and neck should be neutral throughout the exercise to avoid spine strain.
Ideally, your knees should reach at least a 90-degree bend in the bottom position.
Pro Tip: Keep your core braced and chest proud during the lift. Wear a weightlifting belt to limit the risk of injury.
Step Three — Extend Your Ankles, Hips, and Knees
Extend your ankles, knees, and hips to drive the barbell toward the ceiling. Focus on keeping your torso stable and spine neutral during the upward movement. Hold the top position for one second.
Pro Tip: Drive your heels and midfoot into the floor during the ascent. Use an explosive movement to maximize fast-twitch fiber recruitment and growth potential.
Step Four — Return the Barbell to the Starting Position
Return the barbell to the safety pins using a slow and deliberate motion. Repeat for the recommended reps.
Pro Tip: Use three-second eccentrics to increase the time under tension and promote hypertrophy.
Watch the following video, Dr. Allan shows how to properly perform Anderson Squats:
Jeff Nippard, a professional natural bodybuilder and science-based content creator, shares a couple of tips for blowing up your squat:
“My first strategy is to prime your nervous system for a big squat by using acclimating drills like walkouts and pin squats. When I say prime your nervous system, you are simply preparing your brain and nervous system to get used to firing under heavy loads. This sort of works like when you shoot a weighted training ball and then a normal basketball, and the basketball feels much lighter afterward. So, for heavy walkouts, load up to 95 to 105 percent of your one rep max. Walk the weight out, brace it as you normally would, and then walk it back in without actually squatting it.”
Muscles Worked
The primary muscles working are the quads, glutes, and hamstrings. The secondary muscles are the calves, lower back, and core muscles, which are primarily responsible for stabilization.
Benefits of Anderson Squats
Here are the pros of regularly doing Anderson squats:
Increased Power and Strength
Anderson squats are an excellent tool for building strength and power, as they emphasize overcoming external load during the concentric phase. However, completely neglecting the descent can be counterproductive. The ability to absorb force is crucial for generating it effectively.
This is why you should never substitute your regular squats with the Anderson variation. There are three foundational muscle contractions — eccentric, concentric, and isometric — and you must train for all three to maximize your performance.
One study that compared the maximum concentric, eccentric, and isometric contractions using EMG and energy expenditure measurements during squats showed that the force that the muscles generated was greatest during eccentric contraction, lower during isometric contraction, and lowest during concentric contraction.
However, energy expenditure was slightly greater during concentric than an eccentric contraction. (1)

Overcoming Plateaus
Anderson squats are excellent for overcoming plateaus, especially for crushing the sticking points in your squatting range of motion. You can change the starting height in this exercise to address different sticking points and improve your overall squatting efficiency and effectiveness.
Improved Form and Technique
To exit the bottom position, the starting point for Anderson squats, you must have perfect form and technique to avoid back and knee injuries. The more you practice this list, the better you will get.
Anderson Squat Variations and Alternatives
Here are the most notable variations and alternatives you should consider:
Box Squats
Box squats are one of my favorite squat exercises as they can help build explosive lower body strength. They also allow you to focus on the specific range of motion during your squats.
Steps:
- Rack a barbell on the squat rack and load it with an appropriate weight.
- Place a plyo box behind you.
- Position the loaded barbell on your upper back, unrack it, and take a step back so your heels are close to the plyo box.
- Assume a shoulder-width stance and slightly turn your toes outward for better knee mechanics.
- Lower your butt toward the box by flexing your knees and hips.
- Slightly touch the box with your butt and avoid sitting on it since that causes loss of muscle tension.
- Pause at the bottom for one second before returning to the starting position.
Pro Tip: Experiment with different box heights to target specific muscle groups and ranges of motion, allowing for a more tailored and effective workout. Focus on driving through the heels to maximize power output and engage the posterior chain.
Pause Squats
Pause squats are perfect for training the most challenging point in your squatting range of motion, which is usually the bottom position.
Steps:
- Stand upright with your feet shoulder-width apart and a loaded barbell on your upper back.
- Bend your ankles, knees, and hips to lower toward the floor.
- Pause in the bottom position for the desired amount of time (start with a one-second pause if you are a beginner).
- Forcefully extend your ankles, knees, and hips to return to the starting position.
Pro Tip: Keep your core braced during the pause for maximal power output.
Front Squats
Front squats are an excellent alternative exercise that will target your quads, hams, and glutes.
Steps:
- Hold a barbell in the front rack position.
- Slow as low as your mobility allows.
- Pause in the bottom position for one second.
- Reverse the motion to return to the starting position.
Pro Tip: Pro Tip: Keep your elbows high to prevent the barbell from sliding down your shoulders and arms.
FAQs
How do Anderson squats differ from traditional squats in muscle activation and strength gains?
In terms of muscle activation, the only difference between Anderson squats and traditional squats is that the former focuses more on the concentric part of the lift, and they lack isometric contraction in the bottom position since you rest the barbell on the pins.
In terms of strength gains, I would still prefer traditional squats, except when you want to build strength in a very specific range of motion. This is where the Anderson squats shine.
Are Anderson squats better suited for beginners or advanced lifters?
Anderson squats are arguably more suitable for advanced lifters as they require a well-established squat technique and a strong bottom position.
Do Anderson squats enhance squat depth and technique?
If you do them correctly and consistently enough, Anderson squats can improve your squat depth and technique. However, you must adjust the height of the pins to improve your ROM and tackle any sticking points.
Wrapping Up
Anderson squats are perfect for eliminating weaknesses throughout the entire squatting range of motion. They are also valuable for enhancing concentric squat strength while mastering the bottom squat position and technique.
I do Anderson squats at least once every two to three weeks, to improve my technique, range of motion, and concentric muscle strength. In the comments below, let me know your thoughts on Anderson squats and how you plan to incorporate them into your lower-body workout sessions.
References:
- Seliger V, Dolejs L, Karas V. A dynamometric comparison of maximum eccentric, concentric, and isometric contractions using emg and energy expenditure measurements. Eur J Appl Physiol Occup Physiol. 1980;45(2-3):235-244. doi:10.1007/BF00421331
Relevant Articles:
Featured image via @MauiAthletics channel on YouTube!
Interested in measuring your progress? Check out our strength standards for Landmine Squat, Half Squat, Squat Jump, and more exercises.