
Deficit Deadlift vs Hyperextensions With No Hyperextension Bench

Compare target muscles, equipment, difficulty, movement type, and secondary muscles for Deficit Deadlift and Hyperextensions With No Hyperextension Bench.

Change comparison Share

Get comparison link

Select the link and use your device's Copy command.

Comparison overview

AI-generated
Deficit Deadlift vs Hyperextensions With No Hyperextension Bench — you’re comparing two solid options for training the erector spinae and posterior chain. I’ll walk you through how each move loads the low back, which secondary muscles get worked, exact rep ranges and angles to prioritize, plus technical cues so you can perform them safely. You’ll learn when to use a heavy barbell deficit for force production and when a bodyweight hyperextension substitute gives high-quality lumbar control, and how to progress each exercise based on your goals.

Exercise Comparison

Exercise A
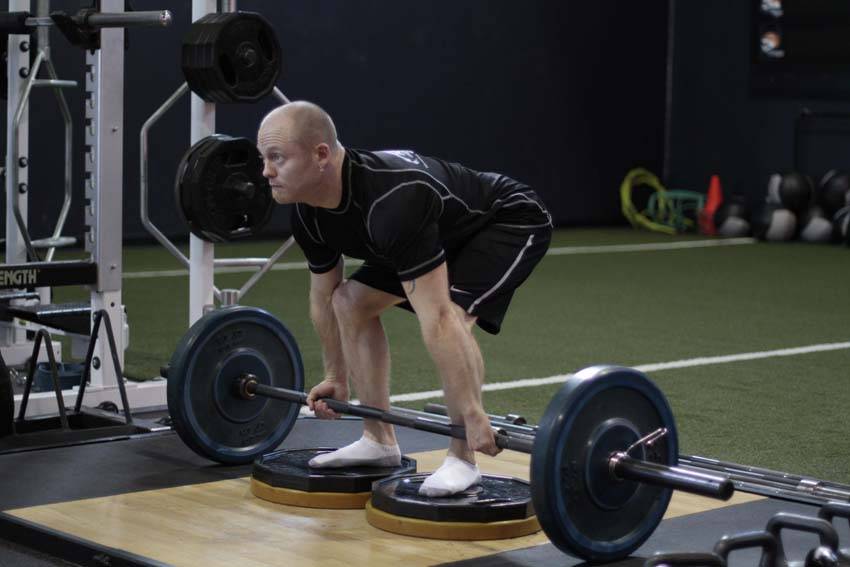
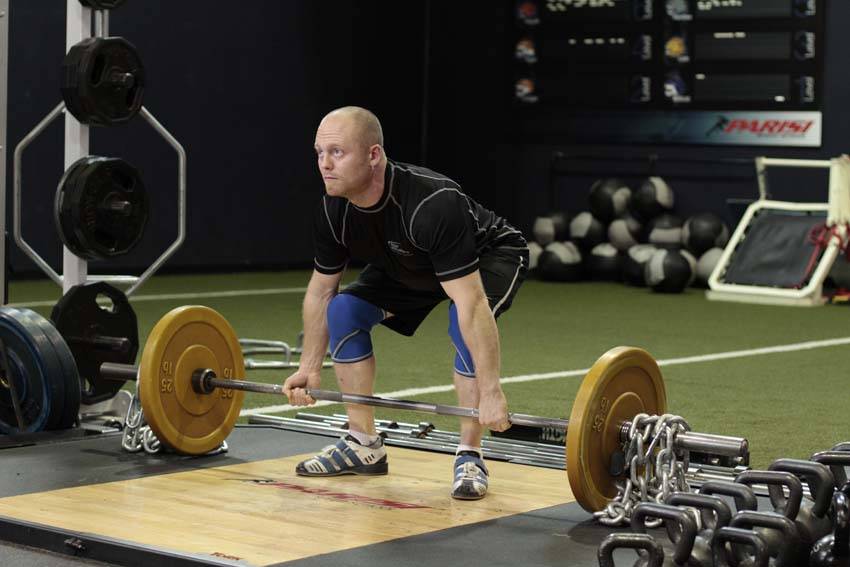
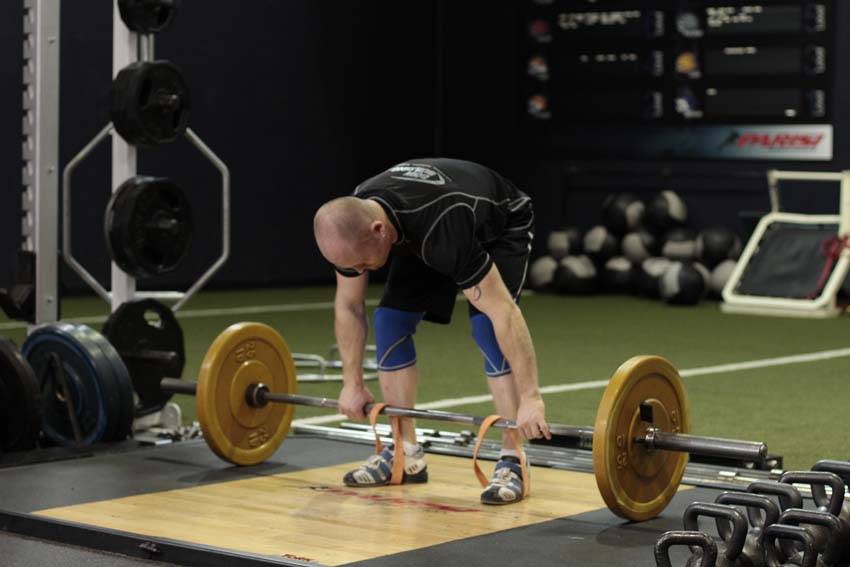
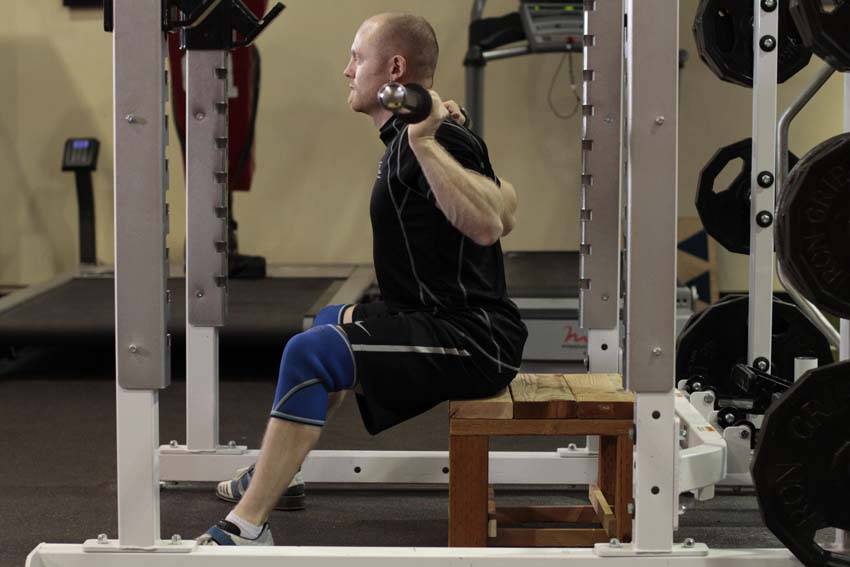
Deficit Deadlift demonstration

Deficit Deadlift

Target Erector-spinae
Equipment Barbell
Body Part Back
Difficulty Advanced
Movement Compound
Secondary Muscles
Forearms Glutes Hamstrings Middle Back Quadriceps Traps
VS
Exercise B
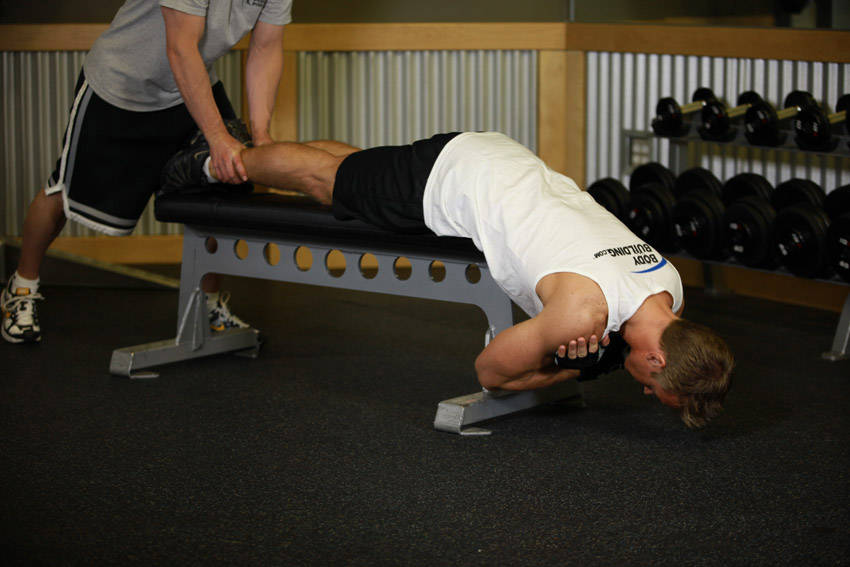
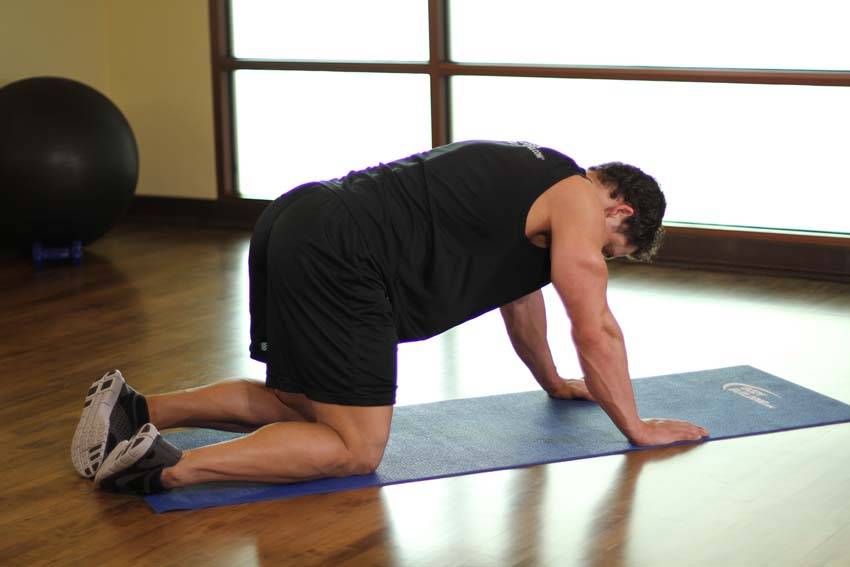
Hyperextensions With No Hyperextension Bench demonstration

Hyperextensions With No Hyperextension Bench

Target Erector-spinae
Equipment Body-weight
Body Part Back
Difficulty Intermediate
Movement Compound
Secondary Muscles
Glutes Hamstrings

Head-to-Head Comparison

Different values are marked. These are catalogue attributes, not performance scores.

Muscles used

Listed target and secondary muscles, shown on the body. Locations, not activation or strength scores.

  • Target
  • Secondary
  • Not highlighted

Deficit Deadlift

Front
Deficit Deadlift: front muscle locationsSolid: listed target. Striped: listed secondary. Grey: not highlighted. Locations, not activation or strength scores. See the muscle names below.
Back
Deficit Deadlift: back muscle locationsSolid: listed target. Striped: listed secondary. Grey: not highlighted. Locations, not activation or strength scores. See the muscle names below.
Target
Erector-spinae
Secondary
Forearms, Glutes, Hamstrings, Middle Back, Quadriceps, Traps

Not shown on diagram: Erector-spinae, Middle Back. These labels do not identify a precise region on this map.

Hyperextensions With No Hyperextension Bench

Front
Hyperextensions With No Hyperextension Bench: front muscle locationsSolid: listed target. Striped: listed secondary. Grey: not highlighted. Locations, not activation or strength scores. See the muscle names below.
Back
Hyperextensions With No Hyperextension Bench: back muscle locationsSolid: listed target. Striped: listed secondary. Grey: not highlighted. Locations, not activation or strength scores. See the muscle names below.
Target
Erector-spinae
Secondary
Glutes, Hamstrings

Not shown on diagram: Erector-spinae. These labels do not identify a precise region on this map.

Grey does not mean a muscle is unused. The diagrams show only the mapped catalogue labels.

Attribute Deficit Deadlift Hyperextensions With No Hyperextension Bench
Target Muscle
Erector-spinae
Erector-spinae
Body Part
Back
Back
Equipment Different
Barbell
Body-weight
Difficulty Different
Advanced
Intermediate
Movement Type
Compound
Compound
Secondary Muscles Different
Forearms, Glutes, Hamstrings, Middle Back, Quadriceps, Traps
Glutes, Hamstrings

Visual Comparison

An illustrative 1–10 profile derived from catalog difficulty, equipment, and listed-muscle fields—not measured performance or muscle activation.

Key Differences

  • Equipment differs: Deficit Deadlift uses Barbell, while Hyperextensions With No Hyperextension Bench requires Body-weight.
  • Difficulty levels differ: Deficit Deadlift is advanced, while Hyperextensions With No Hyperextension Bench is intermediate.

Muscle comparison

Shared target muscles

Both exercises load the erector spinae as the prime mover for spinal stability and extension. The deficit deadlift does this under heavy axial load — the barbell creates high compressive and shear forces that demand strong isometric contraction of the erectors through a longer range of motion. Hyperextensions (no bench) isolate spinal extension more directly through concentric lumbar extension with much less axial loading, so the erectors work through end-range spinal extension rather than maximal loaded isometrics.

Secondary muscle differences

Deficit deadlifts recruit forearms (grip), traps, quadriceps, glutes and hamstrings because the lift begins from a lower bar position that increases knee flexion and hip flexion; expect substantial quad and hamstring co-contraction. Hyperextensions primarily recruit glutes and hamstrings as hip extension contributors, with minimal trap or quad demand and no heavy grip stress since they’re usually bodyweight or light-loaded.

Muscle involvement analysis

Deficit deadlift: multi-joint pattern — initial phase combines hip hinge and knee extension (hip angle ~60–120°), creating large hamstring stretch and high erector-spinae isometric demand through a 5–15 cm greater ROM if you stand on a 2–4 in (5–10 cm) deficit. Hyperextensions: single-joint spinal extension with pelvis as the pivot; lumbar angle changes ~20–40° focusing on concentric shortening of the erectors at end-range. Biomechanically, deficit deadlifts favor force production through combined hip/knee torque; hyperextensions emphasize length-tension and end-range control of the lumbar extensors.

Equipment and setup

Deficit Deadlift: setup

Barbell, plates, and a stable 1–4 in (2.5–10 cm) platform or plates to stand on; lifting shoes or flat-soled shoes and a rack or spotter for safety when loading heavy.

Hyperextensions With No Hyperextension Bench: setup

No hyperextension bench needed — you can use a stability ball, bench edge, couch, or the floor with feet anchored. Bodyweight is sufficient; a plate, dumbbell, or backpack adds load if desired.

Access and practicality

Hyperextensions With No Hyperextension Bench is the accessibility winner because you only need a bench edge, ball, or floor and no heavy equipment. Deficit deadlifts require barbell access, plates, and a safe area to lift heavy.

Learning and progression

Learning the movements

Hyperextensions With No Hyperextension Bench are easier to learn because they isolate spinal extension and use a short lever; you can master hip hinge and lumbar control with 1–3 sessions. Deficit Deadlift is advanced: it demands precise bar path, hip-knee sequencing, grip strength, and mobility, so the technical learning curve is longer.

Progression considerations

Deficit Deadlift offers greater long-term progression because you can increase absolute load in small increments (2.5–10 lb/1–5 kg plates), manipulate lever (deficit height), and use periodized %1RM work (e.g., 75–95% 1RM for strength). Hyperextensions progress via added load, tempo (3–4 s eccentrics), and higher reps (10–20+), but total external load ceiling is lower.

Limitations and precautions

Deficit Deadlift has higher injury risk when performed incorrectly due to increased lumbar shear and larger hamstring stretch under heavy load; improper setup or rounding raises risk of lumbar strain. Hyperextensions carry lower absolute risk but can overstress the lumbar spine if you hyperextend past neutral repeatedly or use excessive added weight.

Pros & Cons

Deficit Deadlift

+ Pros

  • Massive overload potential for erector-spinae and whole posterior chain
  • Greater secondary recruitment: quads, hamstrings, glutes, traps, forearms
  • Easy to quantify and progressively overload via %1RM and small weight increments
  • Increases strength through a larger range of motion when standing on a 2–4 in deficit

− Cons

  • Requires barbell and safe setup
  • Higher technical demand and longer learning curve
  • Greater risk of lumbar stress and hamstring strain if performed poorly

Hyperextensions With No Hyperextension Bench

+ Pros

  • Minimal equipment — ideal for home or limited-gym setups
  • Lower technical barrier; good for teaching lumbar control and hip hinge
  • Safer for high-rep work and conditioning of the erectors
  • Easy to increase time under tension via tempo and reps (10–20 reps)

− Cons

  • Limited absolute load ceiling compared with barbell work
  • Less quad and trap stimulation — fewer total-body strength carryovers
  • Can tempt excessive lumbar hyperextension if cues are poor

When Each Exercise Wins

1
For muscle hypertrophy: Deficit Deadlift

Deficit deadlifts let you use heavier loads and longer ROM, producing more overall mechanical tension across erectors, hamstrings and glutes. Aim for 6–12 reps at 60–75% 1RM or higher-volume sets to stimulate muscle growth.

2
For strength gains: Deficit Deadlift

Deficit deadlifts permit progressive overload with heavy %1RM work (75–95%) and improve the bottom-of-the-lift power, translating to higher absolute strength in the posterior chain and deadlift variations.

3
For beginners: Hyperextensions With No Hyperextension Bench

Hyperextensions are easier to learn and let you build lumbar control and hip hinge mechanics with low loads and high reps (10–20), reducing injury risk while teaching movement patterns.

4
For home workouts: Hyperextensions With No Hyperextension Bench

You can perform effective hyperextension variations using a stability ball, bench edge, or the floor with minimal equipment, making them the superior home option.

Frequently Asked Questions

Can I do both Deficit Deadlift and Hyperextensions With No Hyperextension Bench in the same workout?

Yes. Pair deficit deadlifts as your primary heavy lift earlier in the session (after warm-up), then use hyperextensions as an accessory for 2–4 sets of 10–20 reps to increase time under tension and reinforce spinal control without fatiguing your grip majorly.

Which exercise is better for beginners?

Hyperextensions With No Hyperextension Bench are better for beginners because they isolate spinal extension, require less load, and allow you to learn hip hinge and lumbar stability safely before progressing to loaded deficit deadlifts.

How do the muscle activation patterns differ?

Deficit deadlifts create high erector-spinae isometric demand plus large hamstring and glute stretch due to increased ROM and axial load; hyperextensions produce concentrated concentric spinal extension at end-range with primary assistance from glutes and hamstrings and far lower axial compression.

Can Hyperextensions With No Hyperextension Bench replace Deficit Deadlift?

Not completely. Hyperextensions can substitute as an accessory for erector strength and endurance, but they can’t match the absolute load and multi-joint recruitment of deficit deadlifts required for maximal posterior-chain strength development.

Comparison Summary

Use deficit deadlifts when your priority is heavy-load strength and whole posterior-chain development — they excel at producing mechanical tension across erectors, hamstrings and glutes and scale well with progressive overload. Choose deficits only once you’ve nailed hip-hinge mechanics and have adequate mobility and coaching. Use hyperextensions with no hyperextension bench when you need accessible lumbar isolation, high-rep conditioning, or to teach spinal control; they’re low-cost, lower-risk, and excellent for accessory or rehab-focused work. For a balanced program, pair heavy deficit deadlift sessions (3–6 reps for strength, 6–12 for hypertrophy) with hyperextension sets (10–20 reps, controlled tempo) to target both maximal force and end-range spinal endurance.

Exercise instructions

Steps from the exercise catalogue. Read the full sequence before starting.

Deficit Deadlift

  1. Begin by having a platform or weight plates that you can stand on, usually 1-3 inches in height. Approach the bar so that it is centered over your feet. You feet should be about hip width apart. Bend at the hip to grip the bar at shoulder width, allowing your shoulder blades to protract. Typically, you would use an overhand grip or an over/under grip on heavier sets.
  2. With your feet, and your grip set, take a big breath and then lower your hips and bend the knees until your shins contact the bar. Look forward with your head, keep your chest up and your back arched, and begin driving through the heels to move the weight upward. After the bar passes the knees, aggressively pull the bar back, pulling your shoulder blades together as you drive your hips forward into the bar.
  3. Lower the bar by bending at the hips and guiding it to the floor.

Hyperextensions With No Hyperextension Bench

  1. With someone holding down your legs, slide yourself down to the edge a flat bench until your hips hang off the end of the bench. Tip: Your entire upper body should be hanging down towards the floor. Also, you will be in the same position as if you were on a hyperextension bench but the range of motion will be shorter due to the height of the flat bench vs. that of the hyperextension bench.
  2. With your body straight, cross your arms in front of you (my preference) or behind your head. This will be your starting position. Tip: You can also hold a weight plate for extra resistance in front of you under your crossed arms.
  3. Start bending forward slowly at the waist as far as you can while keeping your back flat. Inhale as you perform this movement. Keep moving forward until you almost touch the floor or you feel a nice stretch on the hamstrings (whichever comes first). Tip: Never round the back as you perform this exercise.
Read remaining steps for Hyperextensions With No Hyperextension Bench
  1. Slowly raise your torso back to the initial position as you exhale. Tip: Avoid the temptation to arch your back past a straight line. Also, do not swing the torso at any time in order to protect the back from injury.
  2. Repeat for the recommended amount of repetitions.

Also Compare

Compare another pair

Choose two exercises to see their differences side by side.

Compare Exercises