
Assisted Chest Dip (kneeling) vs Cross Over - With Bands

Compare target muscles, equipment, difficulty, movement type, and secondary muscles for Assisted Chest Dip (kneeling) and Cross Over - With Bands.

Change comparison Share

Get comparison link

Select the link and use your device's Copy command.

Comparison overview

AI-generated
Assisted Chest Dip (kneeling) vs Cross Over - With Bands puts two chest-focused moves head-to-head so you can pick the right tool for your goals. You’ll get clear technique cues, biomechanical reasoning (force vectors, length-tension relationships), rep ranges, and progression tips. I’ll compare primary and secondary muscle activation, equipment needs, learning curve, and injury risk. By the end you’ll know which exercise to use for muscle growth, strength, beginner learning, or home training—and how to program them into a routine with specific sets, reps, and tempo.

Exercise Comparison

Exercise A
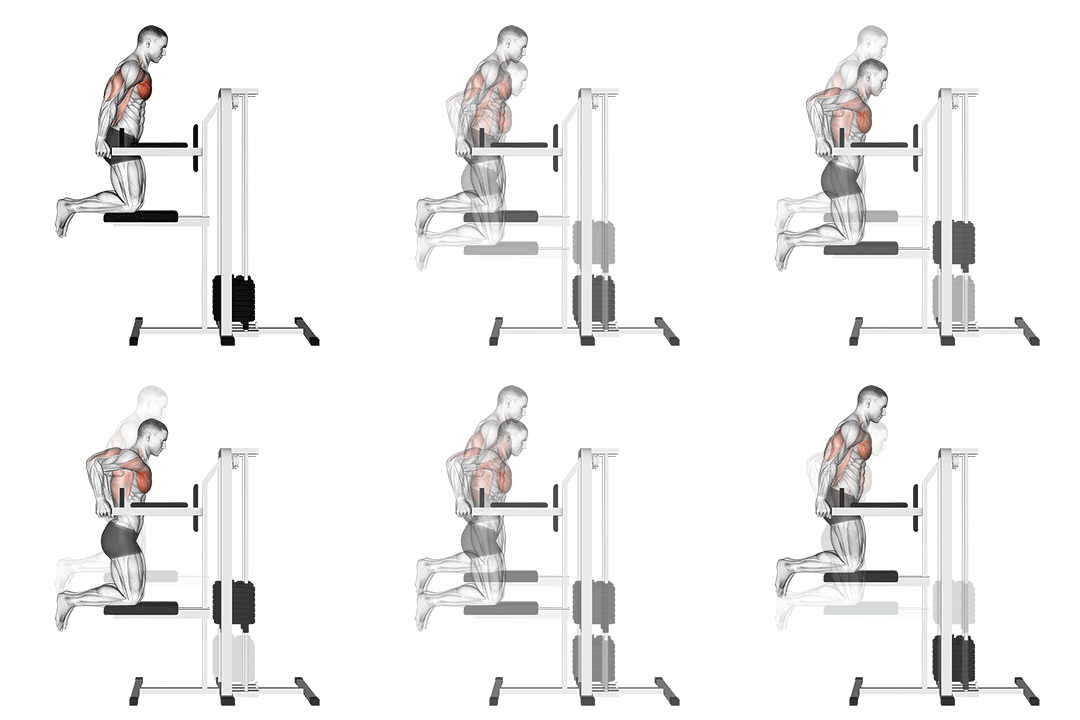
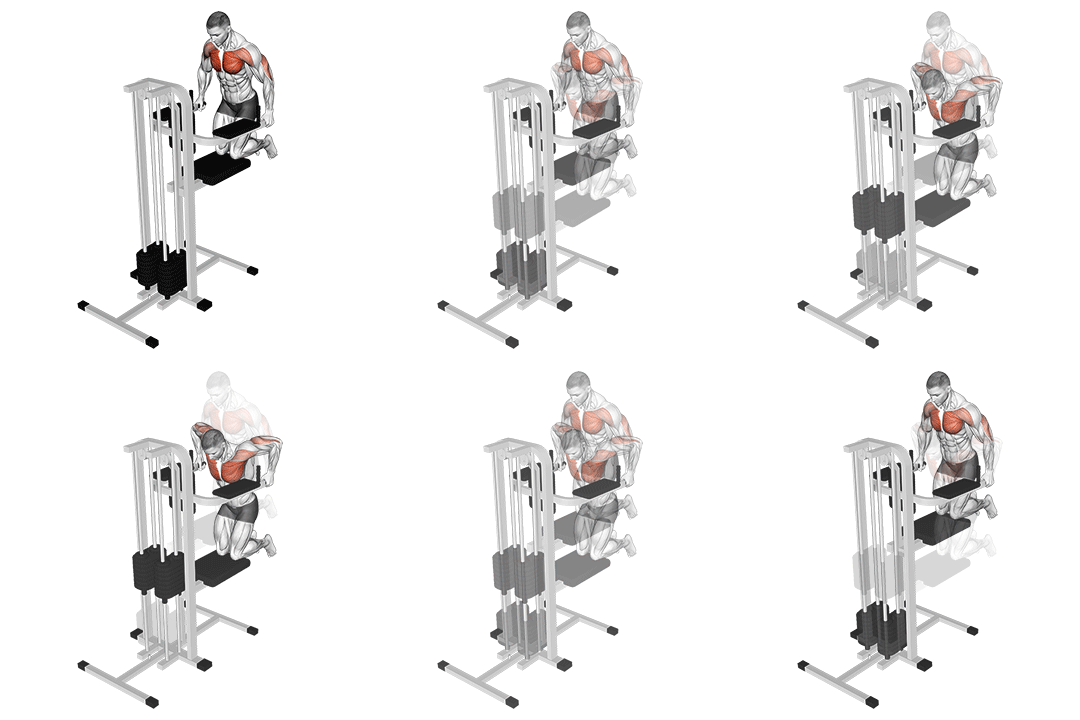
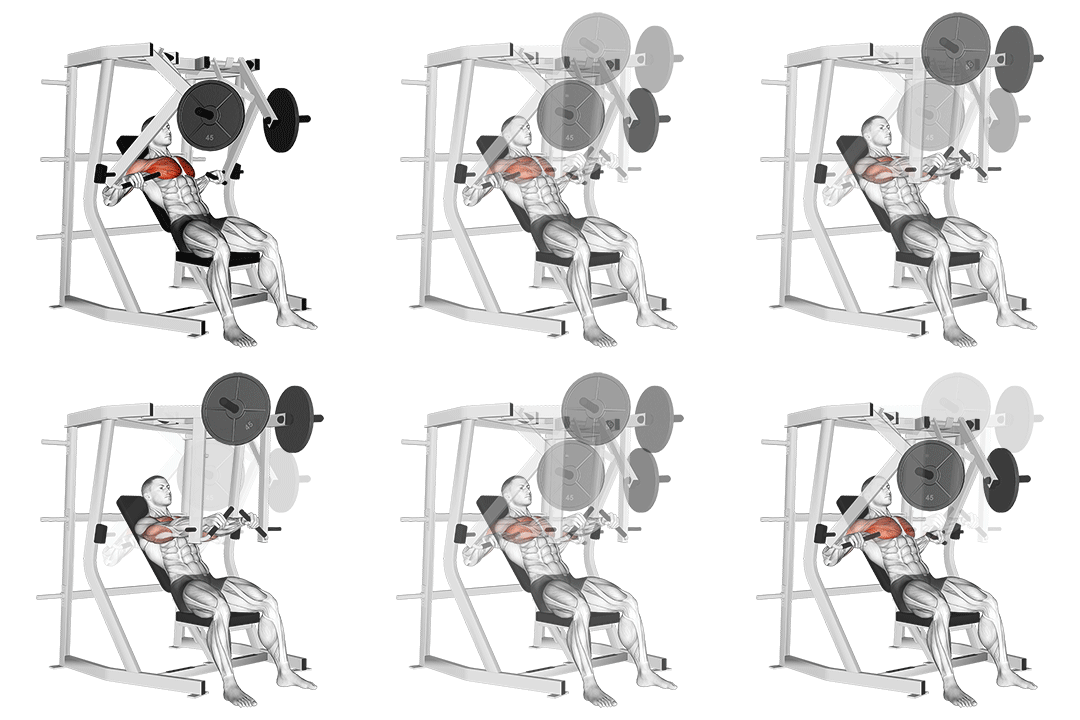
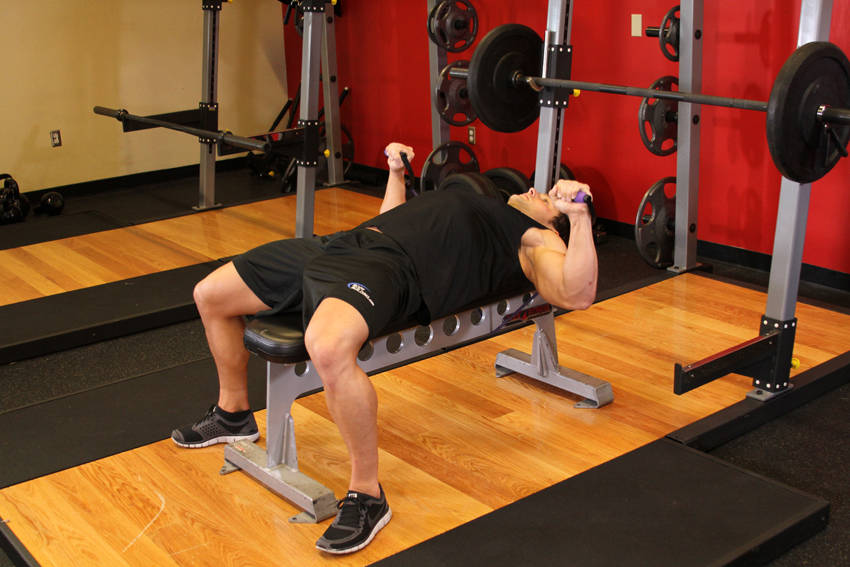
Assisted Chest Dip (kneeling) demonstration

Assisted Chest Dip (kneeling)

Target Pectorals
Equipment Lever
Body Part Chest
Difficulty Beginner
Movement Compound
Secondary Muscles
Triceps Shoulders
VS
Exercise B
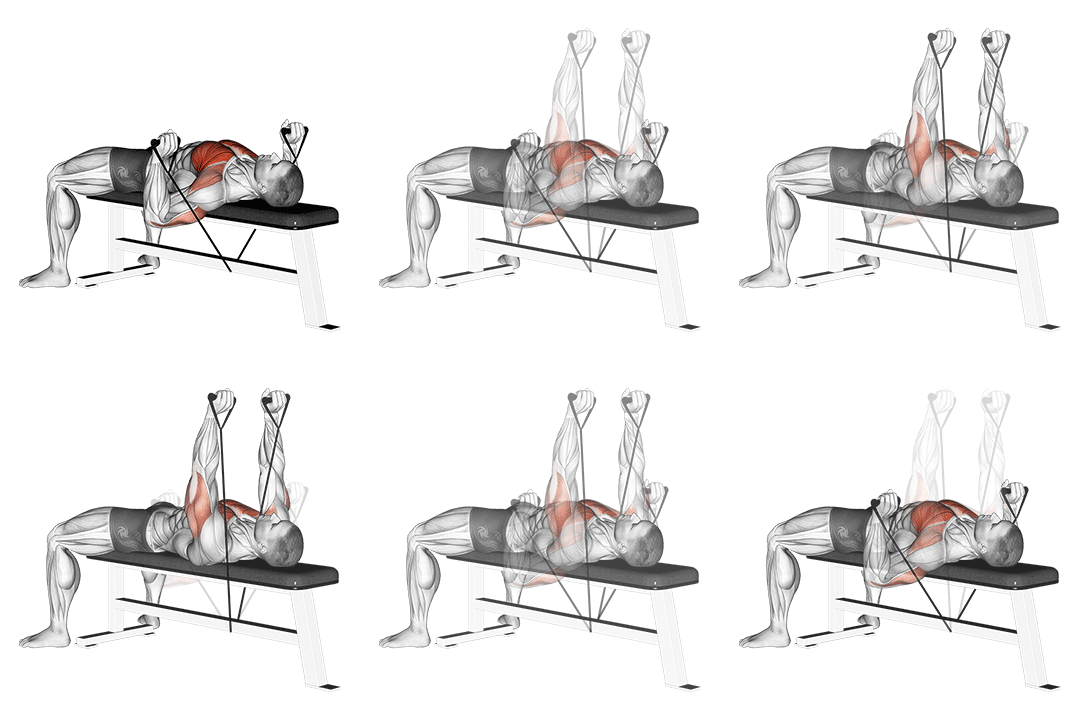
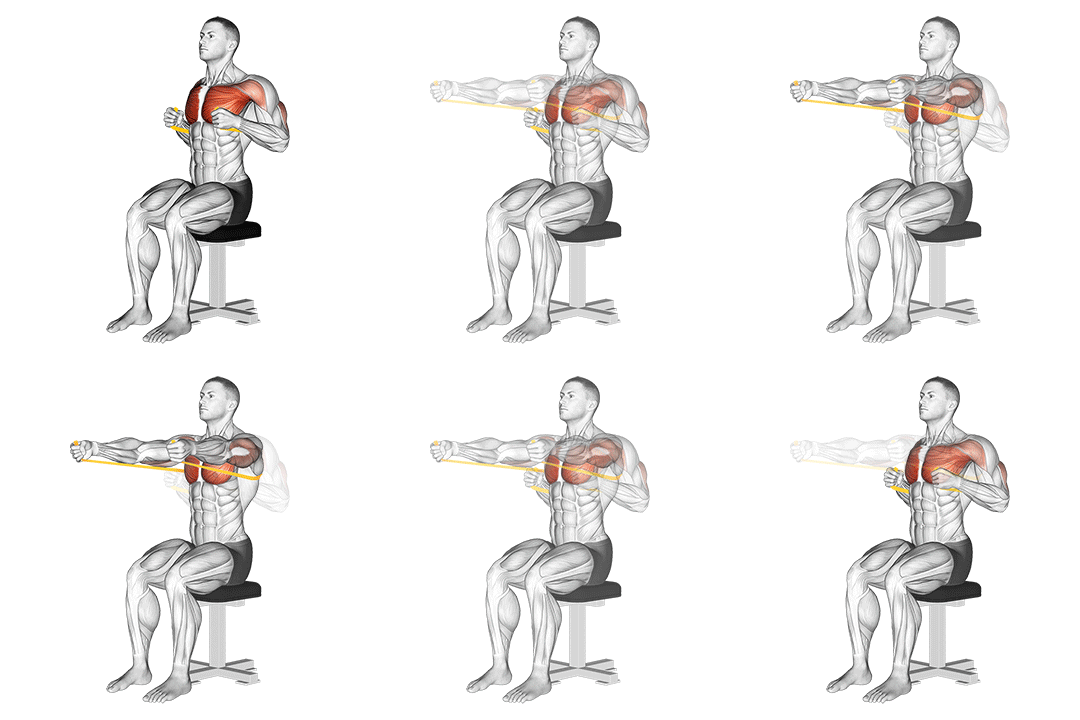
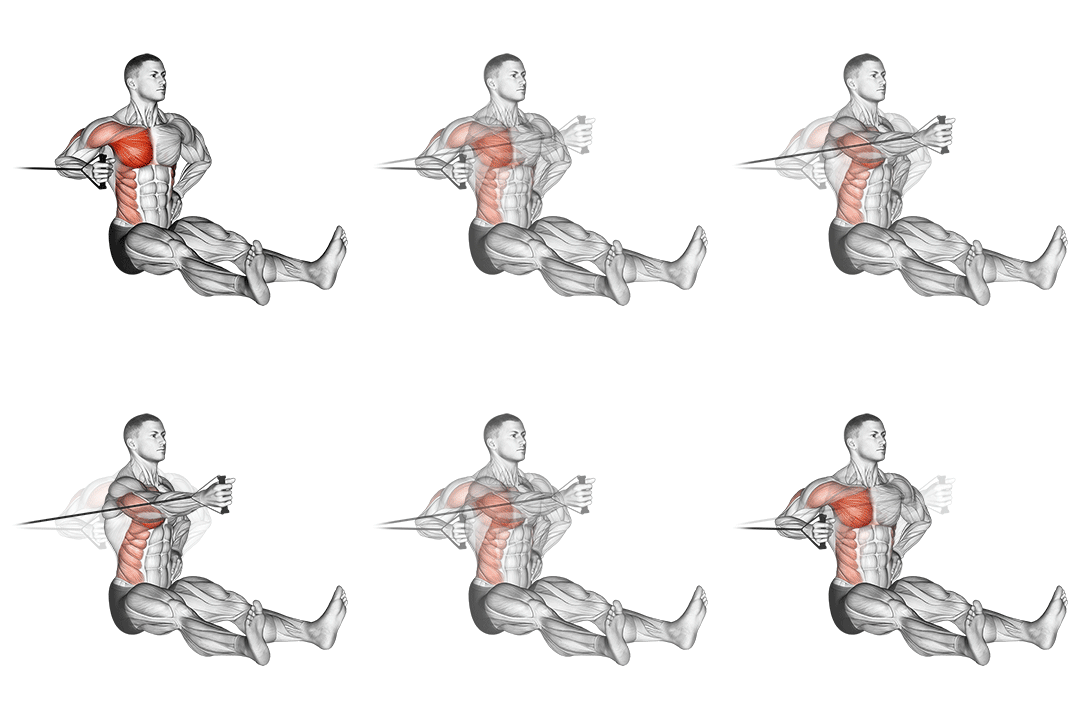
Cross Over - With Bands demonstration

Cross Over - With Bands

Target Pectorals
Equipment Band
Body Part Chest
Difficulty Intermediate
Movement Isolation
Secondary Muscles
Biceps Shoulders

Head-to-Head Comparison

Different values are marked. These are catalogue attributes, not performance scores.

Muscles used

Listed target and secondary muscles, shown on the body. Locations, not activation or strength scores.

  • Target
  • Secondary
  • Not highlighted

Assisted Chest Dip (kneeling)

Front
Assisted Chest Dip (kneeling): front muscle locationsSolid: listed target. Striped: listed secondary. Grey: not highlighted. Locations, not activation or strength scores. See the muscle names below.
Back
Assisted Chest Dip (kneeling): back muscle locationsSolid: listed target. Striped: listed secondary. Grey: not highlighted. Locations, not activation or strength scores. See the muscle names below.
Target
Pectorals
Secondary
Triceps, Shoulders

Not shown on diagram: Shoulders. These labels do not identify a precise region on this map.

Cross Over - With Bands

Front
Cross Over - With Bands: front muscle locationsSolid: listed target. Striped: listed secondary. Grey: not highlighted. Locations, not activation or strength scores. See the muscle names below.
Back
Cross Over - With Bands: back muscle locationsSolid: listed target. Striped: listed secondary. Grey: not highlighted. Locations, not activation or strength scores. See the muscle names below.
Target
Pectorals
Secondary
Biceps, Shoulders

Not shown on diagram: Shoulders. These labels do not identify a precise region on this map.

Grey does not mean a muscle is unused. The diagrams show only the mapped catalogue labels.

Attribute Assisted Chest Dip (kneeling) Cross Over - With Bands
Target Muscle
Pectorals
Pectorals
Body Part
Chest
Chest
Equipment Different
Lever
Band
Difficulty Different
Beginner
Intermediate
Movement Type Different
Compound
Isolation
Secondary Muscles Different
Triceps, Shoulders
Biceps, Shoulders

Visual Comparison

An illustrative 1–10 profile derived from catalog difficulty, equipment, and listed-muscle fields—not measured performance or muscle activation.

Key Differences

  • Equipment differs: Assisted Chest Dip (kneeling) uses Lever, while Cross Over - With Bands requires Band.
  • Assisted Chest Dip (kneeling) is a compound movement, while Cross Over - With Bands is an isolation exercise.
  • Difficulty levels differ: Assisted Chest Dip (kneeling) is beginner, while Cross Over - With Bands is intermediate.

Muscle comparison

Shared target muscles

Both exercises target the pectoralis major via horizontal adduction and shoulder flexion. The assisted chest dip emphasizes the lower and sternal fibers because you lean forward 20–30°, bringing the torso into a more vertical-to-inclined plane that increases stretch on the lower pecs. Cross overs with bands produce continuous tension through the mid-range and emphasize the mid-chest (sternal head) when bands are anchored at shoulder height and you finish with 20–30° of horizontal adduction.

Secondary muscle differences

Assisted chest dips recruit the triceps and anterior deltoids more strongly due to elbow extension under load and a steeper force vector; expect notable triceps involvement on concentric drive. Cross overs place less demand on triceps and more on shoulder stabilizers and even biceps to control the returning eccentric, since the band’s line of pull requires shoulder stability throughout the arc.

Muscle involvement analysis

Dips produce a bell-shaped activation: low activation at the top, peak activation near 60–80° of shoulder flexion when you push out of the bottom, and heavy triceps contribution on lockout. Bands create rising tension through the range: load increases as the band stretches, shifting peak pec loading later in the concentric (near full adduction). That changes length-tension exposure—dips load the pec at longer muscle lengths in the bottom, bands load toward shorter lengths at the finish.

Equipment and setup

Assisted Chest Dip (kneeling): setup

Assisted Chest Dip (kneeling) requires a lever-assisted dip station or assisted dip machine that offsets a portion of your bodyweight. You’ll need a stable platform for kneeling and adjustable assistance settings to dial in 10–90% bodyweight support.

Cross Over - With Bands: setup

Cross Over - With Bands needs at least one anchored resistance band (or two for bilateral symmetry), an anchor point at shoulder height or higher, and space to take a 0.5–1.5 m step for tension. Vary band thickness to change peak resistance.

Access and practicality

Cross Over - With Bands is more accessible because bands are portable, inexpensive, and require minimal footprint. You can approximate the movement at home with a door anchor or pole, while an assisted dip lever is usually gym-based equipment.

Learning and progression

Learning the movements

Assisted Chest Dip (kneeling) is easier for beginners because the lever reduces the effective load and the kneeling position limits balance demands. Cross Over - With Bands is intermediate: you must control variable tension, coordinate bilateral symmetry, and maintain scapular stability through the arc.

Progression considerations

Assisted dips offer linear progression by reducing assistance, then moving to full dips and added weight—suitable for strength progression (3–6 reps) and hypertrophy (6–12 reps). Bands progress via thicker bands, greater stretch (step length), or slower tempo; they excel for high-rep hypertrophy (8–20 reps) and tempo work.

Limitations and precautions

Assisted dips carry higher shoulder risk if you go past 90° of shoulder extension or flare elbows >45°, because the anterior capsule and pecs are placed under large moment arms. Bands pose less compressive shoulder load but can stress the anterior shoulder if you aggressively adduct at extreme end ranges. Overall, dips have a higher relative injury risk when performed without proper depth control.

Pros & Cons

Assisted Chest Dip (kneeling)

+ Pros

  • High transfer to pressing strength and compound elbow extension
  • Easy to scale by adjusting assistance—good for progressive overload
  • Loads pecs at longer lengths, aiding stretch-mediated muscle growth
  • Simple setup in most commercial gyms with lever machines

Cons

  • Requires gym equipment (lever-assisted dip machine)
  • Greater shoulder stress if performed too deep or with poor scapular control
  • Less continuous tension through the top range compared to bands

Cross Over - With Bands

+ Pros

  • Portable and low-cost; excellent for home use
  • Provides continuous tension and peak loading at the finish
  • Easy to adjust intensity with band thickness or stance
  • Lower compressive load on joints; gentle on wrists and elbows

Cons

  • Challenging to learn symmetry and scapular control
  • Limited absolute load for maximal strength (hard to reach 3–6 rep strength stimulus)
  • Requires secure anchor point and careful band placement to avoid recoil

When Each Exercise Wins

1
For muscle hypertrophy: Cross Over - With Bands

Bands produce continuous tension and allow high-rep work (8–20 reps) while stressing the pec through the concentric finish. The rising resistance favors metabolic stress and time-under-tension, which supports hypertrophy, especially when combined with slow eccentrics (2–3 s).

2
For strength gains: Assisted Chest Dip (kneeling)

The assisted dip transfers directly to pressing and allows progressive overload by reducing assistance or adding weight. You can target heavy sets (3–6 reps) with controlled range of motion to build maximal pushing force.

3
For beginners: Assisted Chest Dip (kneeling)

The lever removes much of your bodyweight and stabilizes the path, making it easier to learn scapular control, elbow mechanics, and horizontal adduction under manageable load.

4
For home workouts: Cross Over - With Bands

Bands require minimal space and kit. You can replicate chest-crossing force vectors with a door anchor or post and vary intensity by changing band thickness or stance.

Frequently Asked Questions

Can I do both Assisted Chest Dip (kneeling) and Cross Over - With Bands in the same workout?

Yes. Start with assisted dips as your heavy compound movement (3–6 or 6–12 reps) and follow with 2–4 sets of band crossovers for 8–20 reps as a finisher. That sequence uses dips for force production and bands to maximize continuous tension and metabolic stress.

Which exercise is better for beginners?

Assisted Chest Dip (kneeling) is better for most beginners because the machine reduces load and stabilizes movement. It teaches elbow extension and forward-leant pressing mechanics with a lower technical demand than coordinating band tension.

How do the muscle activation patterns differ?

Dips load pecs and triceps strongly at longer muscle lengths during the bottom, with peak force mid-concentric. Bands increase load as they stretch, shifting peak pec activation later in the concentric closer to full adduction, creating different length-tension exposures across the pec fibers.

Can Cross Over - With Bands replace Assisted Chest Dip (kneeling)?

Bands can replace dips for hypertrophy and home training, but they don’t match the absolute loading potential for strength. If your goal is maximal press strength, keep dips in the program; if you need portability and continuous tension, choose crossovers.

Comparison Summary

Use Assisted Chest Dip (kneeling) when your goal is to build pressing strength and teach large compound movement patterns. The lever lets you reduce effective load, practice a 20–30° forward lean to target lower pec fibers, and progress toward full dips and weighted variations. Choose Cross Over - With Bands when you want portable continuous tension, higher rep hypertrophy work, or a safer option for shoulder-friendly finish-range loading. Program both: place dips earlier for heavier compound work (3–6 or 6–12 reps), then add band crossovers as a finisher for 8–20 reps with a 2–3 second eccentric to maximize time under tension and muscular fatigue.

Exercise instructions

Steps from the exercise catalogue. Read the full sequence before starting.

Assisted Chest Dip (kneeling)

  1. Adjust the machine to your desired height and secure your knees on the pad.
  2. Grasp the handles with your palms facing down and your arms fully extended.
  3. Lower your body by bending your elbows until your upper arms are parallel to the floor.
Read remaining steps for Assisted Chest Dip (kneeling)
  1. Pause for a moment, then push yourself back up to the starting position.
  2. Repeat for the desired number of repetitions.

Cross Over - With Bands

  1. Secure an exercise band around a stationary post.
  2. While facing away from the post, grab the handles on both ends of the band and step forward enough to create tension on the band.
  3. Raise your arms to the sides, parallel to the floor, perpendicular to your torso (your torso and the arms should resemble the letter "T") and with the palms facing forward. Have them extended with a slight bend at the elbows. This will be your starting position.
Read remaining steps for Cross Over - With Bands
  1. While keeping your arms straight, bring them across your chest in a semicircular motion to the front as you exhale and flex your pecs. Hold the contraction for a second.
  2. Slowly return to the starting position as you inhale.
  3. Perform for the recommended amount of repetitions.

Also Compare

Compare another pair

Choose two exercises to see their differences side by side.

Compare Exercises