New fitness innovations are constantly emerging, sometimes from the most unlikely places. Case in point — slacklining. This trending balance and coordination workout system originated from a warm-up tool used by tightrope walkers.
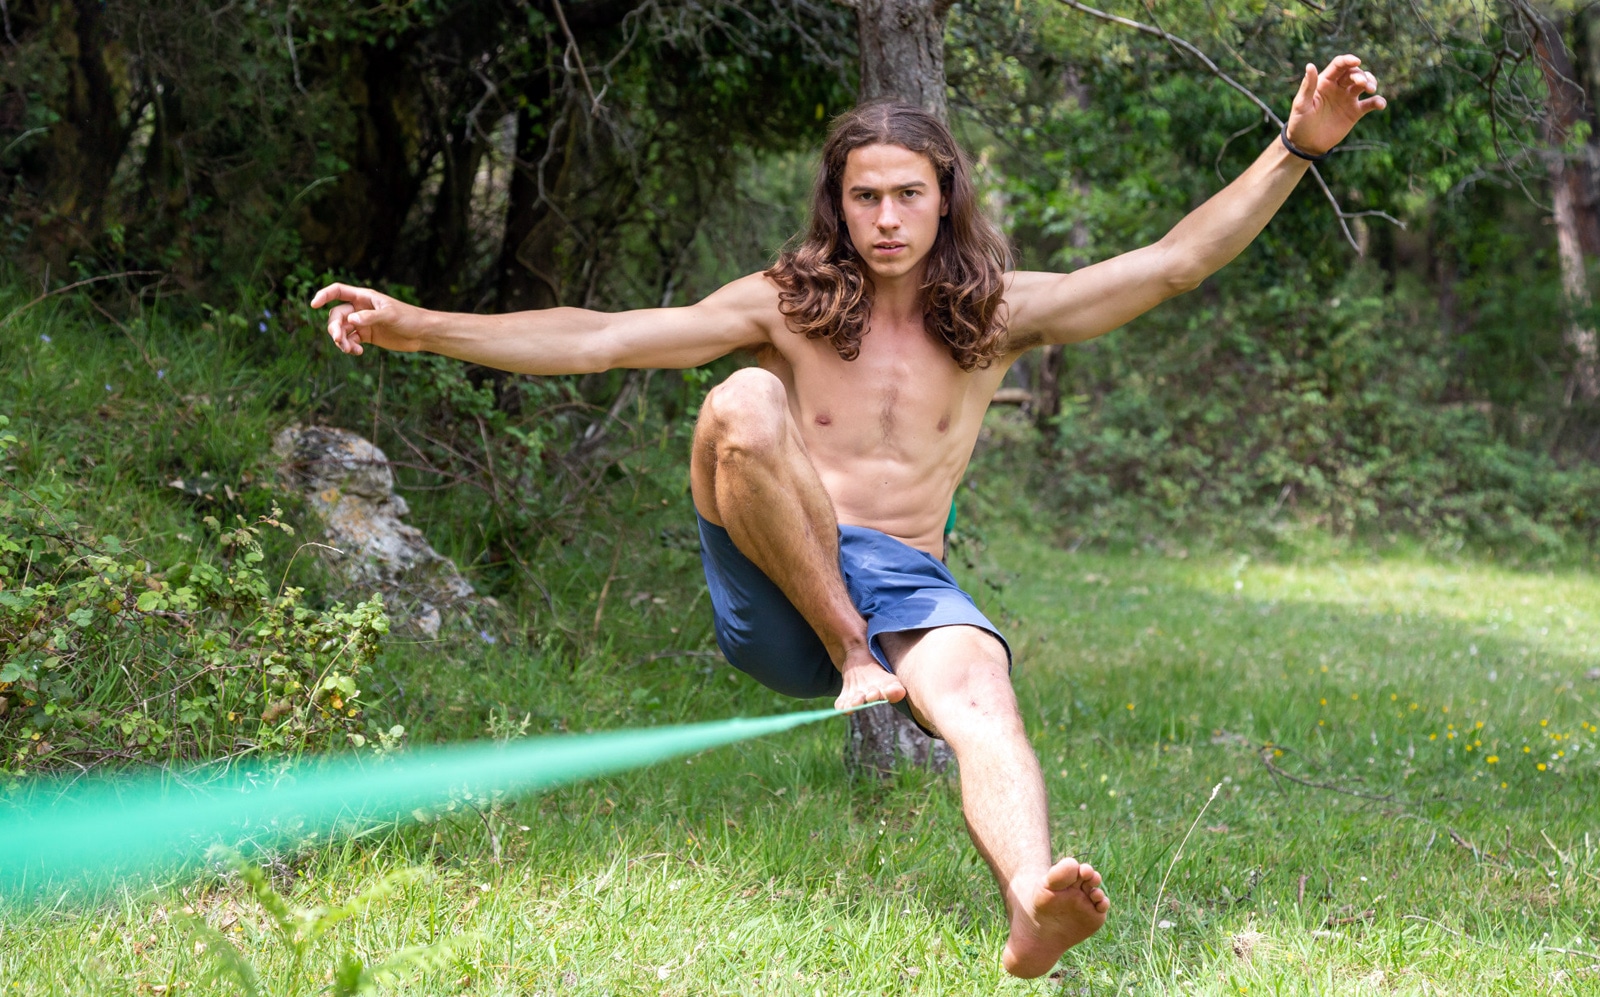
Slacklining involves balancing, walking, and doing exercises on a flat line of suspended webbing between two anchors. Unlike the taut tightrope, a slackline is relatively loose. This makes for a more challenging balance and coordination experience.
In this article, we explore the benefits of slacklining, show how to get started, and provide sample exercises and workouts to improve balance and core strength.
What is Slacklining?
Slacklining is a balance exercise involving walking, balancing, and performing exercises on a flat nylon webbing that is stretched between two anchor points. The webbing is purposefully loosened to create the ‘slack’ tension that gives this form of exercise its name.
Slacklining originated with tightrope walking and rock climbing practice and has entered the fitness mainstream. It is valued for improving coordination, core strength, and balance and sharpening mental focus.
Unlike tightrope walking, slackline fitness is performed close to the ground, with the webbing usually being just a foot or two from the floor.
Slackline Fitness Benefits
Slackline exercise presents a whole new balance and coordination challenge to a workout. But the benefits of slacklining go beyond improving your ability to stay on your feet. Here are half a dozen reasons to embrace the slacklining challenge:
1. Improved Balance & Core Strength
As you walk on the slackline, your stabilizing muscles are fully engaged. You must continuously make micro-adjustments to stay balanced while walking; balancing on the line will especially engage your core muscles.
The slackline is an unstable surface. It requires you to bounce on a movable surface. The slacker the line, the more challenging this becomes.
2. Improved Coordination & Focus
Balancing on a narrow strip of webbing requires much concentration. Your coordination skills will be challenged and progressively improved. So will your proprioception, which is knowing what your limbs are doing without looking at them.
The focus you need when doing a slacklining workout will help you to concentrate better in all other areas of your life.
3. Full Body Workout
While slacklining primarily engages your lower body muscles, it actually provides a full-body workout. Each micromovement needed to keep you balanced on the line engages muscles in your legs, core, shoulders, and arms.
Slacklining won’t develop your upper body the same way that resistance training will, but it will deliver a holistic workout that complements your traditional workout.
4. Joint Friendly
Slacklining is a low-impact form of exercise. The dynamic flexibility of the line reduces the joint impact on your ankles, knees, and hips. That makes slacklining a good option for people who have joint problems that limit their ability to engage in traditional cardio exercises like running, skipping, or using a stepper machine.
5. Stress Reduction
The intense focus needed to stay on the line promotes a sense of mindfulness. This can help to offset the stresses of everyday life. It helps you to be in the moment, forgetting about your stresses and getting the most out of your dedicated exercise time.
6. Scalable
Slackline workouts are scalable. If you are a beginner, you can hold onto a couple of poles to help you balance as you progress along the line. Then, as you become more experienced, you can discard one, and then eventually both, of the poles.
Less skilled people can also place the slackline closer to the floor, while more experienced practitioners can increase the height.
7. Quad Activation
The slackline provides a very good quad workout. Most people who try slacklining for the first time mention how much it forces their quads to fire. Physiotherapists use slacklining to help people recovering from a knee injury engage all four quadriceps muscles.
On a slackline, your knees will be slightly bent rather than straight. This is required for balance. The bent knee position automatically engages the quads more than the straight knee position.
Combining a bent knee position and an unstable surface optimally activates the quads.
Getting Started with Slacklining
Getting started with slacklining begins with choosing the right equipment. You can purchase slacklining kits that include the line, anchors, and a tensioning system, which allows you to set the right tension level easily.
Once you’ve got your slacklining kit, you must find the best location to set it up. If you’ll be slacklining outdoors, look for a flat open space with two sturdy anchor points, such as trees or posts.
Quite a few public parks have areas that are dedicated to slacklining. If you are fortunate enough to live in a community with such a park, make the most of it. There, you’ll find anchor points, either natural like trees or especially erected, that are ideal for setting up your slackline.
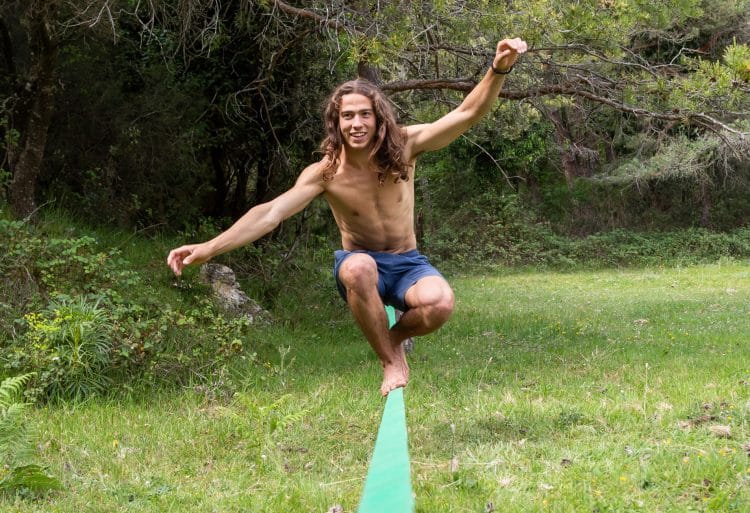
As a slackline beginner, you should start low and slow. So, set the line as close to the ground as you can. Start by balancing in place on the line. Place your arms out horizontally for balance and keep your core engaged.
If you set up your slackline indoors, ensure you have a clear area to allow you to travel at least a couple of yards on the line. Make sure, too, that the ceiling is high enough when you are standing on the line.
Look for sturdy anchor points to attach the slackline to. These may be a door frame, a beam, or the leg of a stable table. If you are setting up your slackline in your garage gym, you can secure the ends of the slackline to your power rack frame or your treadmill.
Regardless of where you are securing the slackline, I recommend purchasing a pair of padded slings or tree protectors to prevent damage to the anchor point. These protectors will help to distribute the pressure evenly.
Use the ratchet tensioning system that comes with your slackline to set the tension of the line. You want a balance between having enough tension to provide stability but not too much that negates the workout’s dynamic nature.
I also recommend placing cushions or some other protection around the slackline to provide safety if you fall. Make sure there are no sharp objects, such as the edge of a TV screen, that you could fall onto.
Taking Your First Steps on a Slackline
Your first goal when your slackline is set up is to be able to stand on the line without falling off. There are a few things to remember before you try:
- Do not look down when you’re on the slackline. The wobbly movement of the line can easily throw you off. Instead, look directly at the anchor point ahead of you.
- Keep your arms out horizontally and your back straight, with a natural arch to the spine. Many beginners tend to lean forward with overly bent knees, which only makes them lose their balance.
- Keep your center of gravity over your feet.
To get started, place one foot on the slackline. Now, push through that thigh to bring your other foot straight onto the line. Use your arms, hips, knees, and ankles to balance as you rise to an upright position.
As these joints are moving to counterbalance against the movement of the line, your head should remain centered, with your eyes on the anchor point.
If you need assistance, have a friend stand beside the line and hold one of your hands. This will help you balance as you get into an upright position. You can then either continue to balance, try walking with partner support, have them pass you a pair of balance poles, or try to go solo.
Step your foot in front of you to move forward, then put your weight on it. Ensure that you’re steady before bringing your back foot forward. Again, plant your foot on the line and then bring your weight down on it.
Transition all of your weight onto the front foot and then bring the rear foot forward. Once it is firmly planted, place your weight on that foot.
If you try to step forward as you would on a solid surface with your entire weight coming down immediately, you will step right off the Slackline.
Having a friend film you walking on the slackline is a good idea. It’s easy to think that you’re maintaining an upright position when, in fact, you are leaning forward with overly bent knees. By checking your form on the video, you can identify what needs correcting.
How To Fall Off a Slackline
As a beginner slackliner, you are going to fall — a lot. So, it pays to know how to do it safely. When you feel yourself falling off the line, roll your foot in that direction so you land on your feet. Then, move away from the line so that you don’t get hit by it.
If you are holding the hand of a support person when you begin to fall, let go of their hand before you go down. If that person ends up toppling toward the slackline, the line is liable to rebound toward them and hit them in the face!
3 Slackline Exercises for Balance
Now that you know how to mount and walk on the slackline, let’s discover some slightly more adventurous moves.
1. Chonga Start
- Choose a point on the line that is close to the anchor point and stand alongside it.
- Place your closest foot on the line. The foot should be at a 45-degree angle.
- Extend the same arm directly above you and bring your standing leg closer to the line to promote stability.
- Place the opposite hand on the line, with your fingers pointing in the same direction as your toes.
- Find a focus point on the far anchor.
- Raise the standing leg slightly to feel the balance, and then put it back down. Do this 2-3 times.
- Bring the standing leg up to touch the line. Do this two times. Ensure that you keep your arm in the air for counterbalance.
- Place 70% of your weight on the leg on the line and 30% on the hand on the line. Now, bring your standing foot onto the line to replace your hand.
- Stand up in a slow, controlled manner.
2. Sit Start
- Stand alongside the slackline close to the anchor point and straddle the line.
- Bring your right foot up and place it on the line with your toes facing directly forward. Pull the heel as close to your butt as you can.
- Put your arms out to the sides for balance and focus on a spot on the anchor in front of you.
- Raise the standing leg slightly to feel the balance, and then put it back down. Do this 2-3 times.
- Bring the standing leg up to touch the line. Do this two times. Ensure that you keep your arm in the air for counterbalance.
- Bring the standing leg up and rest it on the line, pulling the heel back to touch the toe of the other foot.
- Take a deep breath and stand forward and up at the same time.
3. Squat Walks
- Stand alongside the line close to an anchor point.
- Place one foot on the line and push through that leg’s thigh to propel your other leg up. The other foot should come onto the line with the heel touching the toe.
- Place your arms out to the side for balance.
- Squat down as far as possible.
- Stand back up.
- Take a step forward, heel to toe.
- Perform another squat.
- Continue this alternating step squat movement to walk across the line.
7 Slackline Exercises for Core Strength
The slackline is a versatile piece of equipment that can be used to adapt many traditional exercises. It can operate much like a suspension trainer with your feet on the ground, as well as a walking line. The following exercises are designed to improve core strength while also working individual muscles.
For these exercises, the slackline should be three to five feet from the ground.
#1 Ab Roller Push-Up on Knees
- Kneel before the middle of the slackline on the ground and place your hands on the line with an overhand grip, shoulder width apart. Your arm should be fully extended.
- Without bending your elbows, press your arms forward to push the slackline away from you. Continue to full extension.
- Pull through the core to return to the start position.
#2 Isometric Push Up
- Stand about two feet back from the middle of the slackline and place your hands on the line with an overhand grip, shoulder width apart. Your arm should be fully extended.
- Push the line away from you so your body forms a 45-degree angle to the floor. You should now be in the top position of a push-up.
- Hold this position for the required time, tensing your core as it stabilizes your body.
#3 Shoulder Opener on Knees
- Kneel before the middle of the slackline and place your hands on the line with an overhand grip, shoulder width apart. Your arm should be fully extended.
- Release one hand from the line and bring it directly overhead, stretching up to engage your shoulder and obliques.
- Lower and repeat with the other side.
- Alternate for the required rep count.
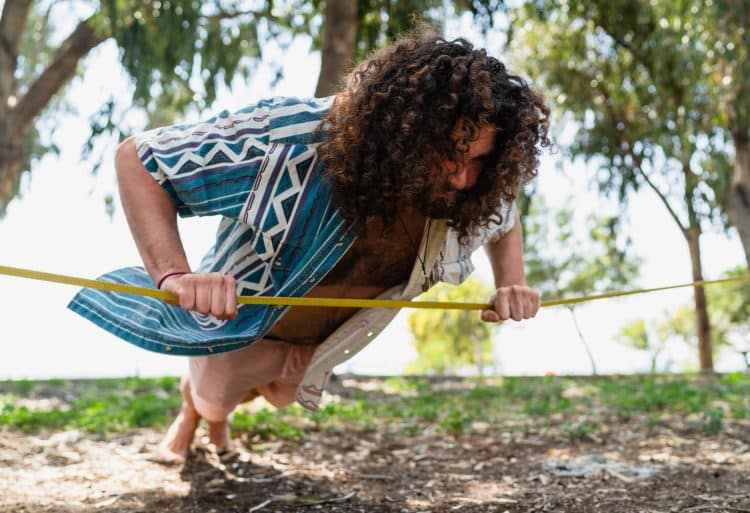
#4 Slackline Push-Ups
- Stand about two feet back from the middle of the slackline and place your hands on the line with an overhand grip, shoulder width apart. Your arm should be fully extended.
- Push the line away from you so your body forms a 45-degree angle to the floor. You should now be in the top position of a push-up.
- Lower your body to the slackline by bending your elbows. Keep your elbows in at your sides throughout this movement. Your core should also remain tight.
- Push back to the start position.
#5 Ab Roller Push-Up on Feet
- Stand about two feet back from the middle of the slackline and place your hands on the line with an overhand grip, shoulder width apart. Your arm should be fully extended.
- Without bending your elbows, press your arms forward to push the slackline away from you. Continue to full extension.
- Pull through the core to return to the start position.
#6 Isometric Ab Roller Push-Up
- Stand about two feet back from the middle of the slackline and place your hands on the line with an overhand grip, shoulder width apart. Your arm should be fully extended.
- Without bending your elbows, press your arms forward to push the slackline away from you. Continue to full extension.
- Hold this position for the required time.
#7 Hamstring Pulls
- Lie on your back about two feet from the middle of the slackline with your knees bent and arms by your sides.
- Place your feet on the slackline.
- Extend your legs to full extension.
- Pull through your hamstrings to bring your feet to your butt.
- Reverse and repeat.
Sample Slackline Workout
| Exercise | Sets/Duration |
|---|---|
| Ab Roller Push-Up on Knees | 2 sets of 10 reps |
| Isometric Push-Up | 2 sets of 10 reps |
| Stand on the line, balancing | 30 seconds |
| Ab Roller Push-Up on Feet | 2 sets of 10 reps |
| Isometric Ab Roller Push-Up | 2 x 30-second hold |
| Chonga Start | x 5 |
| Hamstring Pulls | 2 sets of 10 reps |
| Sit Star | x 5 |
| Squat Walks | x 2 lengths of the slackline |
Conclusion
Slackline fitness takes the concept of instability training to whole new levels. It’s a fantastic way to improve your balance, coordination and proprioception. At the same, every move you make will make your core stronger.
Are you ready to give slackline training a try? Start low and slow, learning how to balance and walk before going to more advanced exercises. Incorporate the gravity-based resistance exercises for a holistic full-body workout with a difference.


