The bench press is one of the most popular gym equipment. Gyms can have different types of bench press setups; bare-bone gyms use a flat bench in a squat rack, whereas most commercial gyms have a dedicated bench press with an adjoined stand. On the other hand, powerlifting gyms have competition benches, which are much more sturdy than conventional gym benches and have built-in spot arms.
Weight benches have several components, including the support legs, base, plywood, foam, fabric, rack, and J-hooks. Most decent weight benches cost you north of $500, which is too much money for people who train in their garage gyms.
You don’t need an expensive bench press to build a barrel chest and upper body strength. You’ve probably seen videos of jacked lifters in African villages training on minimalistic wooden benches. These guys look much better than most guys who train at fully-equipped high-end training facilities.
You can build a sturdy do-it-yourself (DIY) weight bench in your garage that can hold a lot of weight and looks good. Building a weight bench isn’t rocket science. You could do it in your basement with the correct equipment for less than $100.
In this article, I take you over the step-by-step instructions on how to build a wooden DIY bench press. I have also included the material list and tools required to make the bench press. By the end of this article, you’ll probably have a new appreciation for the training equipment that is the bench press.
Prerequisites of Building a DIY Bench Press
Have the following things in order before you begin building your bench press:
Materials
Here are the materials you require to build your own weight bench:
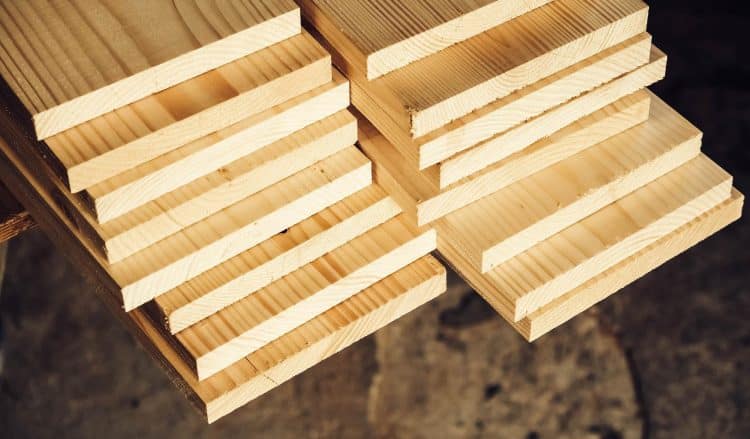
- 2x4x8′ (x7)
- 49″x10″ – 3/4″ Plywood
- 2 1/2″ Wood Screws
- 1-inch Thick Closed Cell Foam
- Fabric
- 1/2″ Stapes
- Paint (optional)
Tools
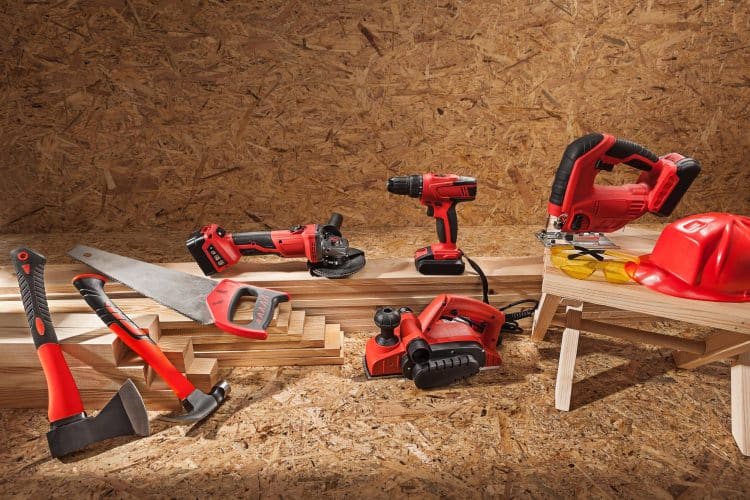
Here is the list of tools you’ll need to build your DIY bench press:
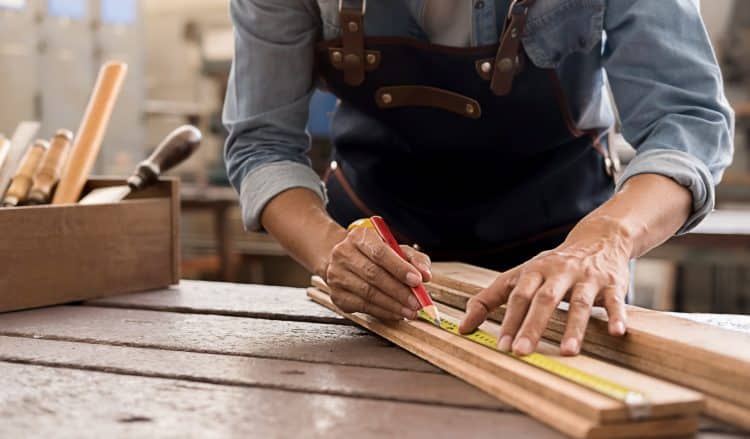
- Tape Measure
- Drill
- Miter Saw
- Staple Gun
- Nail Gun
- Skill Saw
- Gloves
- Glasses
You can find these materials and tools in any hardware store. Alternatively, you could buy them online. However, you’ll have to wait a few days before you can start working on this project.
Start With a Plan
You must always start a DIY project with a blueprint. The good news is that most bench presses are about the same size, giving you the commercial gym experience at home.
A standard weight bench is 15-19 inches wide and 50-55 inches long. On the other hand, the barbell stand is about 50 inches tall and 48 inches wide. The bar rack should be around 40 inches from the floor.
This DIY bench press will have a joint weight bench and barbell rack, adding stability to the bench and the bar stand. In this setup, the stand can hold a much heavier bar and won’t wobble during lift-offs and racking.
However, this setup makes the bench press more clunky, making it more challenging to move around. You must have a dedicated place for the DIY bench press in your garage gym. Dragging it around every time can loosen its joints, increasing your risk of injury while training.
Although this is a standard blueprint of the DIY bench press, feel free to tweak the size of the bench according to your body measurements. Building a bench press from scratch that doesn’t suit your body beats the entire purpose of a DIY bench.
Experience
Whoever tells you anyone can build a DIY bench press is lying. Building a bench press should be left to people with prior experience working with handyman tools. Building a bench press from scratch can be intimidating and overwhelming if you’ve never held a drill machine before.
That said, you could get all the materials done per your specifications from a carpenter and assemble them in your garage gym. It will also give you the confidence to tackle your next DIY project on your own.
Patience
Building a DIY bench press can be time-intensive. You should expect to spend anywhere between three to six hours on this project. However, most experienced individuals can complete it within four hours.
DIY Bench Press — The Process
Here is the step-by-step guide to building a bench press at your home:
Step One — Build the Base
Your DIY bench press is as solid as its base. Cut one 2×4’ wood block to a length of 48 inches and another piece of 24 inches using a skill saw. Use the miter saw to chamfer the edges of the 24-inch long piece on both ends at 45 degrees. Besides improving the bench’s aesthetics, the chamfers will keep you from banging your toes into the hard edges.
Chamfer one end of the 48-inch piece. Attach the unchamfered end of the 48-inch piece to the 24-inch piece 12 3/4″ from the front edge. Drill the 2 1/2″ screws into the 48-inch piece through the 24-inch piece to attach the boards. Repeat this process for the second set, and you have your base and post.
Step Two — Add Support For the Base
Cut two wood pieces to 10 3/4″ lengths with 45-degree chamfers on both ends. Use the leftover wood pieces for this step.
Place this piece on the shorter side of the post and clamp it using two 2 1/2″ wood screws on both ends. To prevent the wood from cracking, pre-drill the holes before screwing in the support if the wood is too dry.
Step Three — Connecting the Base
Cut two wood blocks to be 3 inches in length. Use wood screws or nail guns to attach these wood blocks to the front side of both posts.
Cut another 2×4’ wood block to a 48-inch plank. Set the stands 48 inches apart and place this plank over the 3-inch blocks. Use two 2 1/2″ wood screws on each side to attach this 48-inch piece to the posts. These pieces will support the bar, so ensure they are bolted well.
Step Four — Build and Attach the Barbell Support
Attach two more 3-inch wood blocks over the 48-inch plank on both ends. Add another 48-inch piece over the 3-inch blocks. Now, cut two pieces to 20 inches in length. Fasten the 20-inch pieces vertically on both posts over the 48-inch piece.
Step Five — Build and Attach Front Diagonal Support Piece
This piece will keep the barbell in place when it is racked. It will also add stability to the base and post, so be extra careful with it.
Cut two 2×4’ wood blocks to a length of 36 inches. Saw two pieces to 10 3/4″ at 45-degree miter cut on both sides. Place the 10 3/4″ diagonally on one end of the 36-inch pieces and attach them using 2 1/2″ wood screws.
Step Six— Screw the Front Support to the Stand
Attach the 36-inch piece from the previous step to the front of the stand. Secure the diagonal board with 2 1/2″ wood screws from underneath the base. Secure the 36-inch piece to the barbell support column using two wood screws near the top and two on the top 48-inch piece.
Step Seven — Build the Bench Legs
Cut four pieces to a length of 16 1/2 inches and another two pieces to a length of 13 1/2 inches each. Place the 16 1/2″ pieces on both sides of a 13 1/2″ piece. Drill three 2 1/2″ wood screws on both sides to secure the bench legs.
Step Eight — Connect the Legs
Cut a 2×4’ board to a 39-inch piece and position it between the 16 1/2″ pieces on the 13 1/2″ boards. Secure the 39-inch board using wood screws from the top and sides.
Step Nine — Add a 46-inch Board on Top
Cut a 46″ long piece of wood and attach it on top of the 39″ board for additional stability. Drill wood screws from the top and sides. One end of the 46-inch piece will stick out 7 inches past the legs.
Step Ten — Place and Secure a 3/4″ Plywood to the Legs
Cut the 3/4″ plywood to 49″x10″. Position the plywood in the center of the bench and attach it with wood screws at multiple positions.
Step Eleven — Paint (Optional but Recommended)
Paint protects the wood. Do several paint layers for additional protection. You could also use different color paints for the bench and the posts to make your new training equipment more aesthetically appealing.
Step Twelve — Add Foam and Wrap the Top with Fabric
You could use the bench as it is, but it will be very uncomfortable. You should add high-quality foam to the top of the bench to make your training experience more enjoyable.
Stack two 51″x12” foam layers for extra comfort. Cut a marine fabric so it can wrap around the plyboard and staple it to the bottom of the bench.
Place the fabric on the floor and position the foam over the fabric in the center. Flip the bench upside down and place it over the foam. Wrap the fabric around the plywood and attach it with a staple gun. Use 1/2″ staples about 1″ apart.
Step Thirteen — Attach the Bench to the Stand
This is a crucial step, and you must be precise here. You must find the center of the barbell stand and attach the bench to the stand. Use a tape measure to ensure you are in the exact center. Connecting the bench in the incorrect position will cause trouble during the liftoff and racking.
Use wood screws to attach the bench to the stand. Drill the screws through the back of the 48-inch pieces into the 16 1/2″ pieces. The more screws you use, the more secure your setup will be. I recommend using at least six screws.
Credit: thediyplan.com
Why You Should Build a DIY Bench Press?
Here are the reasons why you should build a DIY bench press:
Economical
A high-quality bench press can range between $500 and $3,500. You have two options if you are on a budget or don’t want to shell out such a stupid amount of money on a weight bench. First, dismiss the bench press from your workout routine, or you could build your own bench press.
The DIY bench press outlined in this article will cost you less than $100 to build, making it accessible for most people. It might cost $100 to $200 extra if you don’t own the power tools or need expert help.
Healthy Habits
People with a bench press in their basement or garage use it often, which helps build upper body strength and improves overall physique aesthetics. Plus, you can use the bench for other exercises like the dumbbell bench press and barbell shoulder overhead press.
Custom Size
Each individual is built differently, and a DYI bench press allows you to modify the bench’s dimensions per your unique needs. Additionally, you can tweak the size of the bench to fit your gym, basement, or living room.
More DIY:
- DIY Kettlebells 2025: Build Your Own for a Fraction of the Price
- Forget Commercial Protein Bars — 6 Homemade Protein Snacks for Cleaner Eating and Better Nutrition
- Fitness on a Budget: Affordable Ways to Stay Fit in the New Year
- DIY Dumbbells — 6 Sturdy, Homemade Weight Ideas For Any Workout
- How To Clean Horse Stall Mats in Home Gyms
- 6 DIY Homemade Weight Bench Ideas - The Ultimate Guide
- 6 DIY Weight Plate Storage Ideas For Your Home Gym
- 7 Easy DIY Barbell Holder Ideas For Your Home Gym
FAQs
Is the DIY bench press detailed in this article safe to use?
Absolutely. The DIY bench press laid out in this article is completely safe. However, you shouldn’t go too heavy on this bench. Plus, beginners should use a spotter while performing the bench press to minimize the risk of injury.
Can a single person build this DIY bench press?
Yes. The DIY bench press detailed in this article is a one-person job. That said, two people can cut down the building time to half. You must get expert help if this is your first time doing something like this. It will save you a lot of time, money, and energy and, most importantly, give you a sturdy bench.
How much weight can this DIY bench press hold?
Commercial gyms use steel benches for a reason. They are much more sturdy than wood. Although this bench can hold a lot of weight, its weight capacity is not lab-tested. I recommend staying under 225 pounds on this bench.
Wrapping Up
Sturdy, high-quality bench presses can set you back by more than $500. However, the DIY bench press detailed in this article will cost you no more than $100, provided you already own the power tools.
Folks who don’t have the budget for a commercial bench press but don’t have the skills to build their own wooden DIY bench press either can take this blueprint to a carpenter and let him work his magic. It will cost you a little more but will still be much less than what you would shell out for a commercial bench.
Also Read:
- How To Do The Dumbbell Bench Press
- Five Must-Do Exercises for A Bigger Bench Press
- Six Different Bench Press Grips to Try
- Tempo Bench Press: Meaning, Methods, and Benefits
- 8 Ways to Boost Your Bench Press
- Average Bench Press By Age, Weight, Gender, and Experience Level


