
Deadlift With Bands vs One Half Locust

Compare target muscles, equipment, difficulty, movement type, and secondary muscles for Deadlift With Bands and One Half Locust.

Change comparison Share

Get comparison link

Select the link and use your device's Copy command.

Comparison overview

AI-generated
Deadlift With Bands vs One Half Locust — both target the erector spinae but they do it differently. You’ll get a clear, practical comparison so you can pick the right move for strength, muscle growth, or rehab. I’ll cover primary and secondary muscle activation, setup and technique cues, equipment needs, learning curve, progression paths, and injury risk. Expect rep ranges, angles, and specific coaching points so you can use either exercise safely and effectively depending on your goals and training environment.

Exercise Comparison

Exercise A
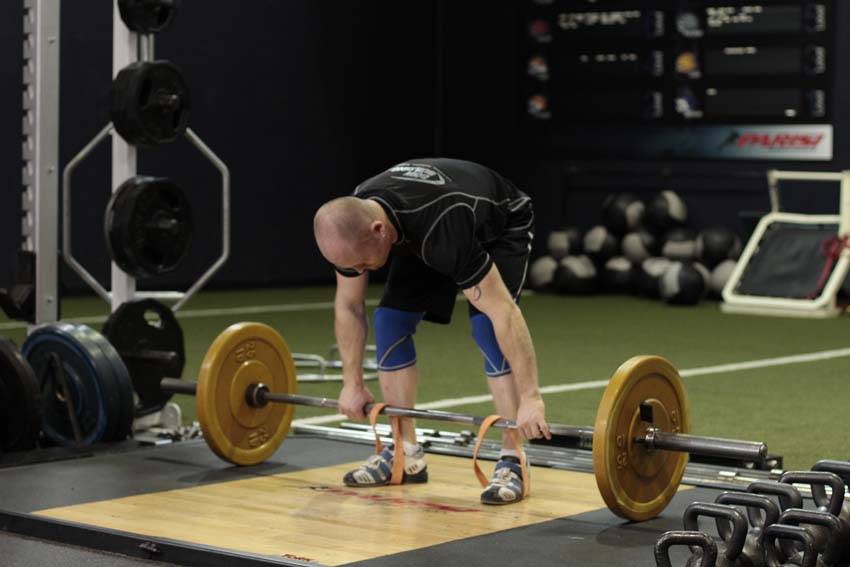
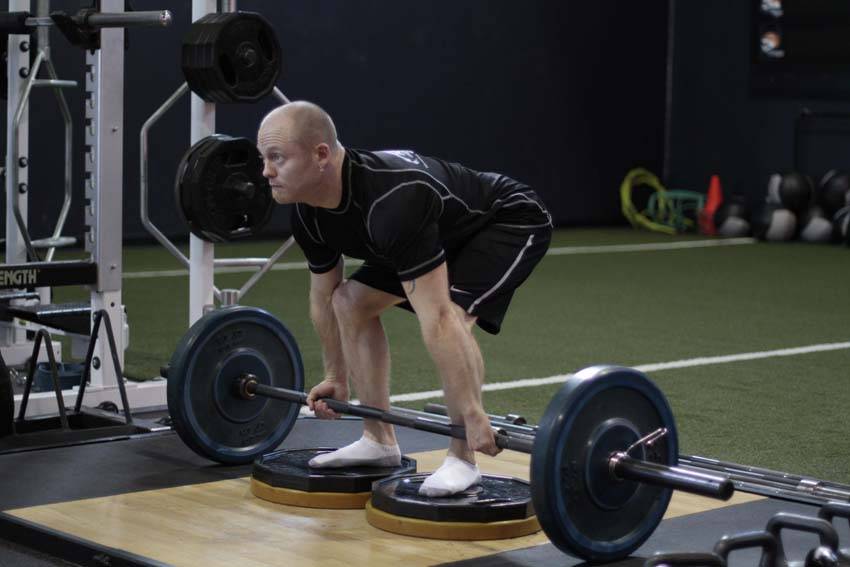
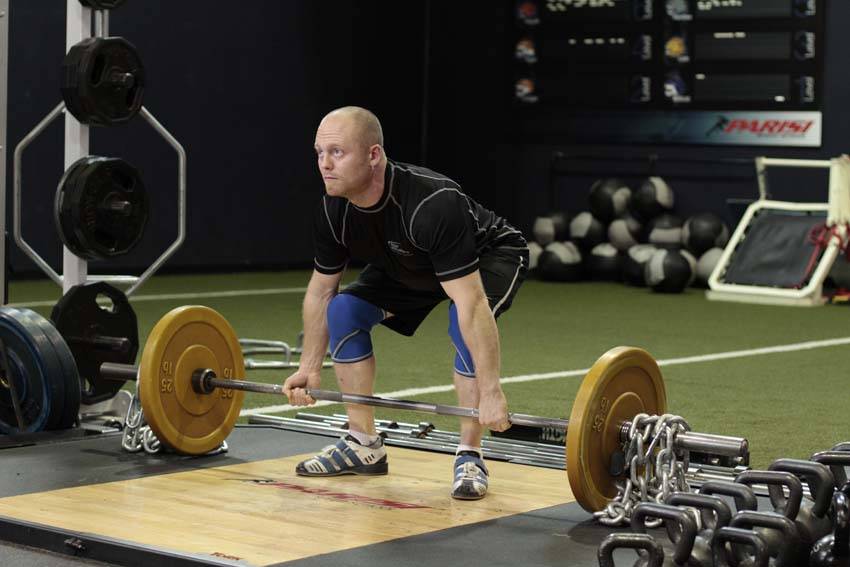
Deadlift With Bands demonstration

Deadlift With Bands

Target Erector-spinae
Equipment Barbell
Body Part Back
Difficulty Advanced
Movement Compound
Secondary Muscles
Forearms Glutes Hamstrings Middle Back Quadriceps Traps
VS
Exercise B
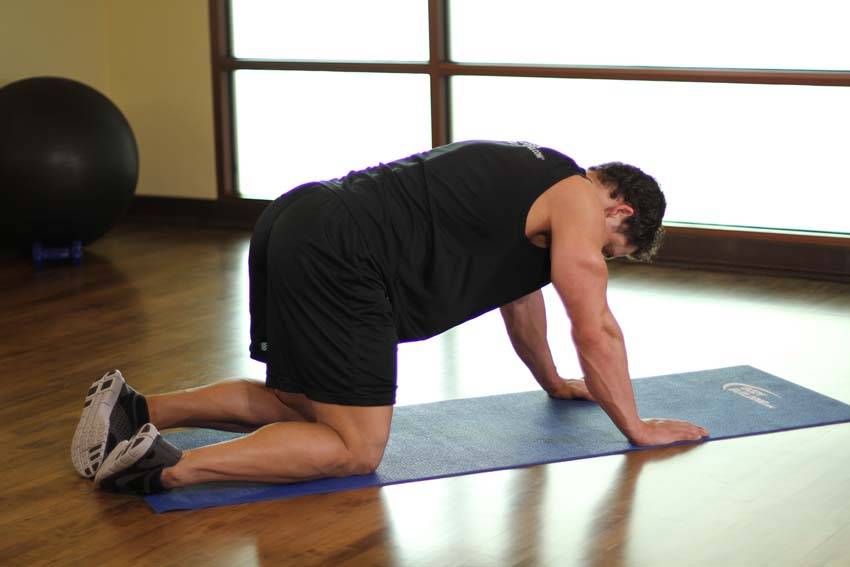
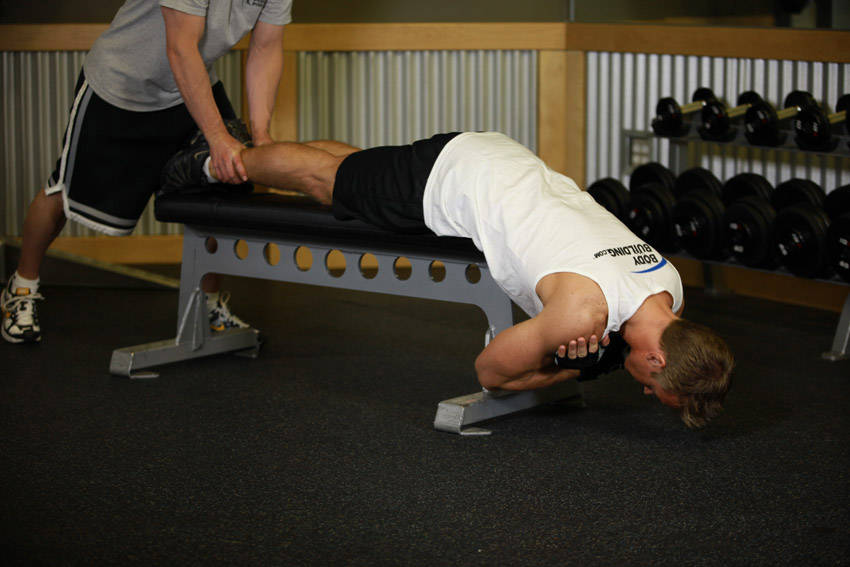
One Half Locust demonstration

One Half Locust

Target Erector-spinae
Equipment Body-weight
Body Part Back
Difficulty Beginner
Movement Isolation
Secondary Muscles
Abdominals Biceps Chest

Head-to-Head Comparison

Different values are marked. These are catalogue attributes, not performance scores.

Muscles used

Listed target and secondary muscles, shown on the body. Locations, not activation or strength scores.

  • Target
  • Secondary
  • Not highlighted

Deadlift With Bands

Front
Deadlift With Bands: front muscle locationsSolid: listed target. Striped: listed secondary. Grey: not highlighted. Locations, not activation or strength scores. See the muscle names below.
Back
Deadlift With Bands: back muscle locationsSolid: listed target. Striped: listed secondary. Grey: not highlighted. Locations, not activation or strength scores. See the muscle names below.
Target
Erector-spinae
Secondary
Forearms, Glutes, Hamstrings, Middle Back, Quadriceps, Traps

Not shown on diagram: Erector-spinae, Middle Back. These labels do not identify a precise region on this map.

One Half Locust

Front
One Half Locust: front muscle locationsSolid: listed target. Striped: listed secondary. Grey: not highlighted. Locations, not activation or strength scores. See the muscle names below.
Back
One Half Locust: back muscle locationsSolid: listed target. Striped: listed secondary. Grey: not highlighted. Locations, not activation or strength scores. See the muscle names below.
Target
Erector-spinae
Secondary
Abdominals, Biceps, Chest

Not shown on diagram: Erector-spinae. These labels do not identify a precise region on this map.

Grey does not mean a muscle is unused. The diagrams show only the mapped catalogue labels.

Attribute Deadlift With Bands One Half Locust
Target Muscle
Erector-spinae
Erector-spinae
Body Part
Back
Back
Equipment Different
Barbell
Body-weight
Difficulty Different
Advanced
Beginner
Movement Type Different
Compound
Isolation
Secondary Muscles Different
Forearms, Glutes, Hamstrings, Middle Back, Quadriceps, Traps
Abdominals, Biceps, Chest

Visual Comparison

An illustrative 1–10 profile derived from catalog difficulty, equipment, and listed-muscle fields—not measured performance or muscle activation.

Key Differences

  • Equipment differs: Deadlift With Bands uses Barbell, while One Half Locust requires Body-weight.
  • Deadlift With Bands is a compound movement, while One Half Locust is an isolation exercise.
  • Difficulty levels differ: Deadlift With Bands is advanced, while One Half Locust is beginner.

Muscle comparison

Shared target muscles

Both exercises target the erector spinae as the prime mover for spinal extension and resisting flexion. Deadlift With Bands loads the erectors through a loaded hip-hinge pattern where the spine is stabilized under axial compression and shear; peak erector demand occurs around 20–45° of trunk flexion during the concentric pull. One Half Locust isolates lumbar and thoracic extensors via spinal extension with minimal hip involvement; peak activation is at the top 10–30° of spinal extension when the muscles operate closer to their optimal length-tension state.

Secondary muscle differences

Deadlift With Bands recruits glutes, hamstrings, quads, traps, middle back, and forearms because the movement is a multi-joint hip and knee extension with heavy external load and upward force vectors. The One Half Locust brings in abdominals isometrically for anti-flexion, plus light chest and biceps involvement for arm positioning, but it lacks significant hip extensor contribution. In short: deadlifts distribute work across posterior chain and grip, locust emphasizes spinal extensors primarily.

Muscle involvement analysis

Deadlift With Bands shows a rising resistance curve as band tension increases toward lockout, shifting force demands from hip extensors and hamstrings early in the pull to erectors and traps near full extension; motor units are recruited in large, high-threshold patterns for heavy loads (3–6 reps) and in moderate-threshold patterns for hypertrophy ranges (6–12 reps). One Half Locust uses sustained isometric-concentric spinal extension with lower peak force but longer time under tension, favoring slow motor units and endurance-style recruitment at higher reps (12–20+).

Equipment and setup

Deadlift With Bands: setup

Barbell, appropriate band set (mini to strong loop or figure-8), band anchors or rack pins, flat platform. You’ll need space to set bands under the bar and enough load plates to match band tension so total resistance suits your target rep range.

One Half Locust: setup

Just a mat or flat surface and enough floor space to lie prone. No external load required; you can add light ankle weights or hold small plates for progression, but basic One Half Locust needs zero equipment.

Access and practicality

One Half Locust — it’s far more accessible because it requires no equipment, minimal space, and is safe for most environments. Deadlift With Bands demands more gear, setup time, and a heavier technical skill set.

Learning and progression

Learning the movements

One Half Locust is easier to learn: lying position and a simple concentric spinal lift make technique straightforward for beginners. Deadlift With Bands is advanced because you must master the hip hinge, bar path, bracing, and band tension management while maintaining neutral spine under variable resistance.

Progression considerations

Deadlift With Bands offers greater progression: you can manipulate bar load, band tension, rep schemes (3–6 for strength, 6–12 for hypertrophy), tempo, and bar path to escalate mechanical tension. One Half Locust progression is more limited—increase reps, add holds, or add small external load, but absolute force output caps earlier.

Limitations and precautions

Deadlift With Bands carries higher injury risk if technique or load management fails: lumbar shear and compressive forces rise with poor bracing and excessive lumbar flexion. One Half Locust has lower acute injury risk but can perpetuate extension-based pain if you hyperextend repeatedly; keep neutral neck and avoid ballistic motion.

Pros & Cons

Deadlift With Bands

+ Pros

  • Loads erector spinae under high external resistance for strong mechanical tension
  • Trains the full posterior chain—glutes, hamstrings, quads, traps and forearms
  • Band-resisted curve improves lockout strength and overload at end-range
  • Multiple progression levers: band tension, bar weight, rep ranges (3–12)

− Cons

  • Requires barbell, bands, and setup space
  • Technically demanding—poor form increases lumbar risk
  • Higher CNS and joint stress with heavy sets

One Half Locust

+ Pros

  • Zero-equipment, low-cost option ideal for home or rehab
  • Simple technique that isolates spinal extensors safely when done correctly
  • Builds endurance and time under tension for lower-back resilience
  • Easy to regress or progress with reps, holds, or light weights

− Cons

  • Limited ability to produce high mechanical tension for maximal hypertrophy
  • Minimal hip and hamstring involvement—less carryover to hip-dominant strength
  • Can encourage hyperextension if you don’t cue neutral spine and scapular retraction

When Each Exercise Wins

1
For muscle hypertrophy: Deadlift With Bands

Deadlift With Bands lets you apply greater mechanical tension and progressive overload across the posterior chain. The band adds variable resistance so you can target both mid-range and lockout, making it superior for increasing muscle size when paired with 6–12 rep sets.

2
For strength gains: Deadlift With Bands

Deadlifts with bands support heavy, low-rep work (3–6 reps) and improve rate of force development and lockout strength. The multi-joint force vectors recruit high-threshold motor units needed for maximal strength.

3
For beginners: One Half Locust

One Half Locust is simpler to learn and control, needs no equipment, and teaches spinal extension without complex hip-knee coordination. Use it to build endurance and awareness before progressing to loaded hinges.

4
For home workouts: One Half Locust

One Half Locust requires only body weight and a mat, making it the clear choice for limited-space training. It still strengthens the erectors and can be loaded incrementally with household items if needed.

Frequently Asked Questions

Can I do both Deadlift With Bands and One Half Locust in the same workout?

Yes. Use One Half Locust as a low-load activation or warm-up (2–3 sets of 12–20) and perform Deadlift With Bands later as the primary heavy lift (3–5 sets of 3–8). That order primes the erectors for heavy loading and improves movement quality.

Which exercise is better for beginners?

One Half Locust is better for most beginners because it teaches spinal extension in a controlled, low-load way. After mastering control and bracing, you can progress to hip-hinge patterns and loaded deadlifts.

How do the muscle activation patterns differ?

Deadlift With Bands produces high, phasic activation across hip extensors and spinal erectors with rising load at lockout, recruiting fast motor units for force. One Half Locust produces sustained, lower-amplitude activation focused on spinal extensors and endurance motor units with longer time under tension.

Can One Half Locust replace Deadlift With Bands?

Not if your goal is maximal strength or hypertrophy—One Half Locust cannot match the mechanical tension and multi-joint force transfer of deadlifts. It can complement or substitute temporarily for low-load rehab, endurance work, or when equipment is unavailable.

Comparison Summary

Choose Deadlift With Bands when your goal is posterior-chain strength or hypertrophy and you have the equipment and technical base to hinge correctly. It provides scalable mechanical tension, variable resistance for lockout work, and broad transfer to athletic performance. Pick One Half Locust when you need a low-risk, no-equipment option to build spinal extensor endurance, rehabilitate movement control, or introduce beginners to back extension mechanics. For most trainees, include both: use locust variations for volume and motor control, and deadlifts with bands for high-tension, progressive overload sessions.

Exercise instructions

Steps from the exercise catalogue. Read the full sequence before starting.

Deadlift With Bands

  1. To deadlift with short bands, simply loop them over the bar before you start, and step into them to set up. For long bands, they will need to be anchored to a secure base, such as heavy dumbbells or a rack.
  2. With your feet, and your grip set, take a big breath and then lower your hips and bend the knees until your shins contact the bar. Look forward with your head, keep your chest up and your back arched, and begin driving through the heels to move the weight upward. After the bar passes the knees, aggressively pull the bar back, pulling your shoulder blades together as you drive your hips forward into the bar.
  3. Lower the bar by bending at the hips and guiding it to the floor.

One Half Locust

  1. Lie facedown on the floor.
  2. Put your left hand under your left hipbone to pad your hip and pubic bone.
  3. Bend your right knee so you can hold the foot in your right hand.
Read remaining steps for One Half Locust
  1. Lift the foot in the air and simultaneously lift your shoulders off the floor. This also stretches the right hip flexor and the chest and shoulders. Switch sides. If it doesn't bother your back, you can try it with both arms and legs at the same time.

Also Compare

Compare another pair

Choose two exercises to see their differences side by side.

Compare Exercises