

10 Best Handstand Push-ups Alternatives for Building Shoulder Strength
Handstand Push-ups are done upside down. Ranked closest by our scoring: the Handstand Push-up, the Jerk Balance and the Barbell Thruster.
Updated Ranked by our 12-factor similarity model How it works
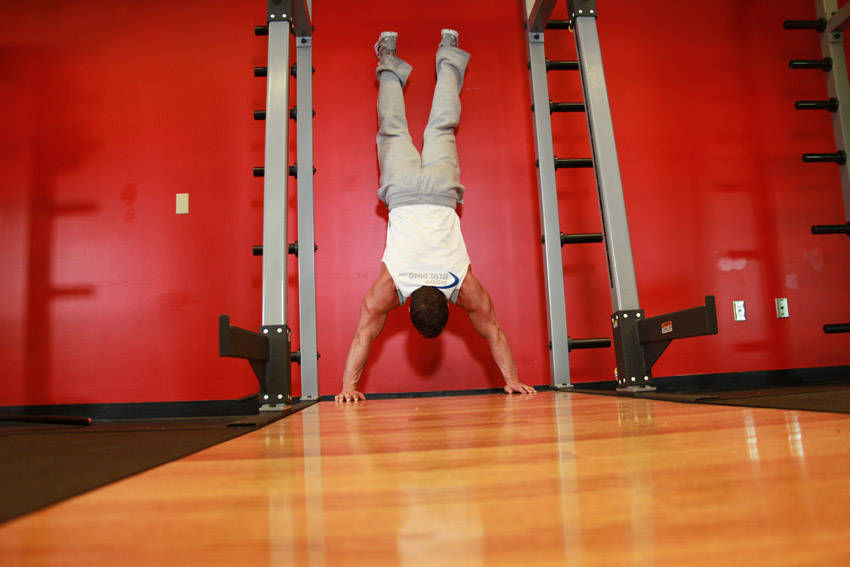
Original Exercise: Handstand Push-ups
- Primary muscle
- Delts
- Equipment
- Bodyweight
- Difficulty
- Advanced
- Type
- Compound
Secondary muscles: Triceps
How to perform Handstand Push-ups
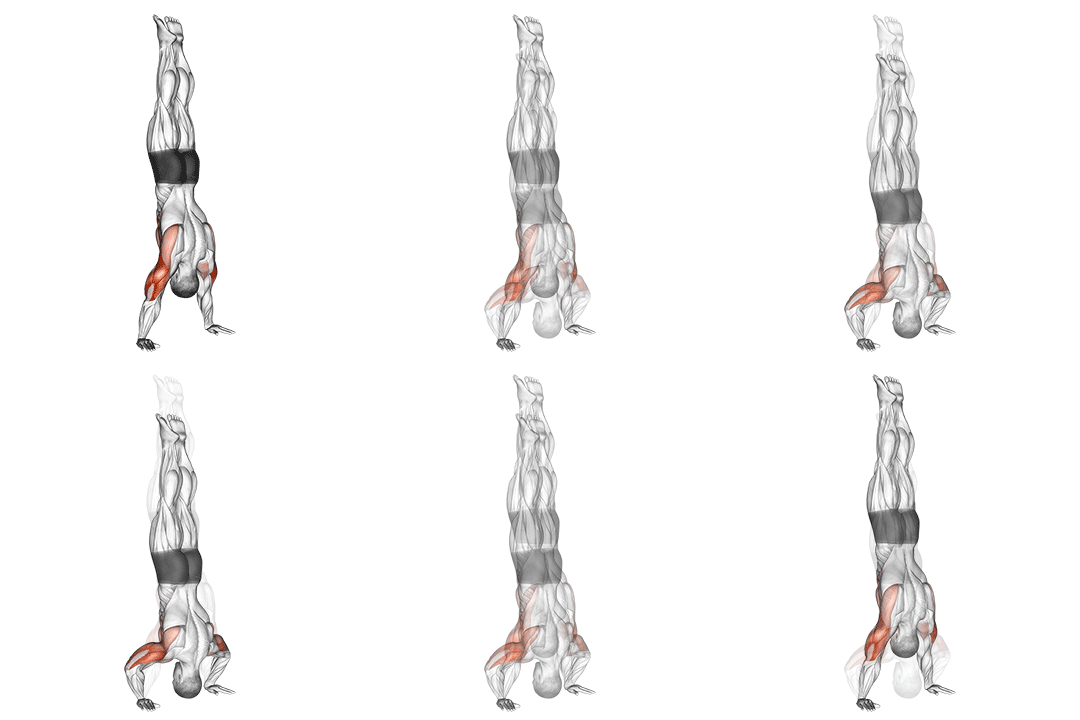
- With your back to the wall bend at the waist and place both hands on the floor at shoulder width.
- Kick yourself up against the wall with your arms straight. Your body should be upside down with the arms and legs fully extended. Keep your whole body as straight as possible. Tip: If doing this for the first time, have a spotter help you. Also, make sure that you keep facing the wall with your head, rather than looking down.
- Slowly lower yourself to the ground as you inhale until your head almost touches the floor. Tip: It is of utmost importance that you come down slow in order to avoid head injury.
- Push yourself back up slowly as you exhale until your elbows are nearly locked.
- Repeat for the recommended amount of repetitions.
Ranked Handstand Push-ups Alternatives
10 substitutes, ranked by how closely each one matches Handstand Push-ups on movement pattern, muscles worked, equipment and body position. The higher the score, the less you change. Open "How to perform this exercise" on a card for the steps; every card title links to that exercise's own alternatives page.
Best match 1. Handstand Push-up
95% match- Delts
- Bodyweight
- Advanced
- Compound
The same equipment, taken with a neutral grip.
How to perform this exercise
- Find a wall and face away from it, standing a few feet away.
- Place your hands on the ground shoulder-width apart and kick your feet up against the wall, coming into a handstand position.
- Bend your elbows and lower your head towards the ground, keeping your body in a straight line.
- Push through your hands and extend your arms to return to the starting position.
- Repeat for the desired number of repetitions.
Sets and reps: 3 or 4 sets of 6 to 10 reps.
Why this matches
- Primary muscle: delts, the same as Handstand Push-ups
- Equipment: bodyweight only, the same as Handstand Push-ups
- Body position: inverted, the same as Handstand Push-ups
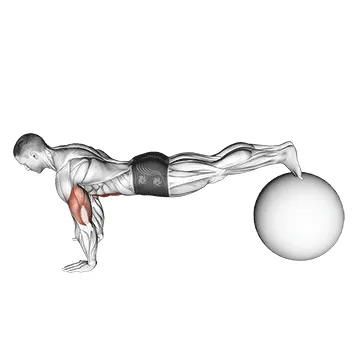
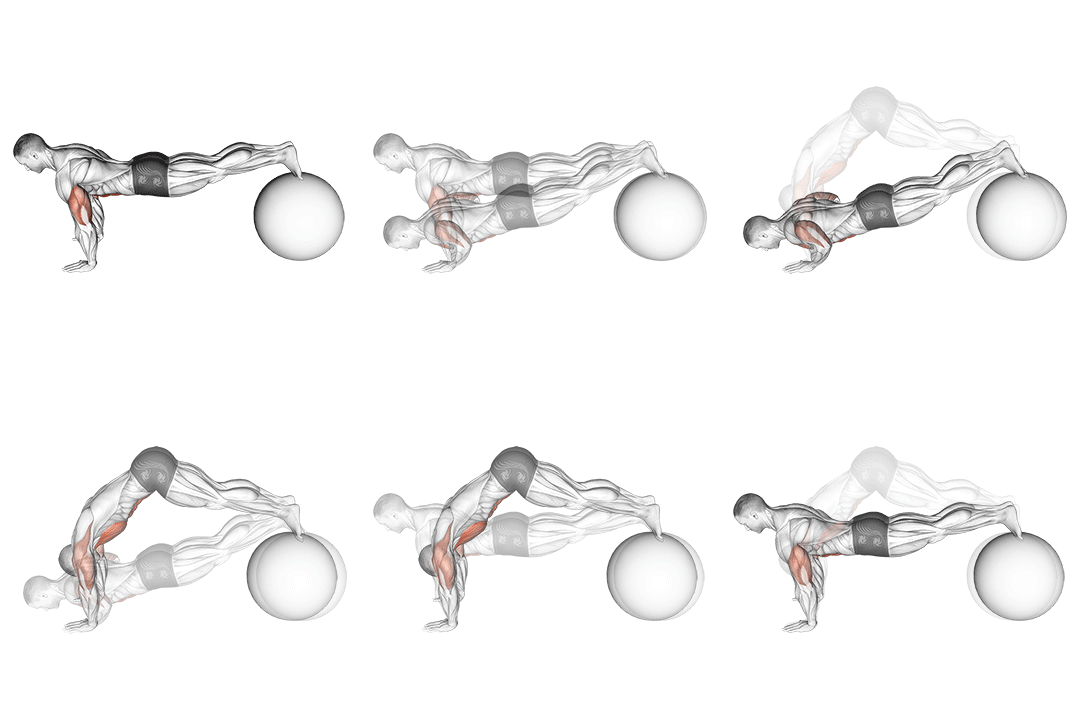
2. Exercise Ball Pike Push Up
82% match- Pectorals
- Stability-ball
- Advanced
- Compound
A looser match: it works the pectorals rather than the delts.
How to perform this exercise
- Start in a push-up position with your hands on the floor and your shins resting on the stability ball.
- Engage your core and lift your hips up towards the ceiling, rolling the ball towards your hands.
- Keep your legs straight and your body in a pike position, forming an inverted V shape.
- Bend your elbows and lower your upper body towards the floor, keeping your head in line with your hands.
- Push through your hands and extend your arms to return to the starting position.
- Repeat for the desired number of repetitions.
Sets and reps: 3 or 4 sets of 6 to 10 reps.
Why this matches
- Primary muscle: pectorals, not delts
- Equipment: bodyweight only, the same as Handstand Push-ups
- Body position: inverted, the same as Handstand Push-ups
- Balance: easier to stay steady on than Handstand Push-ups
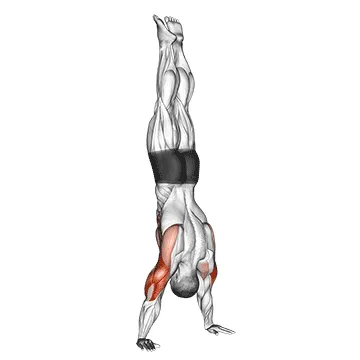
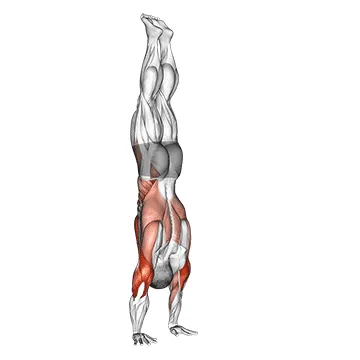
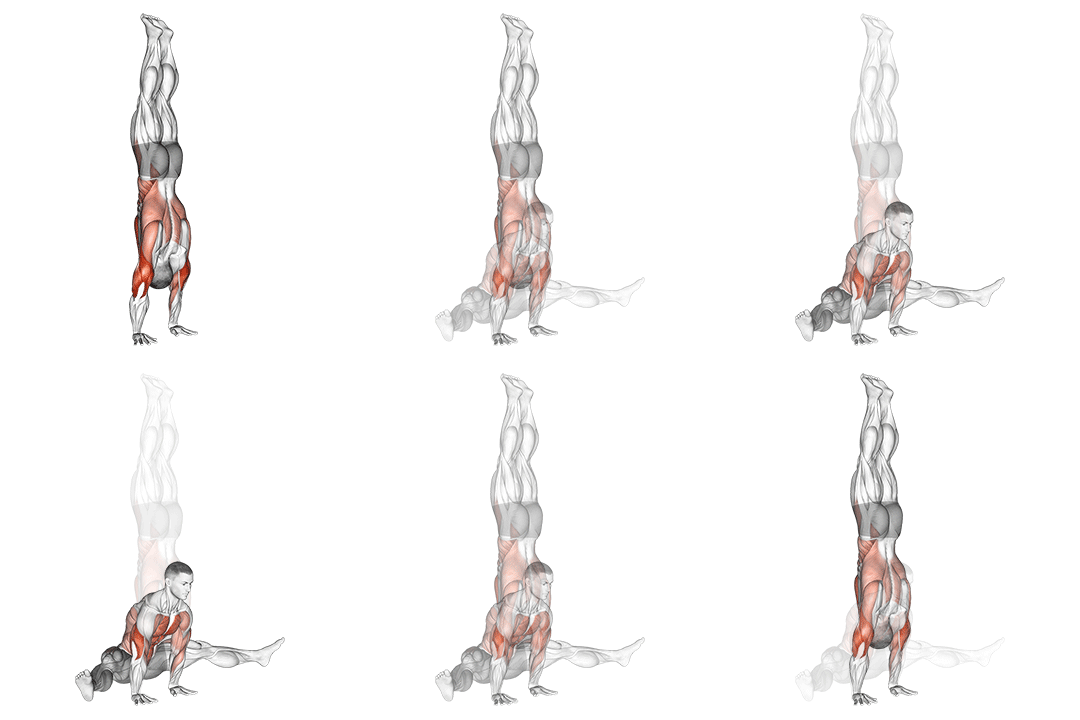
3. Handstand
76% match- Triceps
- Bodyweight
- Intermediate
- Compound
A looser match: it uses the same equipment, but it works the triceps rather than the delts.
How to perform this exercise
- Find an open space with enough room to perform a handstand.
- Place your hands on the ground shoulder-width apart, fingers pointing forward.
- Kick your legs up towards the wall, using your core and shoulders to maintain balance.
- Once in a handstand position, engage your triceps to support your body weight.
- Hold the handstand for as long as you can maintain balance.
- To come down, slowly lower your legs back to the ground.
- Repeat for the desired number of repetitions.
Sets and reps: Hold for 20 to 30 seconds, 3 sets.
Why this matches
- Primary muscle: triceps, not delts
- Equipment: bodyweight only, the same as Handstand Push-ups
- Body position: inverted, the same as Handstand Push-ups
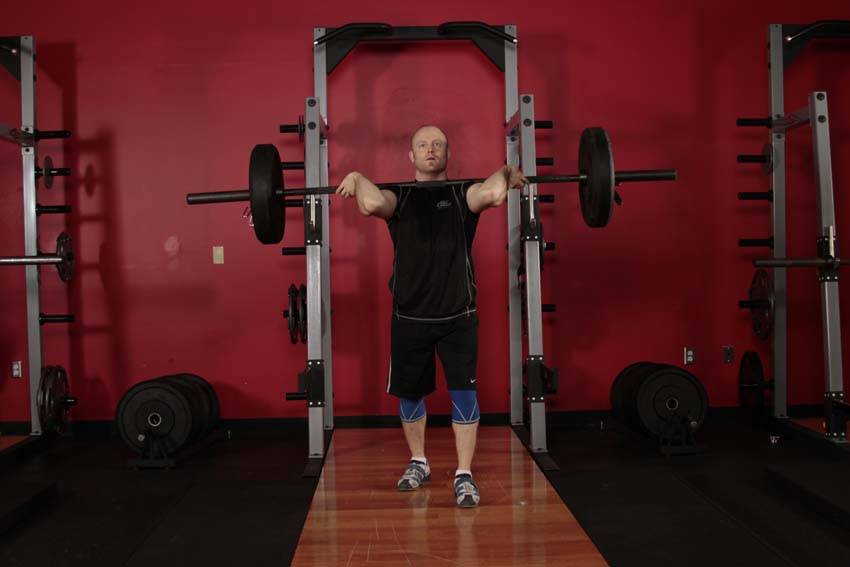
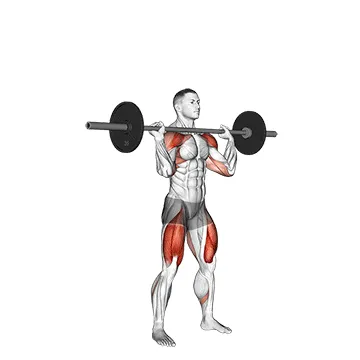
4. Jerk Balance
70% match- Delts
- Barbell
- Advanced
- Compound
A good swap when you have a barbell to work with, and it still works the delts.
How to perform this exercise
- This drill helps you learn to drive yourself low enough during the jerk and corrects those who move backward during the movement. Begin with the bar racked in the jerk position, with the shoulders forward, torso upright, and the feet split slightly apart.
- Initiate the movement as you would a normal jerk, dipping at the knees while keeping your torso vertical, and driving back up forcefully, using momentum and not your arms to elevate the weight.
- Keep the rear foot in place, using it to drive your body forward into a full split as you jerk the weight. Recover by standing up with the weight overhead.
Sets and reps: 3 to 5 sets of 5 to 8 reps.
Why this matches
- Primary muscle: delts, the same as Handstand Push-ups
- Equipment: free weights, not bodyweight only
- Body position: standing, not inverted
- Balance: easier to stay steady on than Handstand Push-ups
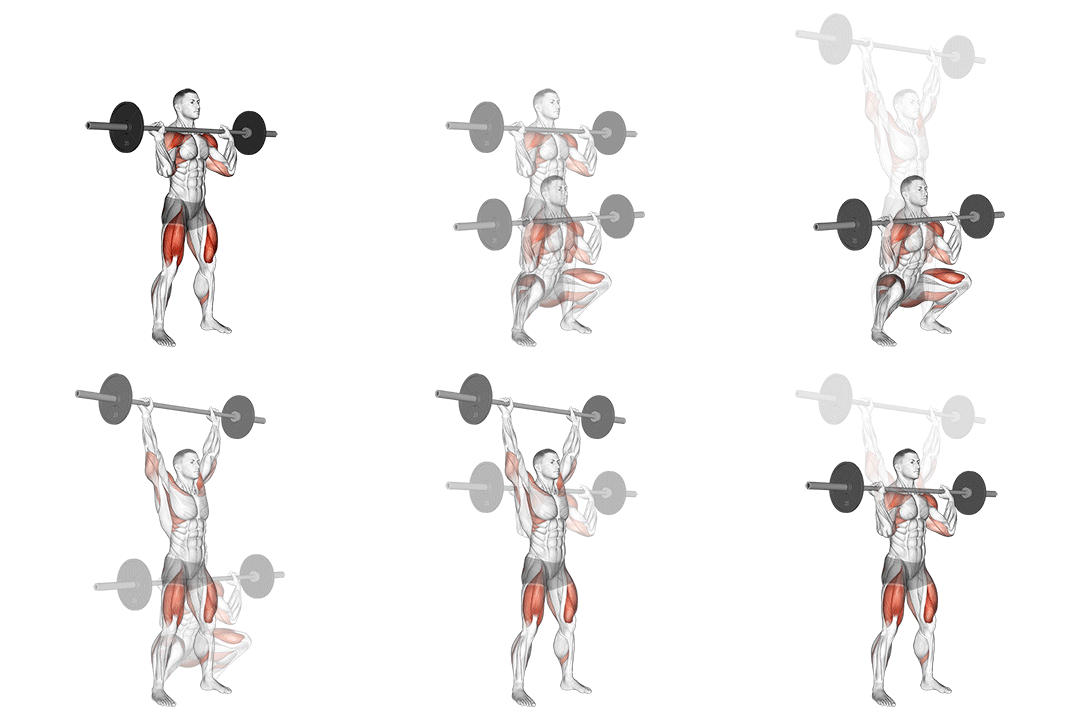
5. Barbell Thruster
67% match- Delts
- Barbell
- Intermediate
- Compound
How to perform this exercise
- Start by standing with your feet shoulder-width apart, holding a barbell at shoulder height with an overhand grip.
- Lower into a squat position by bending your knees and pushing your hips back.
- As you reach the bottom of the squat, explosively drive through your heels to stand up, simultaneously pressing the barbell overhead.
- Lower the barbell back to shoulder height as you lower back into the squat position.
- Repeat for the desired number of repetitions.
Sets and reps: 3 or 4 sets of 6 to 10 reps.
Why this matches
- Primary muscle: delts, the same as Handstand Push-ups
- Equipment: free weights, not bodyweight only
- Body position: standing, not inverted
- Balance: easier to stay steady on than Handstand Push-ups
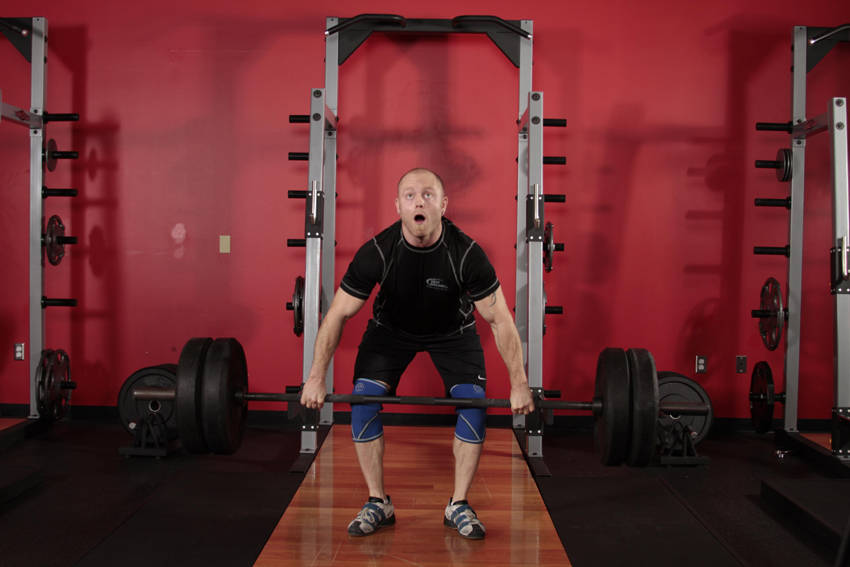
6. Clean And Jerk
66% match- Delts
- Barbell
- Advanced
- Compound
How to perform this exercise
- With a barbell on the floor close to the shins, take an overhand or hook grip just outside the legs. Lower your hips with the weight focused on the heels, back straight, head facing forward, chest up, with your shoulders just in front of the bar. This will be your starting position.
- Begin the first pull by driving through the heels, extending your knees. Your back angle should stay the same, and your arms should remain straight. Move the weight with control as you continue to above the knees.
- Next comes the second pull, the main source of acceleration for the clean. As the bar approaches the mid-thigh position, begin extending through the hips. In a jumping motion, accelerate by extending the hips, knees, and ankles, using speed to move the bar upward. There should be no need to actively pull through the arms to accelerate the weight; at the end of the second pull, the body should be fully extended, leaning slightly back, with the arms still extended.
- As full extension is achieved, transition into the third pull by aggressively shrugging and flexing the arms with the elbows up and out. At peak extension, aggressively pull yourself down, rotating your elbows under the bar as you do so. Receive the bar in a front squat position, the depth of which is dependent upon the height of the bar at the end of the third pull. The bar should be racked onto the protracted shoulders, lightly touching the throat with the hands relaxed. Continue to descend to the bottom squat position, which will help in the recovery.
- Immediately recover by driving through the heels, keeping the torso upright and elbows up. Continue until you have risen to a standing position.
- The second phase is the jerk, which raises the weight overhead. Standing with the weight racked on the front of the shoulders, begin with the dip. With your feet directly under your hips, flex the knees without moving the hips backward. Go down only slightly, and reverse direction as powerfully as possible.
- Drive through the heels create as much speed and force as possible, and be sure to move your head out of the way as the bar leaves the shoulders.
- At this moment as the feet leave the floor, the feet must be placed into the receiving position as quickly as possible. In the brief moment the feet are not actively driving against the platform, the athletes effort to push the bar up will drive them down. The feet should be split, with one foot forward, and one foot back. Receive the bar with the arms locked out overhead. Return to a standing position.
Sets and reps: 3 to 5 sets of 5 to 8 reps.
Why this matches
- Primary muscle: delts, the same as Handstand Push-ups
- Equipment: free weights, not bodyweight only
- Balance: easier to stay steady on than Handstand Push-ups
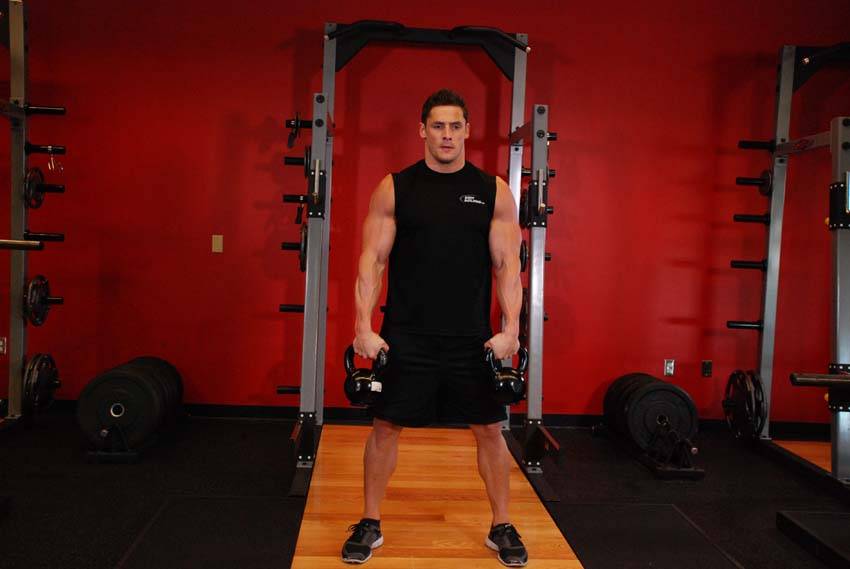
7. Double Kettlebell Snatch
66% match- Delts
- Kettlebell
- Advanced
- Compound
A good swap when you have a kettlebell to work with, and it still works the delts.
How to perform this exercise
- Place two kettlebells behind your feet. Bend your knees and sit back to pick up the kettlebells.
- Swing the kettlebells between your legs forcefully and reverse the direction.
- Drive through with your hips and lock the ketttlebells overhead in one uninterrupted motion.
Sets and reps: 3 to 5 sets of 5 to 8 reps.
Why this matches
- Primary muscle: delts, the same as Handstand Push-ups
- Equipment: free weights, not bodyweight only
- Body position: standing, not inverted
- Balance: easier to stay steady on than Handstand Push-ups
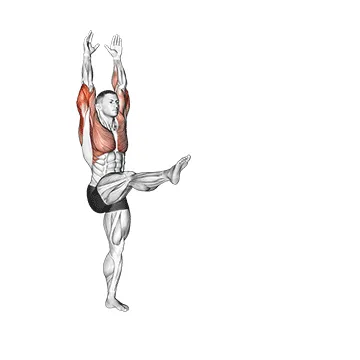
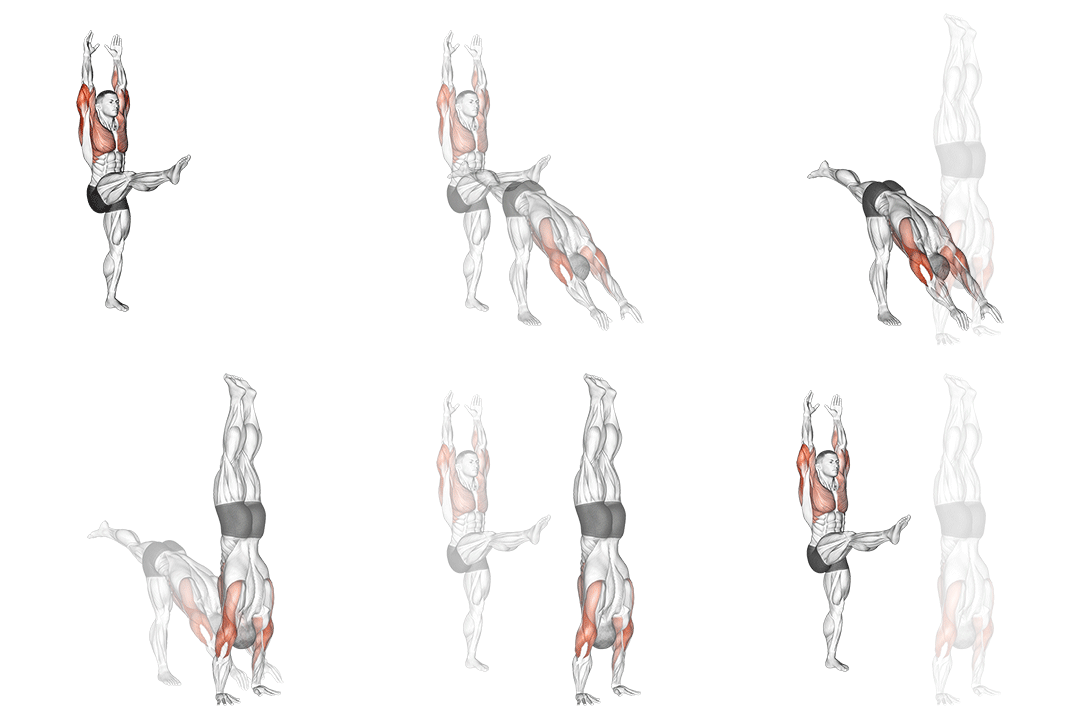
8. Stalder Press
65% match- Triceps
- Bodyweight
- Advanced
- Compound
How to perform this exercise
- Start by standing with your feet shoulder-width apart and your arms extended overhead.
- Bend your knees slightly and engage your core.
- Lower your body down into a squat position while keeping your arms extended overhead.
- As you squat down, press your arms down towards the ground, engaging your triceps.
- Pause for a moment at the bottom of the squat, then push through your heels to stand back up while simultaneously raising your arms back overhead.
- Repeat for the desired number of repetitions.
Sets and reps: 3 or 4 sets of 6 to 10 reps.
Why this matches
- Primary muscle: triceps, not delts
- Equipment: bodyweight only, the same as Handstand Push-ups
- Body position: inverted, the same as Handstand Push-ups
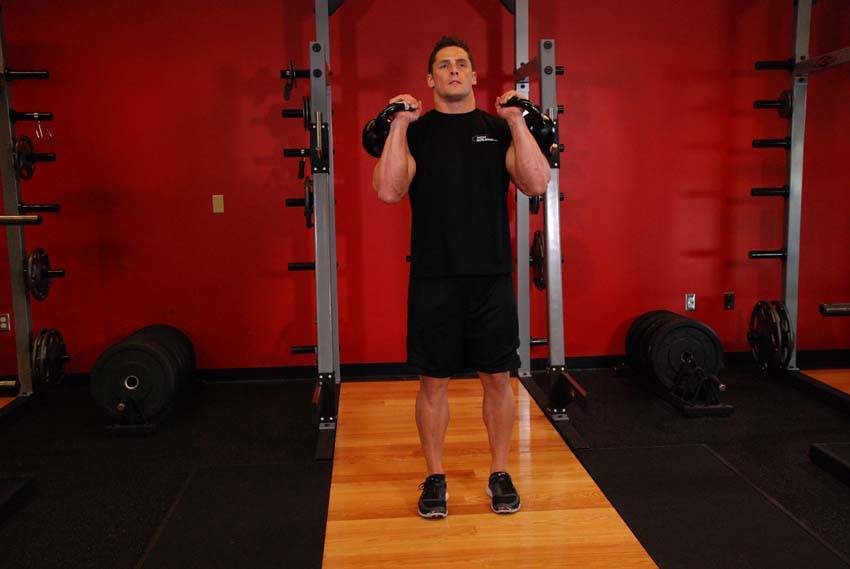
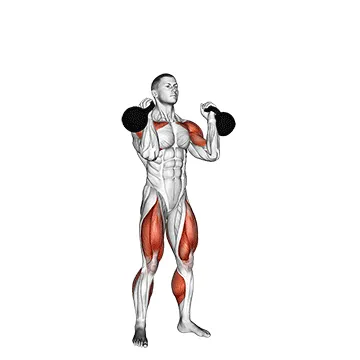
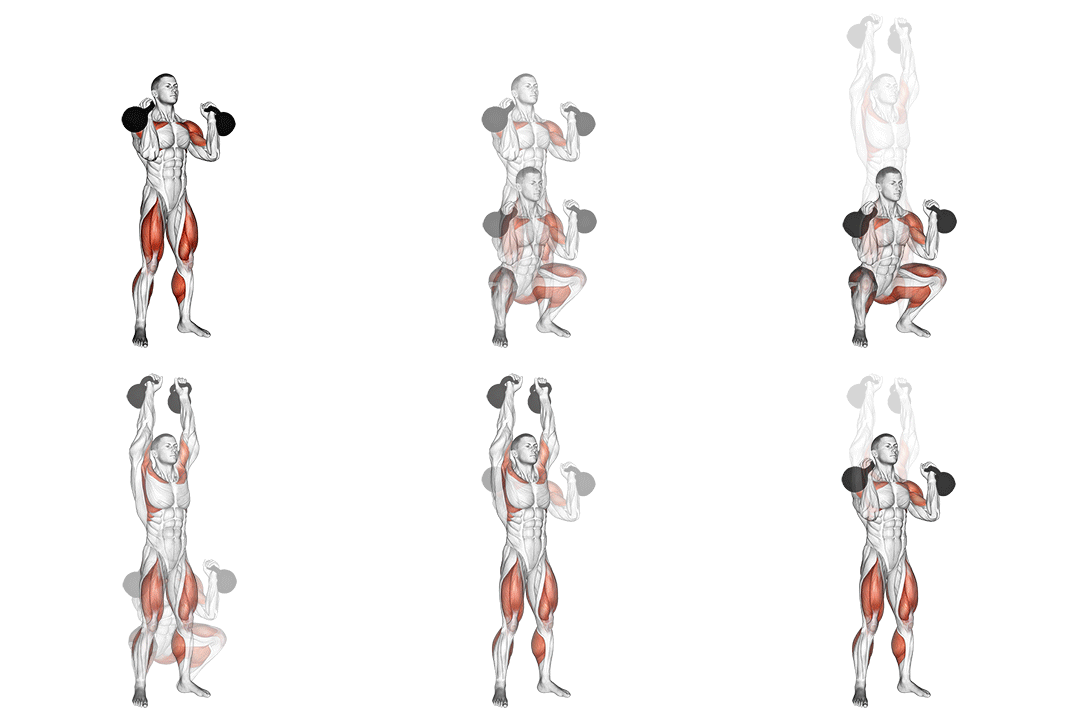
9. Double Kettlebell Jerk
64% match- Delts
- Kettlebell
- Advanced
- Compound
How to perform this exercise
- Hold a kettlebell by the handle in each hand.
- Clean the kettlebells to your shoulders by extending through the legs and hips as you pull the kettlebells towards your shoulders. Rotate your wrists as you do so, so that the palms face forward. This will be your starting position.
- Dip your body by bending the knees, keeping your torso upright.
- Immediately reverse direction, driving through the heels, in essence jumping to create momentum.
- As you do so, press the kettlebells overhead to lockout by extending the arms, using your body's momentum to move the weights.
- Return your feet to the ground in a split fashion, with one foot forward and one foot back.
- Keeping the weights overhead, return to a standing position, bringing your feet together. Lower the weights to perform the next repetition.
Sets and reps: 3 to 5 sets of 5 to 8 reps.
Why this matches
- Primary muscle: delts, the same as Handstand Push-ups
- Equipment: free weights, not bodyweight only
- Body position: standing, not inverted
- Balance: easier to stay steady on than Handstand Push-ups
10. Kettlebell Thruster
64% match- Delts
- Kettlebell
- Intermediate
- Compound
How to perform this exercise
- Start by standing with your feet shoulder-width apart, holding a kettlebell in front of your chest with both hands, palms facing each other.
- Lower into a squat position by bending your knees and pushing your hips back, keeping your chest up and your back straight.
- As you reach the bottom of the squat, explosively drive through your heels to stand up, simultaneously pressing the kettlebell overhead.
- Lock out your arms at the top of the movement, fully extending your elbows.
- Lower the kettlebell back to the starting position by reversing the movement, bending your elbows and lowering the weight back to your chest.
- Repeat for the desired number of repetitions.
Sets and reps: 3 or 4 sets of 6 to 10 reps.
Why this matches
- Primary muscle: delts, the same as Handstand Push-ups
- Equipment: free weights, not bodyweight only
- Body position: standing, not inverted
- Balance: easier to stay steady on than Handstand Push-ups
Why You Might Need a Handstand Push-ups Alternative
You may substitute handstand push-ups because of limited balance, wrist or shoulder pain, lack of wall space, or the need to prioritize hypertrophy over skill. Alternatives let you keep vertical loading on the anterior and medial deltoids while reducing cervical and glenohumeral compression. They also allow progressive overload with safer scapular and thoracic positions. Choose movements that maintain scapular upward rotation and core anti-extension; for example, perform slow wall negatives with a packed neck, chin slightly tucked and scapula protracted, to reduce shear and train deltoid control.
Handstand Push-ups FAQ
What muscles does Handstand Push-ups work?
Handstand push-ups primarily load the anterior and medial deltoids and heavily involve the triceps, upper chest, and scapular stabilizers. They also demand core anti-extension and neck stabilization; cue yourself to press through the palms and maintain scapular upward rotation to maximize delt recruitment.
Can I build muscle without doing Handstand Push-ups?
Yes, you can build the delts without handstand push-ups by using progressive overload, tempo control, and varied vertical-press alternatives. Use slow eccentrics (3–5 seconds), increase reps or add external load (a weighted vest or backpack), and cue full scapular upward rotation to ensure proper delt activation.
Find Alternatives for Any Exercise
Search the exercise database and filter the ranked substitutes by the equipment you own.
Similarity scores compare exercise metadata such as movement pattern, muscles, equipment and body position. They are not a safety rating or a check that you own the equipment. Learn about our methodology