Heel wedges, lifting shoes, and stance tweaks can all help a squat. The mistake is using them before you know what problem you are solving. If the ankles do not have enough dorsiflexion, the body will steal range somewhere else: heels lift, knees cave, torso folds, or depth disappears.
The knee-to-wall test is not perfect, but it gives you a fast screen. It tells you whether one ankle is clearly tighter, whether the heel can stay down as the knee travels forward, and whether the squat problem might be lower than the hips.
This guide gives you the test, the warm-up, and the decision rules. The goal is not to earn circus-level ankle mobility. The goal is enough usable range for the squat style you actually train.
The Better Move
Use the trend as a doorway, then build a system you can repeat. The win is not novelty. The win is a rule that survives real training weeks, busy mornings, missed meals, stress, and imperfect equipment. That is why this article focuses on decisions, not hacks.
Run The Test Before Your First Warm-Up Set
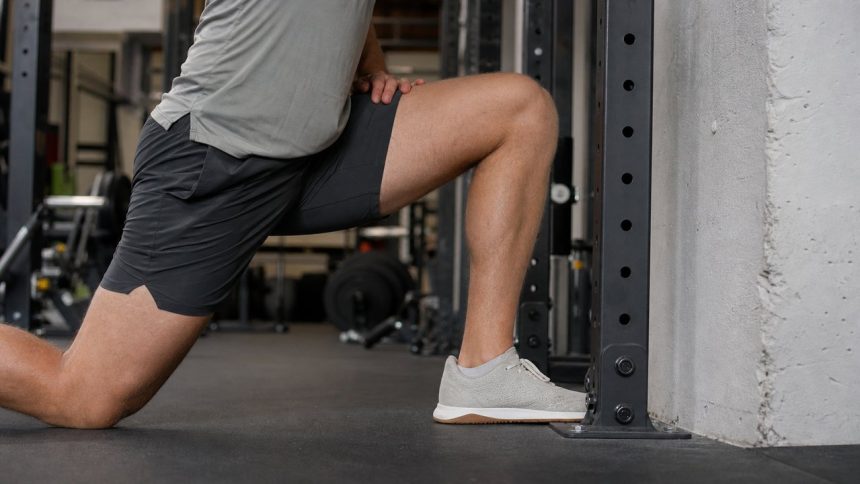
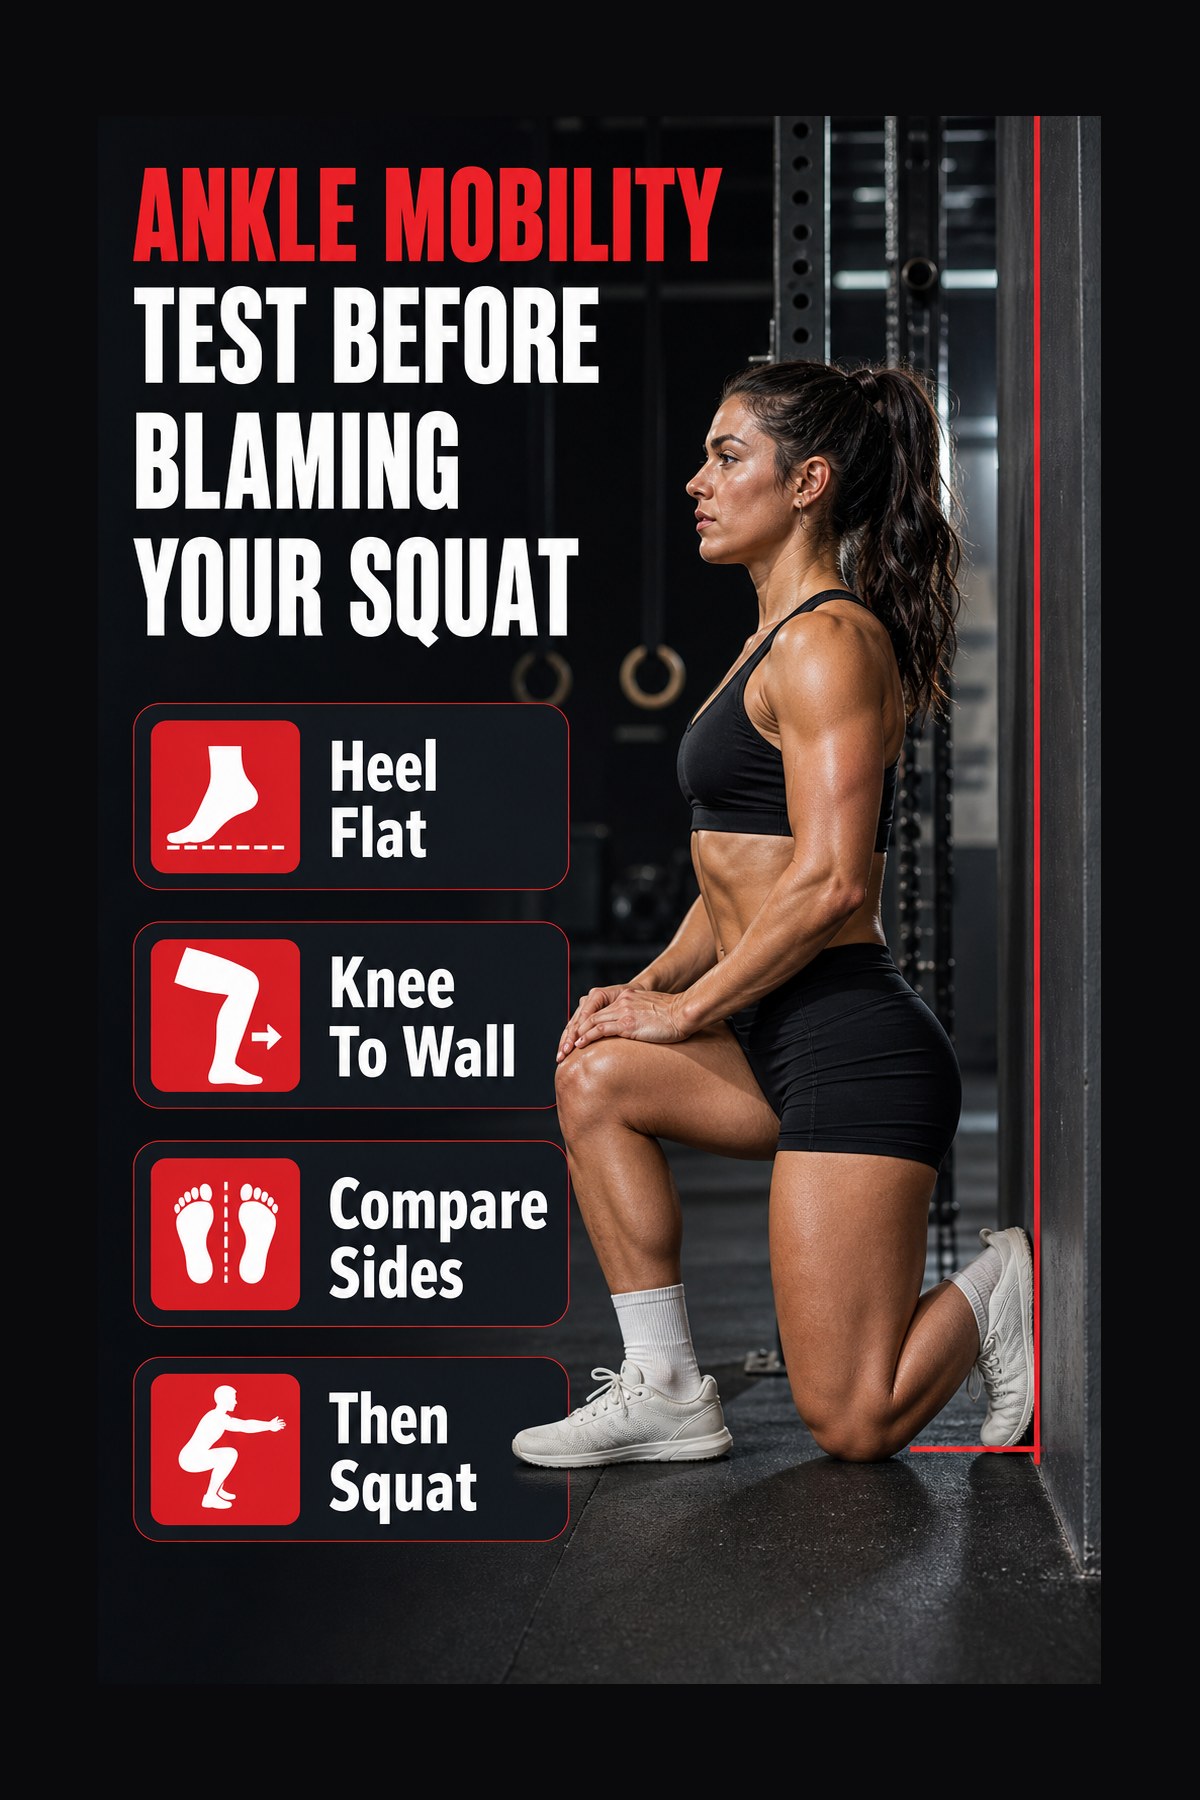
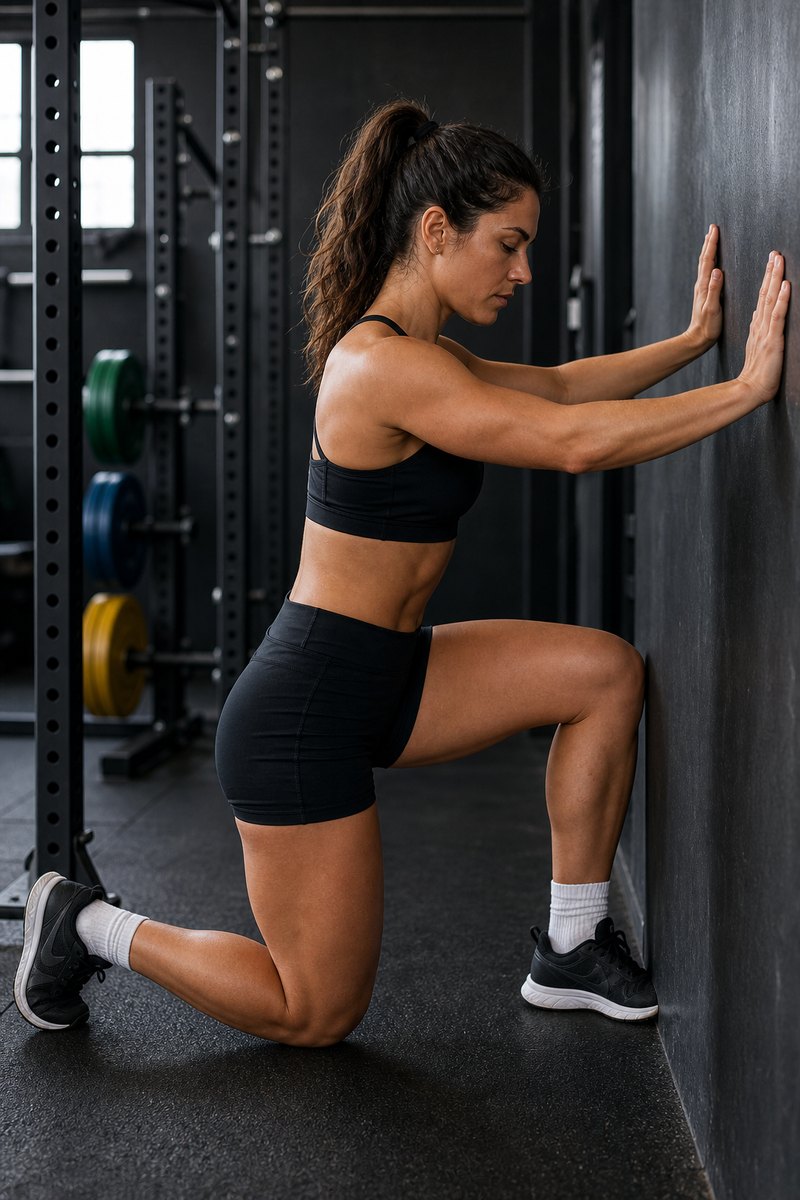
Place the foot flat, drive the knee toward the wall, and keep the heel down. Move the foot back gradually until the knee can barely touch without the heel lifting. Compare sides. A difference you can see and feel is more useful than pretending one measurement fits every lifter.
- Keep heel flat.
- Do not collapse the arch to fake range.
- Test both sides before and after warm-up.
Use Mobility That Feeds The Squat
Ankle mobility work should not end on the floor. After rocks, calf stretching, or banded drills, stand up and use the range. Calf raises, tibialis raises, squat prying, and light goblet squats help translate the new ankle position into the pattern you care about.
- If quads are your priority, connect the improved ankle travel to best quad exercises.
- If single-leg control is weak, compare the feeling with Nordic ham curl guide variations.
- Use a controlled tempo instead of bouncing.
When Lifting Shoes Are A Tool, Not A Crutch
Weightlifting shoes raise the heel and can make squatting easier for many bodies. That is not cheating. The problem is assuming shoes fix every issue. If one ankle is dramatically tighter, if pain is present, or if the heel still shifts in lifting shoes, test and address the ankle instead of adding more heel height.
- Use shoes to match your squat style.
- Do not use wedges to force painful range.
- Retest barefoot occasionally so you know what changed.
Do Not Stretch Into Pain
A stretch in the calf or Achilles area is different from joint pinching, nerve symptoms, or sharp pain. If the test hurts, reduce range. If pain persists or follows an injury, get assessed. Mobility work should improve training options, not become a daily argument with a joint.
- Use mild pressure and slow reps.
- Stop if pain changes your gait.
- Treat swelling, recent sprains, or sharp pain as a medical issue.
Ankle Test Results
| Result | Meaning | Next move |
|---|---|---|
| Both sides similar, squat still limited | Probably not mainly ankles | Check hips, stance, bracing |
| One side much tighter | Asymmetry may affect depth | Add unilateral ankle work |
| Heel lifts early | Dorsiflexion or control limit | Mobilize then goblet squat |
| Pinch in front of ankle | Could be joint irritation | Reduce range and seek help if persistent |
Use It This Week
Test both ankles before your next two squat sessions and write down what you see. Do not chase a perfect number. Look for heel lift, arch collapse, pinching, and left-right difference.
After the test, do two ankle drills and retest. If the range improves, immediately use light squats to teach the body the position. If nothing changes, the limiter may be stance, hips, shoes, or pain.
Use lifting shoes as a performance tool, not as permission to ignore a big asymmetry. A raised heel can help the squat while direct ankle work handles the underlying difference.
Adjust It By Goal
| Goal | Best adjustment | Why |
|---|---|---|
| Back squat | Knee-to-wall + goblet squat | Better knee travel |
| Front squat | More dorsiflexion demand | Test before loading heavy |
| Lunges | Compare sides carefully | Asymmetry shows up fast |
| Pain history | Short range and medical guidance | Do not force joint symptoms |
When To Change The Plan
Do not judge the plan from one perfect day or one bad day. Most useful fitness and nutrition changes need a short runway. Give the system one to two weeks unless pain, dizziness, digestive distress, sleep disruption, or a clear medical concern shows up sooner. Early feedback is useful, but it needs context.
The right adjustment is usually smaller than the emotional reaction. If the plan feels too hard, reduce the dose before abandoning the idea. If it feels too easy, repeat it until the habit is stable before adding complexity. Most people fail these trends by escalating too quickly, not by starting too conservatively.
- Change one variable at a time so the result is readable.
- Keep the part that improves training, hunger, recovery, or consistency.
- Remove the part that adds friction without a clear payoff.
- Treat pain, dizziness, unusual fatigue, or persistent digestive symptoms as stop signs, not discipline tests.
The Smarter Starting Dose
Start smaller than your motivation wants. A conservative first dose protects the rest of the week and gives you cleaner feedback. Once the behavior is repeatable, progression is easy. When the starting point is too aggressive, the plan often fails for reasons that have nothing to do with the idea itself.
That is especially important for lifters because everything competes with recovery. A new food habit can change digestion. A new cardio session can change leg fatigue. A new recovery tool can change sleep timing. The first job is to make the change fit the training week. The second job is to make it stronger.
Mistakes To Avoid
- Letting the arch collapse to touch the wall.
- Testing once and never retesting after warm-up.
- Using heel lifts before checking side-to-side differences.
- Forcing range through pain.
How To Know It Is Working
The right version should make the next decision easier. Training should feel more predictable, meals should require less negotiation, and recovery should become easier to read. If the plan adds stress, confusion, pain, or obsessive tracking, simplify it before adding another layer.
Use one clear metric for two weeks. For nutrition articles, that could be hunger, protein consistency, calories, or training energy. For training articles, use performance, soreness, joint comfort, and repeatability. If the metric improves without creating a new problem, keep the system.
Where This Fits On FitnessVolt
This piece is meant to connect with the rest of your training and nutrition system, not replace it. Use the linked FitnessVolt guides where they match your next decision, especially when you need a calculator, a workout progression, or a more detailed nutrition framework.
Video Reference
Reader Scenarios
Heels lift in squats
Test knee-to-wall, do two ankle drills, then retest with light goblet squats. If heels still lift, check stance and shoes.
One side is tighter
Treat the asymmetry as the target. Add one extra set on the limited side instead of doubling the entire routine.
Front ankle pinches
Do not jam into the wall test. Reduce range and seek clinical input if the pinch is sharp or persistent.
What To Track For Two Weeks
Use a short tracking window before judging the plan. Two weeks is long enough to reveal whether the idea fits real life, but short enough that you are not locked into a strategy that clearly does not work. Write down the one outcome the article is meant to improve, then watch that outcome instead of chasing every possible metric.
For food articles, track hunger, meal repeatability, digestion, training energy, and whether the habit prevents a worse decision later. For training and recovery articles, track performance, soreness, joint comfort, sleep, and whether the session is easy enough to repeat. If the plan improves one clear outcome without creating a new problem, keep it. If it only adds work, simplify it.
FAQ
How do I test ankle mobility for squats?
Use the knee-to-wall test: keep the heel flat, drive the knee toward the wall, and compare both sides. The exact distance matters less than control and asymmetry.
Do tight ankles limit squat depth?
They can. Limited dorsiflexion may cause heel lift, forward torso lean, or compensation elsewhere, but hips and technique also matter.
Are lifting shoes bad for ankle mobility?
No. They are a tool. Use them if they improve squat mechanics, but still know whether your ankles are limiting you.
How often should I do ankle mobility?
Use short drills before lower-body sessions and retest. Daily low-intensity work can help if ankles are a consistent limiter.
Sources
- Schoenfeld BJ. 2010. Squatting kinematics and kinetics and their application to exercise performance. Journal of Strength and Conditioning Research. Accessed June 4, 2026.
- Bell DR, et al. 2012. Ankle dorsiflexion range of motion influences dynamic balance. Journal of Athletic Training. Accessed June 4, 2026.
- Behm DG, et al. 2016. Acute effects of muscle stretching on physical performance, range of motion, and injury incidence. Applied Physiology, Nutrition, and Metabolism. Accessed June 4, 2026.
Interested in measuring your progress? Check out our strength standards for Bench Press, Squat, Deadlift, and more exercises.