

10 Best Hip Circles (Prone) Alternatives for Hip Pain
Hip Circles (Prone) are done lying face down. Ranked closest by our scoring: Standing Hip Circles and the Iliotibial Tract-smr. Two harder versions, the Incline Twisting Sit-up and the Crab Twist Toe Touch, are listed below as progressions rather than swaps.
Updated Ranked by our 12-factor similarity model How it works
Original Exercise: Hip Circles (Prone)
- Primary muscle
- Abductors
- Equipment
- Bodyweight
- Difficulty
- Beginner
- Type
- Isolation
Secondary muscles: Adductors
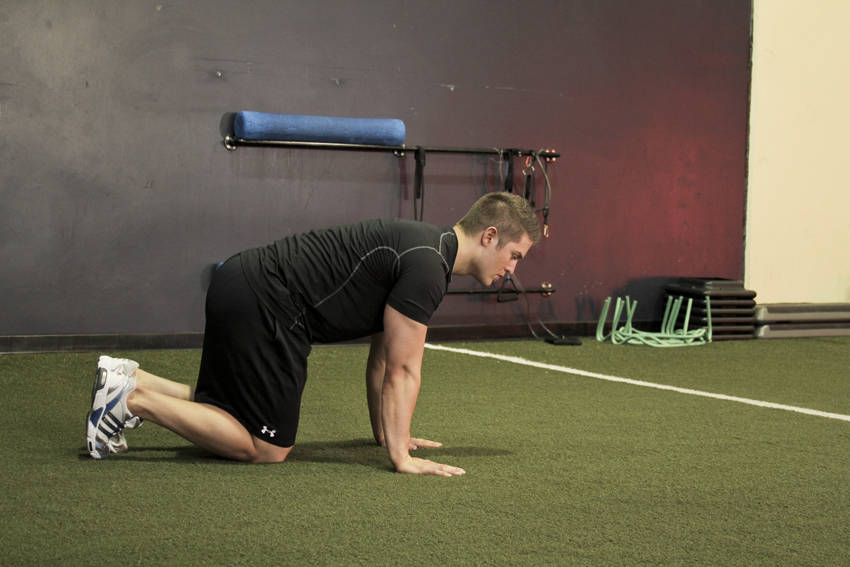
How to perform Hip Circles (Prone)
- Position yourself on your hands and knees on the ground. Maintaining good posture, raise one bent knee off of the ground. This will be your starting position.
- Keeping the knee in a bent position, rotate the femur in an arc, attempting to make a big circle with your knee.
- Perform this slowly for a number of repetitions, and repeat on the other side.
Ranked Hip Circles (Prone) Alternatives
10 substitutes, ranked by how closely each one matches Hip Circles (Prone) on movement pattern, muscles worked, equipment and body position. The higher the score, the less you change. Open "How to perform this exercise" on a card for the steps; every card title links to that exercise's own alternatives page. Harder versions are tagged as progressions and kept out of the top spot even when they score higher.
Best match 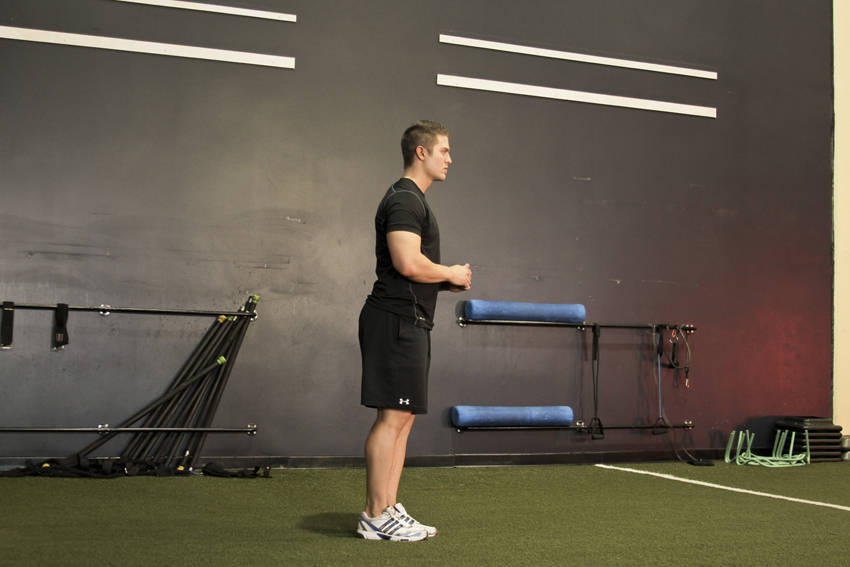
1. Standing Hip Circles
84% match- Abductors
- Bodyweight
- Beginner
- Isolation
Pick this when you want an easier version that still works the abductors.
How to perform this exercise
- Begin standing on one leg, holding to a vertical support.
- Raise the unsupported knee to 90 degrees. This will be your starting position.
- Open the hip as far as possible, attempting to make a big circle with your knee.
- Perform this movement slowly for a number of repetitions, and repeat on the other side.
Sets and reps: 3 sets of 8 to 12 reps, and add reps before you add load.
Why this matches
- Primary muscle: abductors, the same as Hip Circles (Prone)
- Equipment: bodyweight only, the same as Hip Circles (Prone)
- Body position: standing, not lying face down
2. Knee Across The Body
76% match- Glutes
- Bodyweight
- Beginner
- Isolation
A looser match: it uses the same equipment, but it works the glutes rather than the abductors.
How to perform this exercise
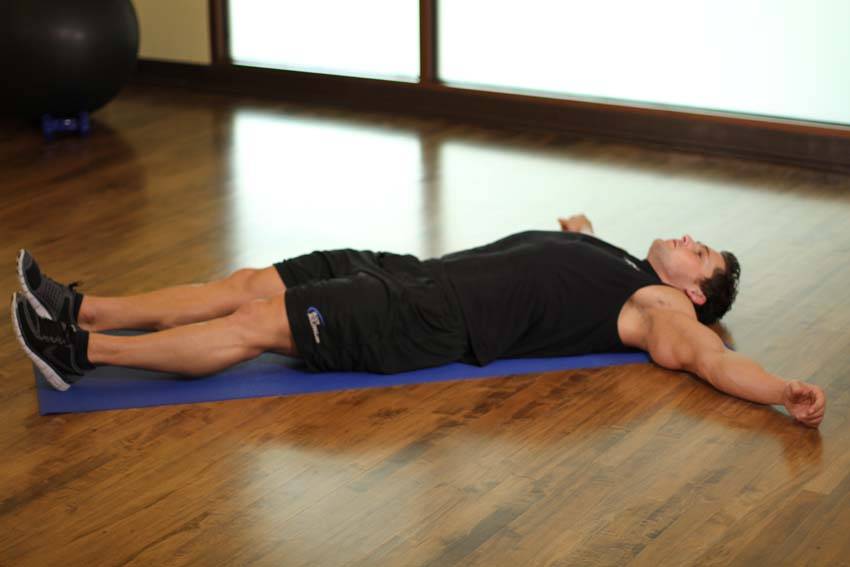
- Lie down on the floor with your right leg straight. Bend your left leg and lower it across your body, holding the knee down toward the floor with your right hand. (The knee doesn't need to touch the floor if you're tight.)
- Place your left arm comfortably beside you and turn your head to the left. Imagine you have a weight tied to your tailbone. let your tailbone fall back toward the floor as your chest reaches in the opposite direction to stretch your lower back. Switch sides.
Sets and reps: 3 sets of 8 to 12 reps on each side, and add reps before you add load.
Why this matches
- Primary muscle: glutes, not abductors
- Equipment: bodyweight only, the same as Hip Circles (Prone)
- Body position: lying on your back, not lying face down
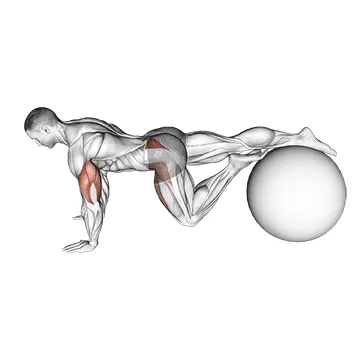
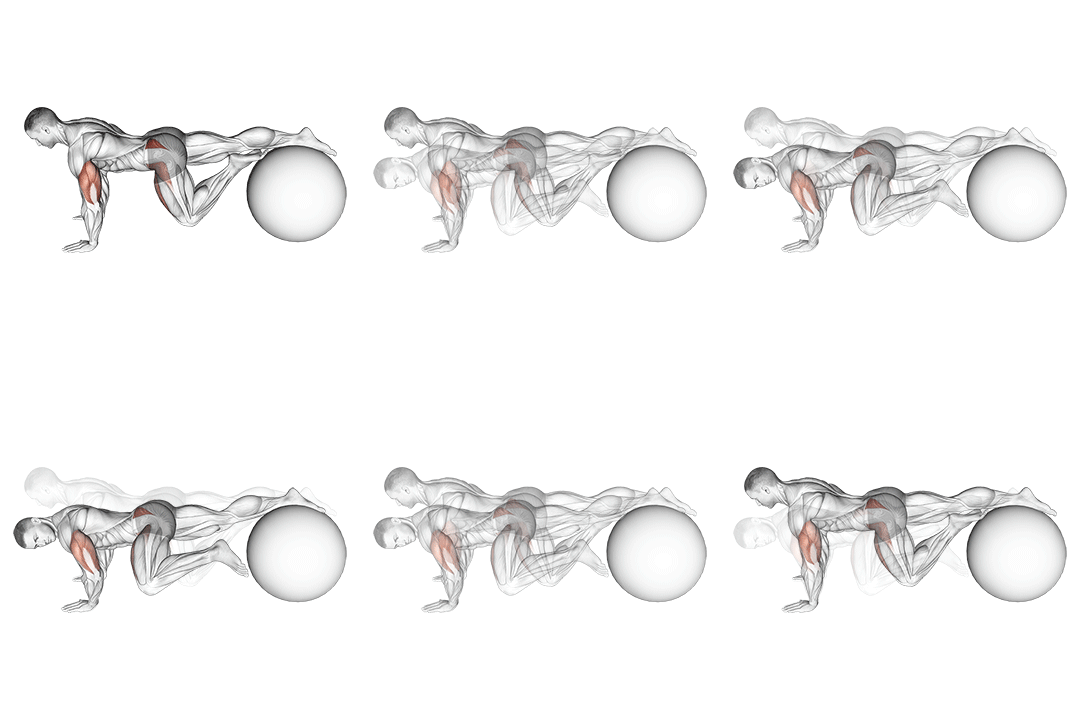
- Glutes
- Stability-ball
- Intermediate
- Compound
A looser match: it works the glutes rather than the abductors.
How to perform this exercise
- Lie face down on the stability ball with your hips resting on the ball and your legs extended straight behind you.
- Place your hands on the ground in front of you for support.
- Engage your glutes and core muscles to stabilize your body.
- Slowly lift one leg off the ground, keeping it straight and parallel to the floor.
- Rotate your leg outward, away from your body, while keeping your hips and upper body stable.
- Pause for a moment at the end of the rotation, then slowly return your leg to the starting position.
- Repeat the rotation with the other leg.
- Continue alternating legs for the desired number of repetitions.
Sets and reps: 3 or 4 sets of 6 to 10 reps on each side.
Why this matches
- Primary muscle: glutes, not abductors
- Equipment: bodyweight only, the same as Hip Circles (Prone)
- Body position: lying face down, the same as Hip Circles (Prone)
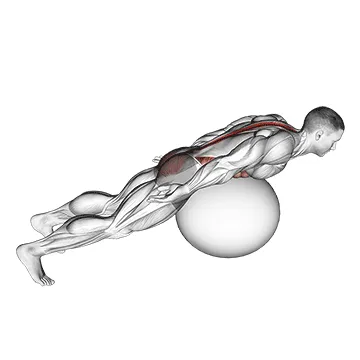
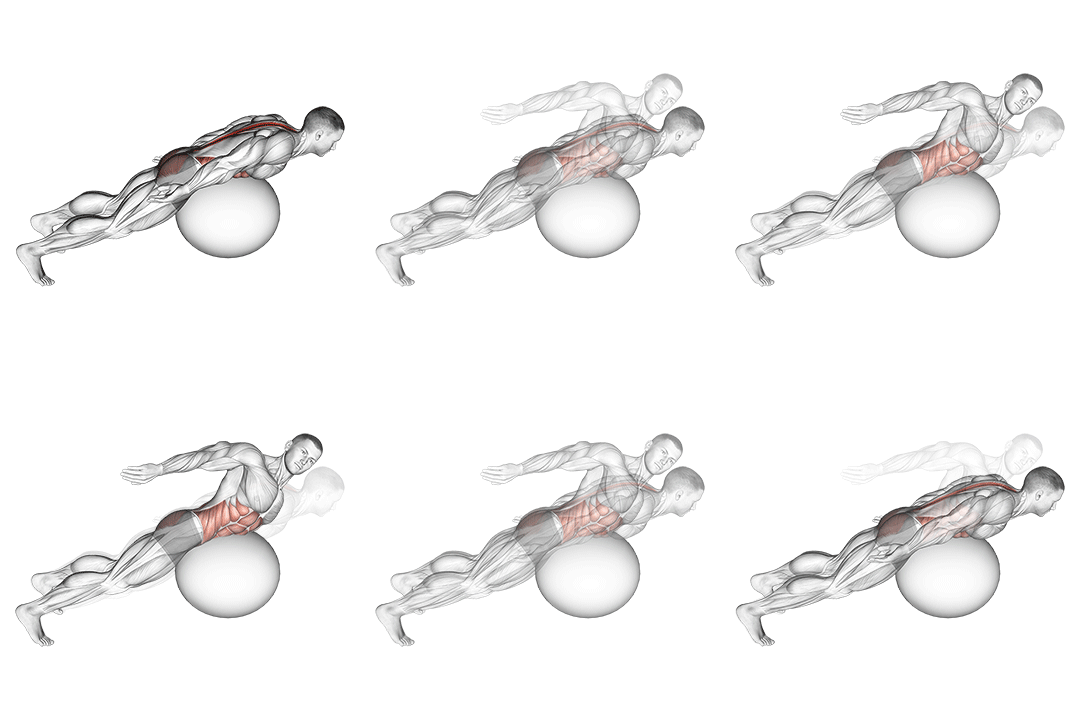
- Spine
- Stability-ball
- Advanced
- Compound
A looser match: it works the spinal erectors rather than the abductors.
How to perform this exercise
- Start by lying face down on the stability ball with your hips resting on the ball and your feet firmly planted on the ground.
- Place your hands behind your head or cross them over your chest.
- Engage your core and slowly lift your upper body off the ball, extending your back until your body forms a straight line from your head to your heels.
- Pause for a moment at the top, then slowly rotate your torso to one side, keeping your hips and legs stable.
- Return to the center and repeat the rotation to the other side.
- Lower your upper body back down to the starting position and repeat for the desired number of repetitions.
Sets and reps: 3 or 4 sets of 6 to 10 reps on each side.
Why this matches
- Primary muscle: spine, not abductors
- Equipment: bodyweight only, the same as Hip Circles (Prone)
- Body position: lying face down, the same as Hip Circles (Prone)
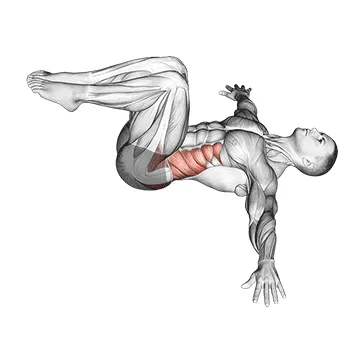
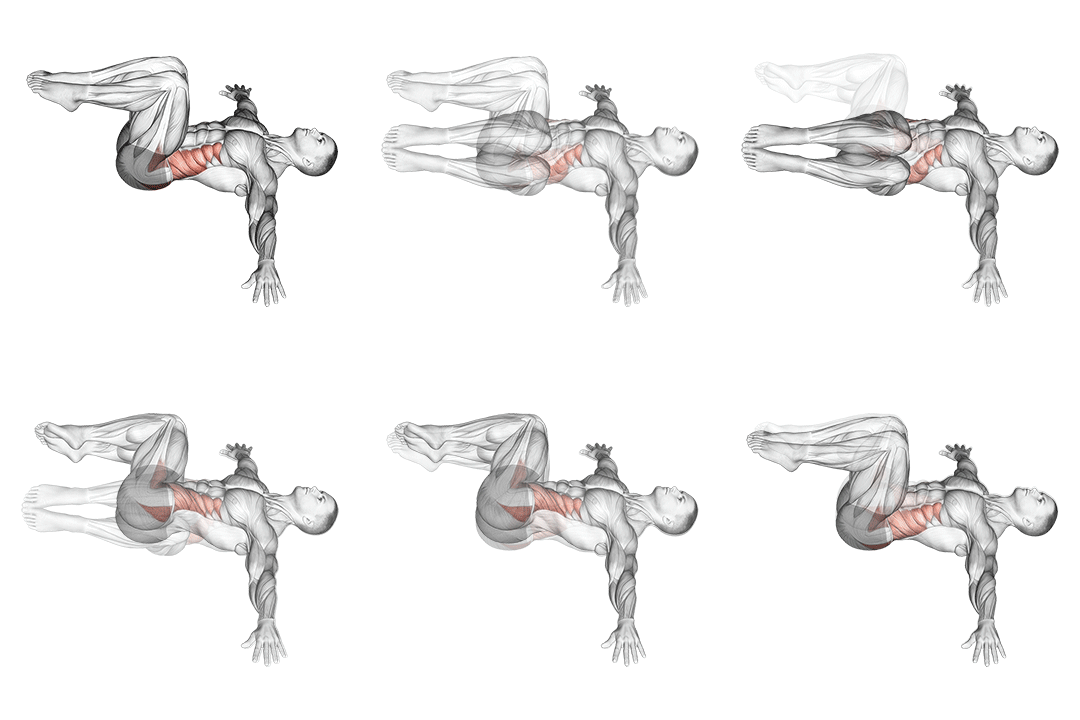
5. Bent Knee Lying Twist
66% match- Glutes
- Bodyweight
- Beginner
- Isolation
How to perform this exercise
- Lie flat on your back with your knees bent and feet flat on the ground.
- Extend your arms out to the sides, perpendicular to your body.
- Keeping your knees together, slowly lower them to one side, aiming to touch the ground with your knees.
- Pause for a moment, then engage your core and slowly lift your knees back to the starting position.
- Repeat the movement to the other side.
- Continue alternating sides for the desired number of repetitions.
Sets and reps: 3 sets of 8 to 12 reps on each side, and add reps before you add load.
Why this matches
- Primary muscle: glutes, not abductors
- Equipment: bodyweight only, the same as Hip Circles (Prone)
- Body position: lying on your back, not lying face down
6. Iliotibial Tract-smr
64% match- Abductors
- Foam-roll
- Beginner
- Isolation
A good swap when you have a foam roller to work with, and it still works the abductors.
How to perform this exercise
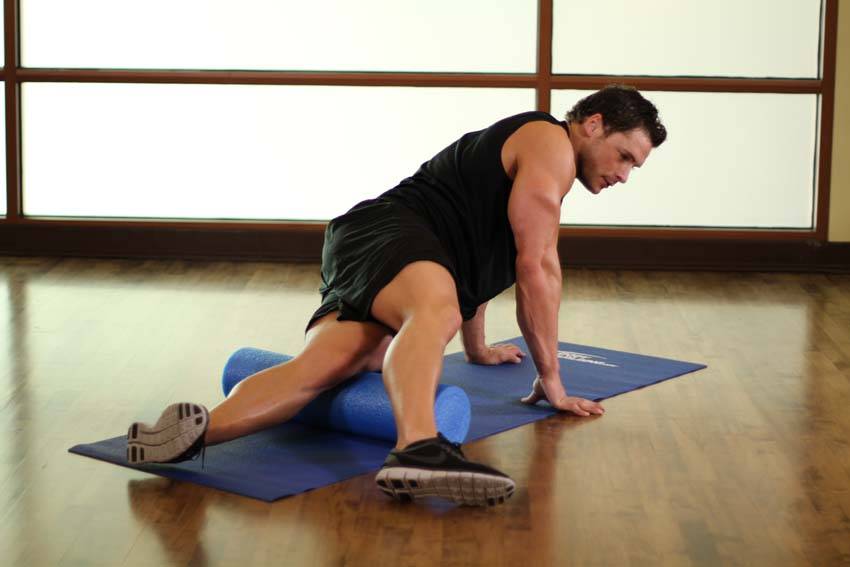
- Lay on your side, with the bottom leg placed onto a foam roller between the hip and the knee. The other leg can be crossed in front of you.
- Place as much of your weight as is tolerable onto your bottom leg; there is no need to keep your bottom leg in contact with the ground. Be sure to relax the muscles of the leg you are stretching.
- Roll your leg over the foam from you hip to your knee, pausing for 10-30 seconds at points of tension. Repeat with the opposite leg.
Sets and reps: Hold for 30 to 60 seconds and repeat 2 or 3 times.
Why this matches
- Primary muscle: abductors, the same as Hip Circles (Prone)
- Equipment: bodyweight only, the same as Hip Circles (Prone)
Progression
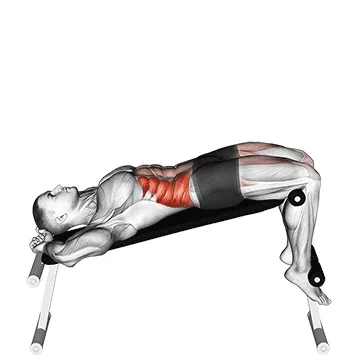
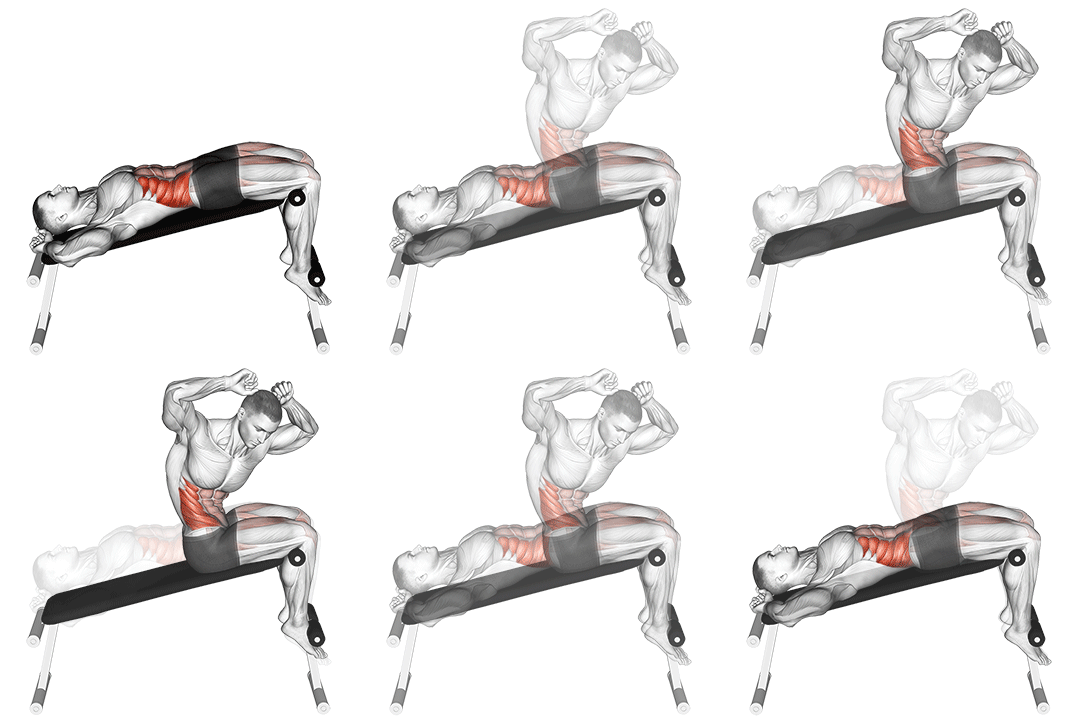
7. Incline Twisting Sit-up
63% match- Abs
- Bodyweight
- Intermediate
- Compound
A looser match: it uses the same equipment, but it works the abs rather than the abductors.
How to perform this exercise
- Set up an incline bench at a 45-degree angle.
- Lie down on the bench with your feet secured under the foot pads.
- Place your hands behind your head or across your chest.
- Engage your abs and lift your upper body off the bench, curling forward.
- As you curl up, twist your torso to one side, bringing your elbow towards the opposite knee.
- Pause for a moment at the top, then slowly lower your upper body back down to the starting position.
- Repeat the movement, this time twisting your torso to the other side.
- Continue alternating sides for the desired number of repetitions.
Sets and reps: 3 or 4 sets of 6 to 10 reps.
Why this matches
- Primary muscle: abs, not abductors
- Equipment: bodyweight only, the same as Hip Circles (Prone)
- Body position: lying on your back, not lying face down
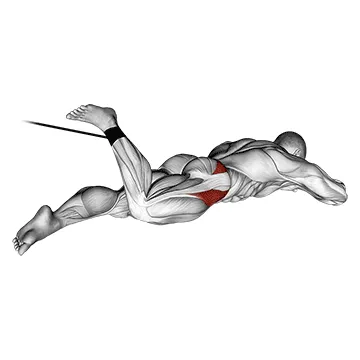
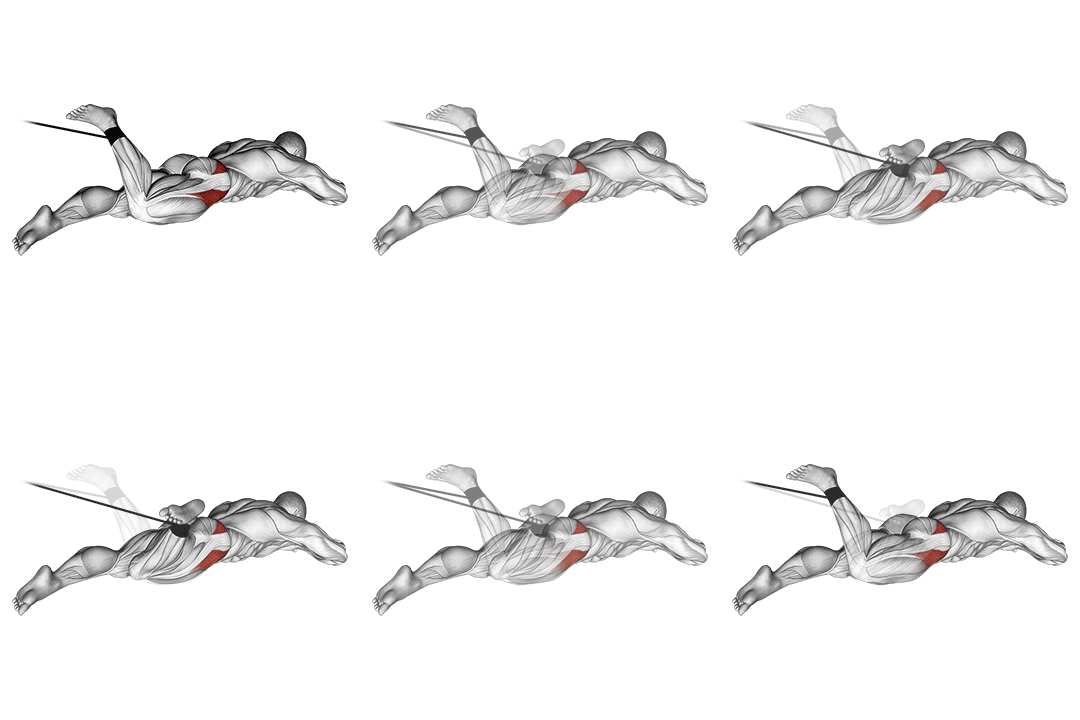
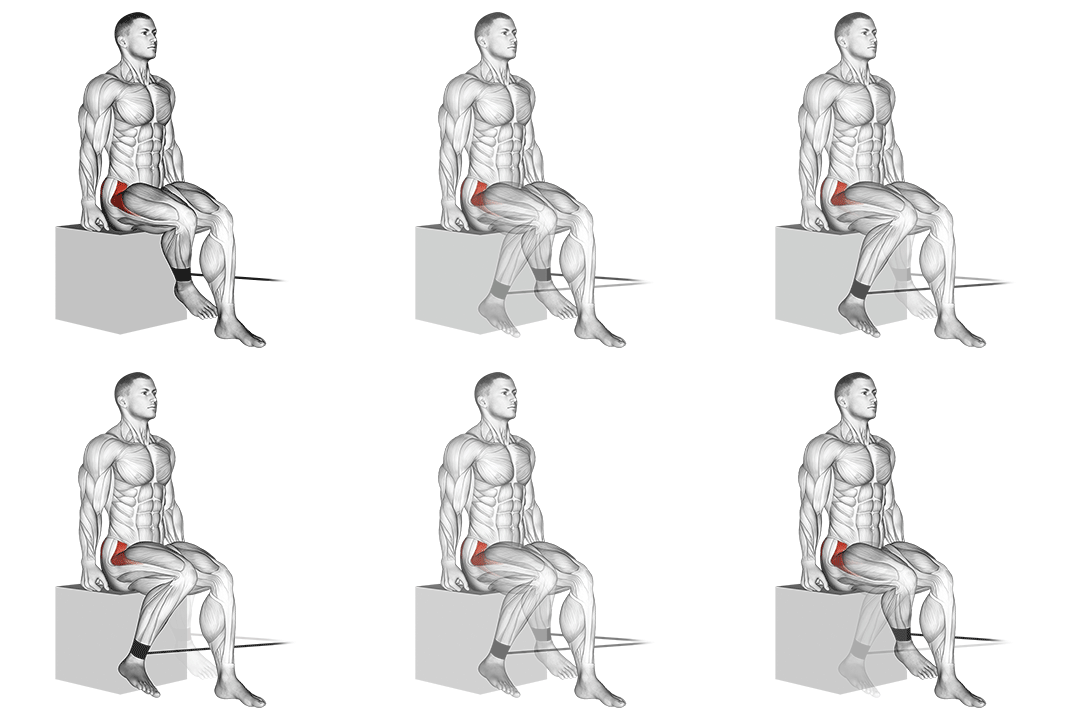
8. Band Lying Hip Internal Rotation
63% match- Glutes
- Band
- Beginner
- Isolation
How to perform this exercise
- Lie on your back with your legs straight and a resistance band looped around your feet.
- Bend your knees and bring them towards your chest, keeping your feet together.
- Slowly rotate your knees outwards, away from each other, while keeping your feet together.
- Pause for a moment at the end of the rotation, then slowly return to the starting position.
- Repeat for the desired number of repetitions.
Sets and reps: 3 sets of 10 to 15 reps on each side.
Why this matches
- Primary muscle: glutes, not abductors
- Equipment: a band, not bodyweight only
- Body position: lying on your back, not lying face down
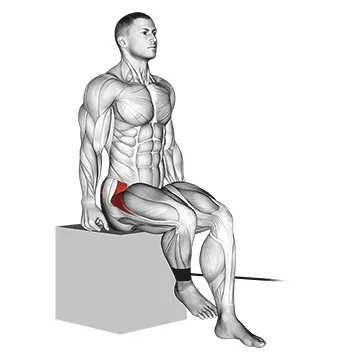
9. Band Seated Hip Internal Rotation
62% match- Glutes
- Band
- Beginner
- Isolation
How to perform this exercise
- Sit on a chair or bench with your back straight and feet flat on the ground.
- Place a resistance band around your thighs, just above your knees.
- Keep your knees bent at a 90-degree angle and your feet shoulder-width apart.
- Engage your glutes and slowly rotate your knees outward, pushing against the resistance of the band.
- Pause for a moment at the end of the movement, then slowly return to the starting position.
- Repeat for the desired number of repetitions.
Sets and reps: 3 sets of 10 to 15 reps on each side.
Why this matches
- Primary muscle: glutes, not abductors
- Equipment: a band, not bodyweight only
- Body position: seated, not lying face down
Progression
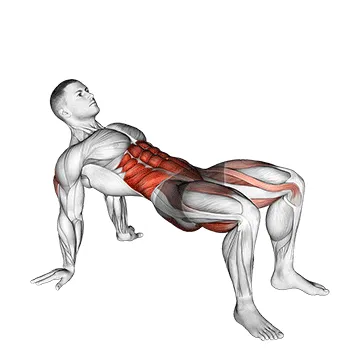
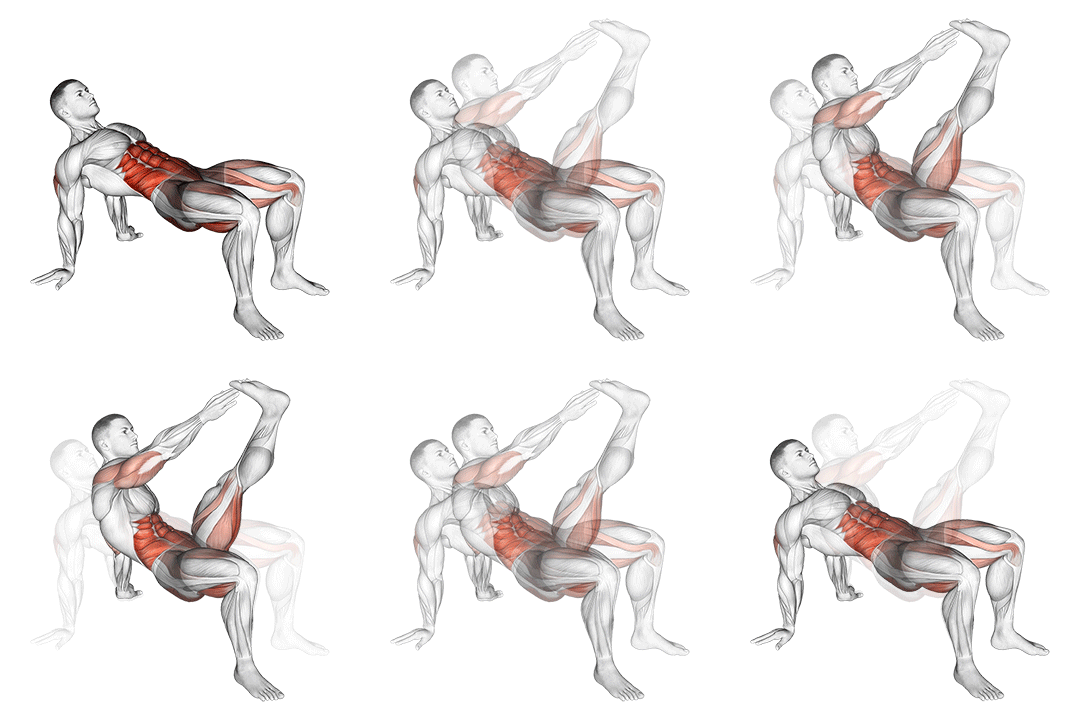
10. Crab Twist Toe Touch
59% match- Abs
- Bodyweight
- Intermediate
- Compound
How to perform this exercise
- Start by sitting on the ground with your knees bent and feet flat on the floor.
- Place your hands behind you, fingers pointing towards your feet, and lift your hips off the ground.
- Extend one leg straight out in front of you while simultaneously reaching your opposite hand towards your toes.
- Return to the starting position and repeat on the other side.
- Continue alternating sides for the desired number of repetitions.
Sets and reps: 3 or 4 sets of 6 to 10 reps on each side.
Why this matches
- Primary muscle: abs, not abductors
- Equipment: bodyweight only, the same as Hip Circles (Prone)
- Body position: seated, not lying face down
- Balance: harder to stay steady on than Hip Circles (Prone)
Why You Might Need a Hip Circles (Prone) Alternative
You may need substitutes because prone hip circles can aggravate low-back pain, shoulder strain, or hip impingement. Prone position increases lumbar extension and can compress anterior structures; side-lying or standing variations remove that load and emphasize pure abductor torque. Choose alternatives when you lack space or need lower-impact work during rehab. Use cues such as "keep ribs stacked over pelvis" and "drive movement from lateral hip, not TFL" to keep gluteus medius dominant and avoid compensatory hip hiking or internal rotation.
How to Choose the Right Hip Circles (Prone) Substitute
Select a substitute based on pain, equipment, and the desired training effect. For isolation and motor control pick side-lying clamshells: keep heels together and rotate only at the hip to emphasize gluteus medius activation. For functional strength and endurance choose standing band walks: maintain slight knee bend, band above knees, and step laterally with control to load abductors under compression. If you need progressive overload, use ankle weights or increase band tension, and monitor frontal-plane knee alignment to prevent TFL dominance.
Hip Circles (Prone) FAQ
What muscles does Hip Circles (prone) work?
Prone hip circles primarily target the hip abductors, especially the gluteus medius and gluteus minimus, with secondary involvement from the tensor fasciae latae. They also demand pelvic stabilization, so the deep core and contralateral gluteal muscles assist to control rotation.
What is the best bodyweight alternative to Hip Circles (prone)?
Side-lying clamshells are the best bodyweight alternative for isolating the abductors. Lie on your side with knees bent, keep heels together, open the top knee while keeping the pelvis still, and squeeze the gluteus medius at the top to maximize activation.
Find Alternatives for Any Exercise
Search the exercise database and filter the ranked substitutes by the equipment you own.
Similarity scores compare exercise metadata such as movement pattern, muscles, equipment and body position. They are not a safety rating or a check that you own the equipment. Learn about our methodology