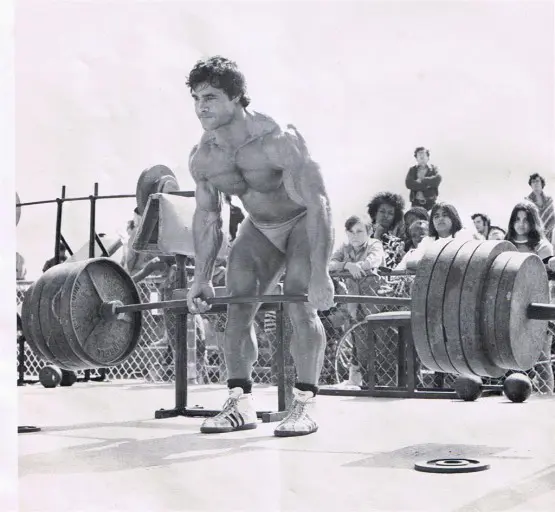
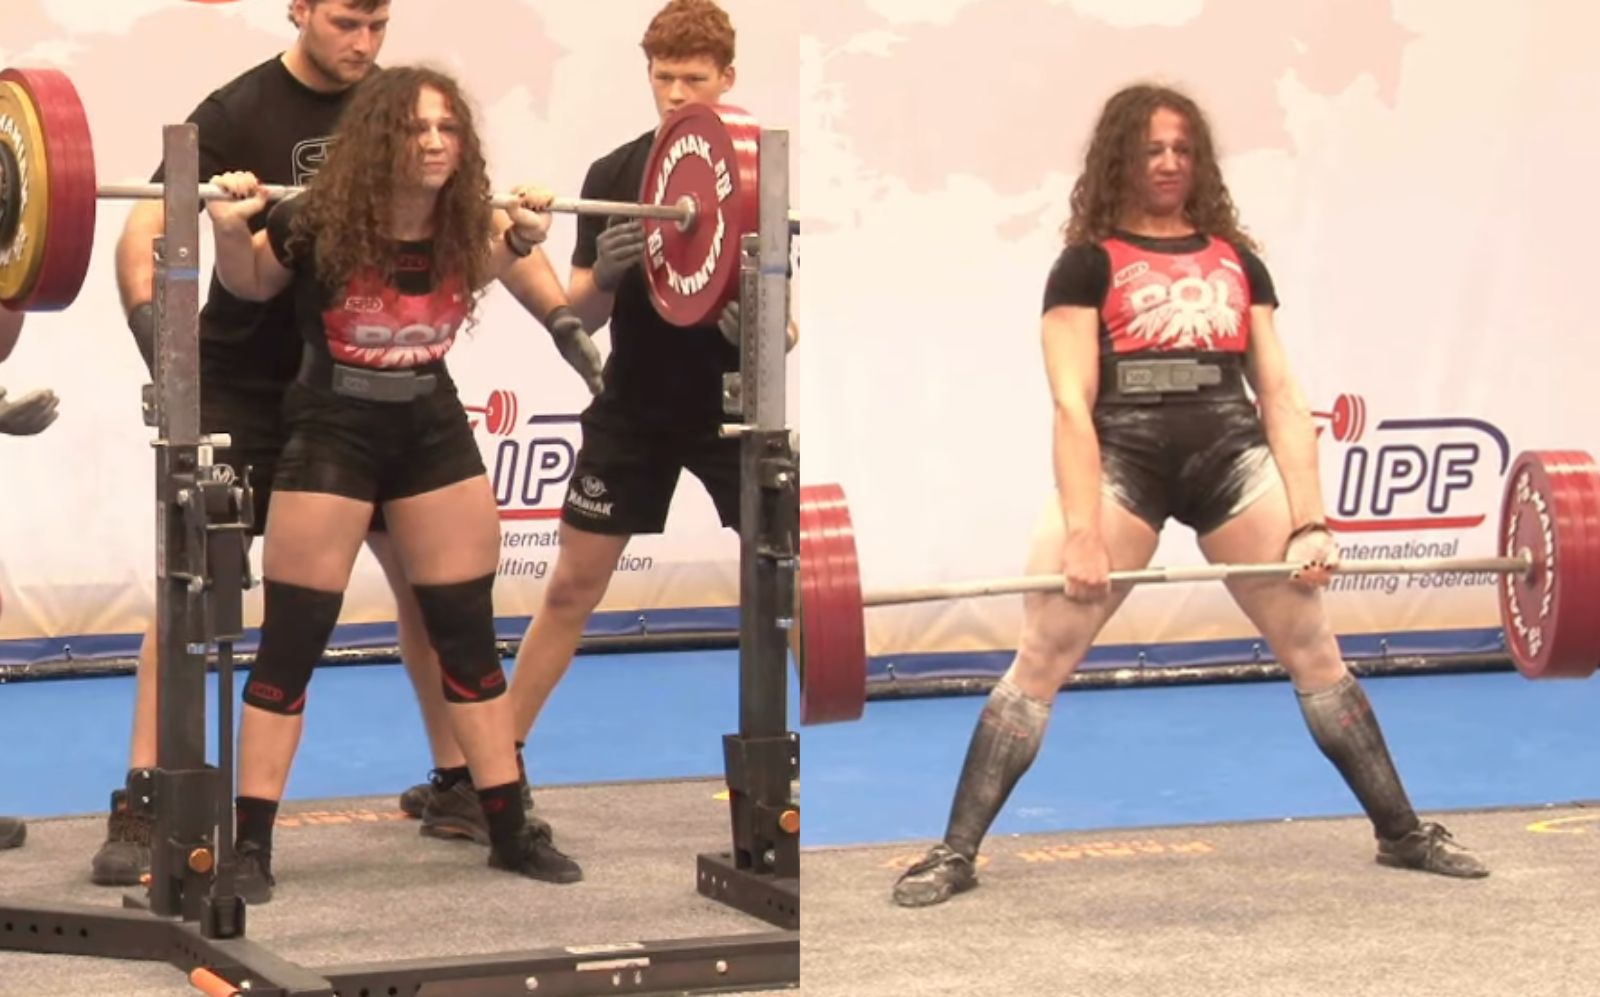
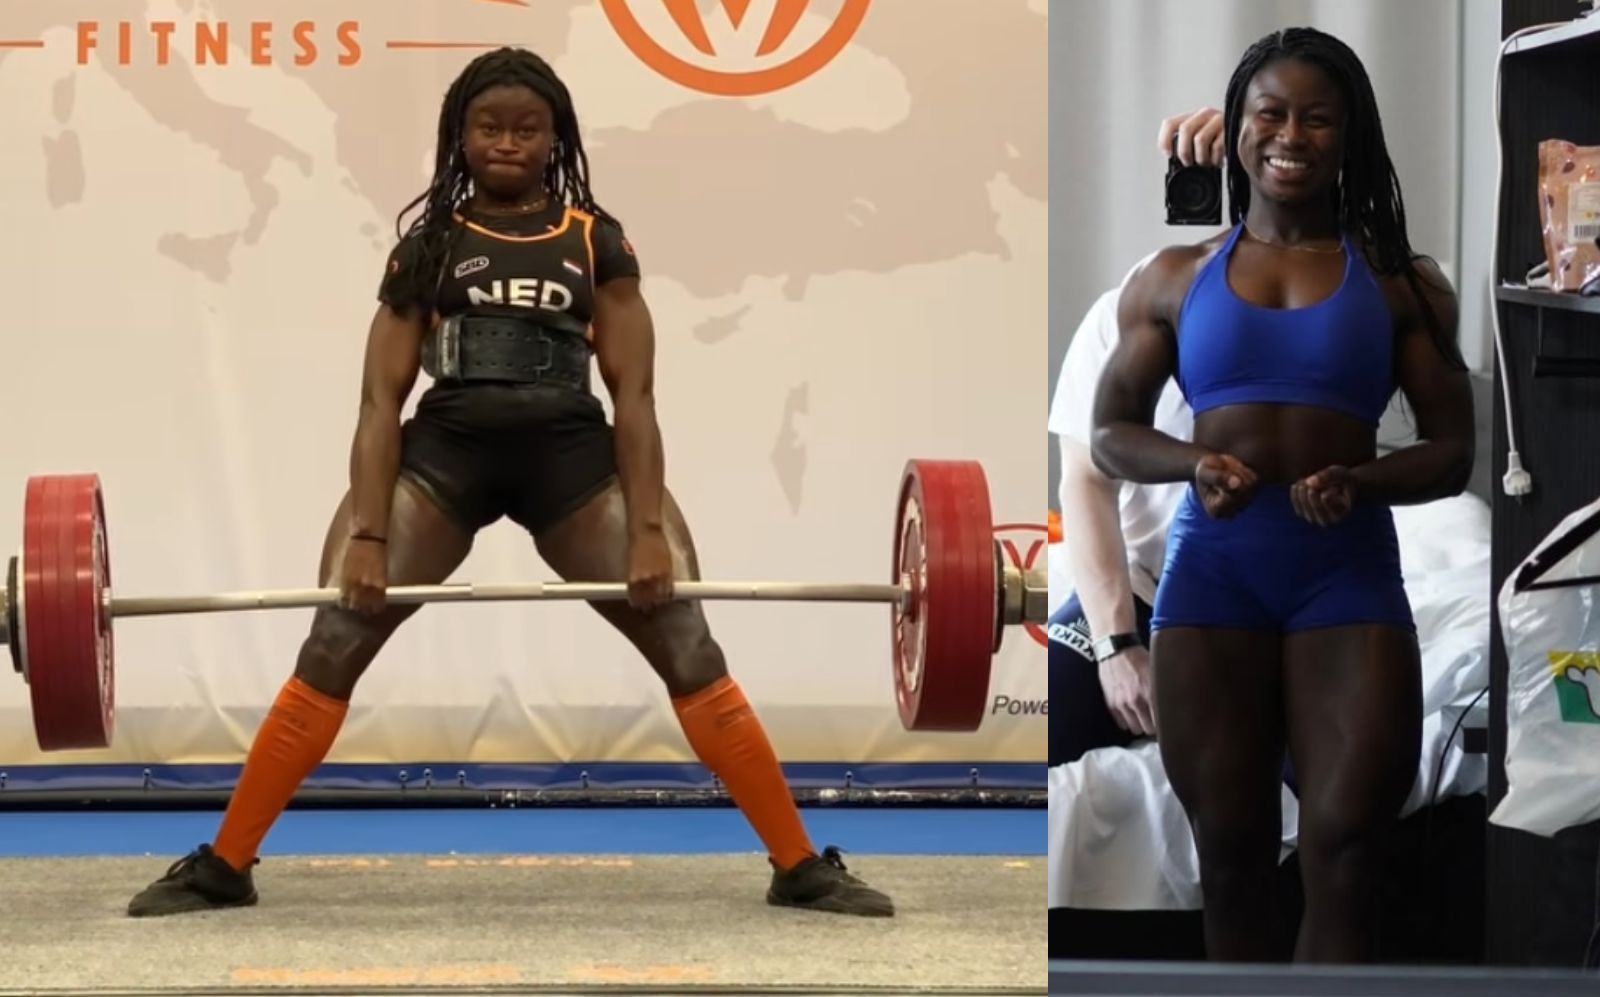
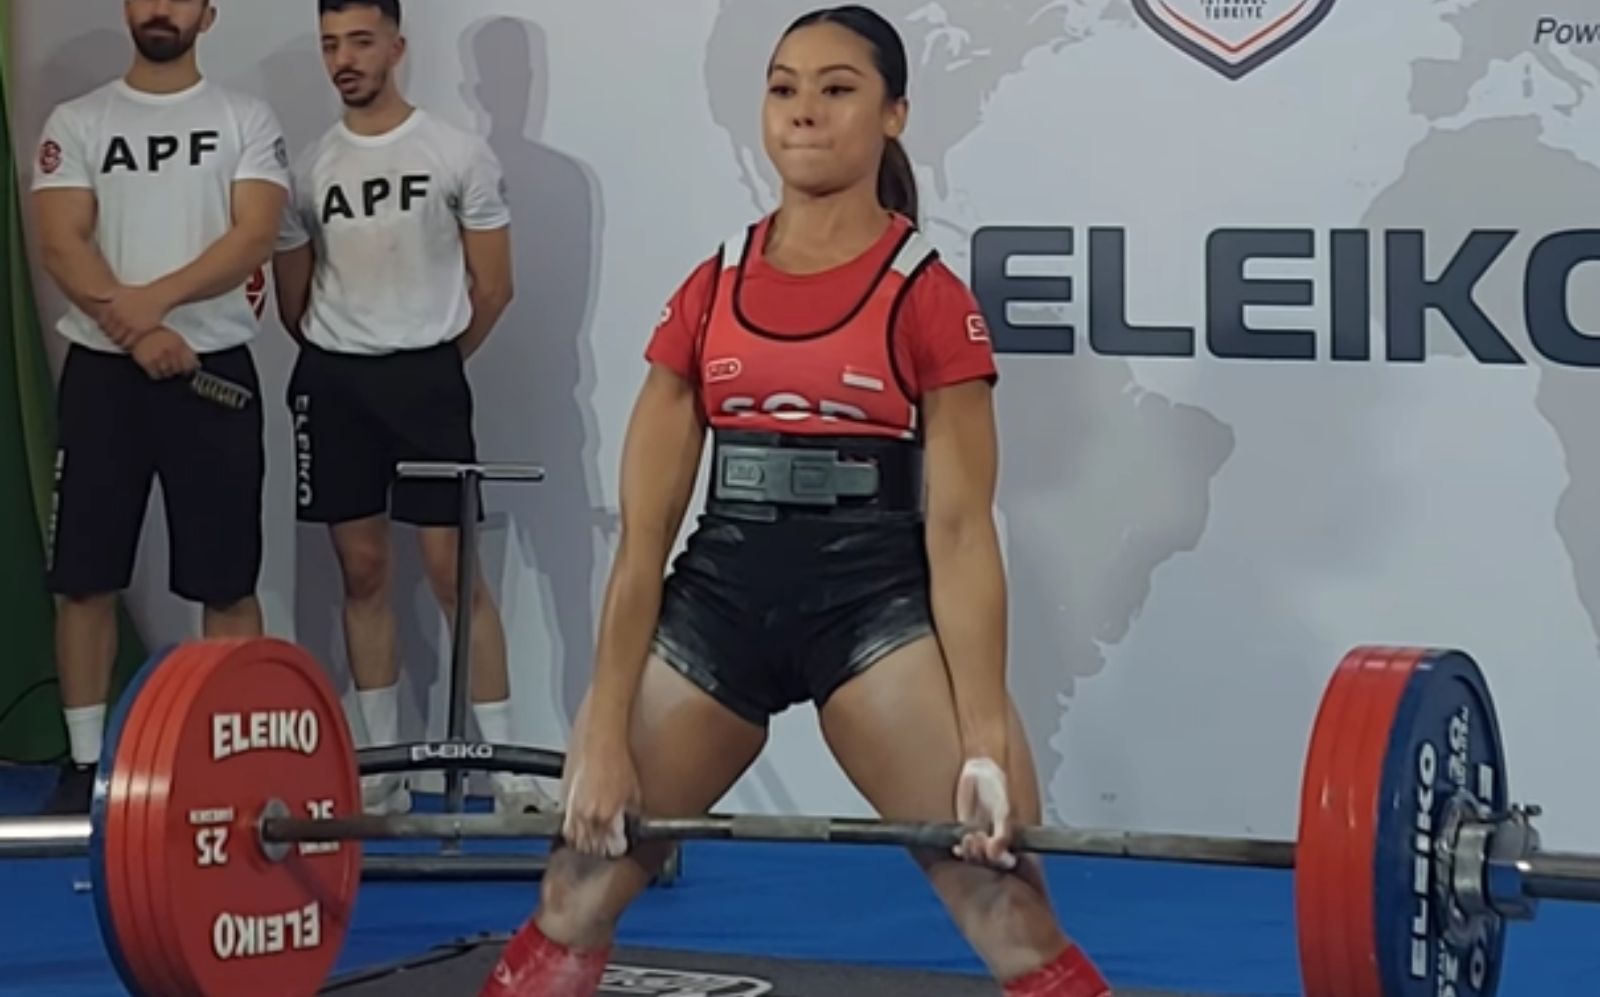
The deadlift has something of a checkered history. During the late 19thand early 20thcenturies, it was known as the “health lift” as it had such a profound effect on total body strength and wellbeing.
Fast forward to the era of strength training machines and sedentary lifestyles, and the deadlift is often considered a slightly dangerous exercise. Some trainers avoid prescribing it entirely and are more likely to recommend things like leg curls and hip thrusts instead.
Yes, deadlifts ARE demanding and, if done incorrectly, there is a risk of injury. However, this is not the fault of the exercise. Instead, it is an issue of poor performance.
For this article, we’re going to take an in-depth look at what could be the most productive exercise in your workout toolbox and make sure you know how to do it properly.
What Are Deadlifts?
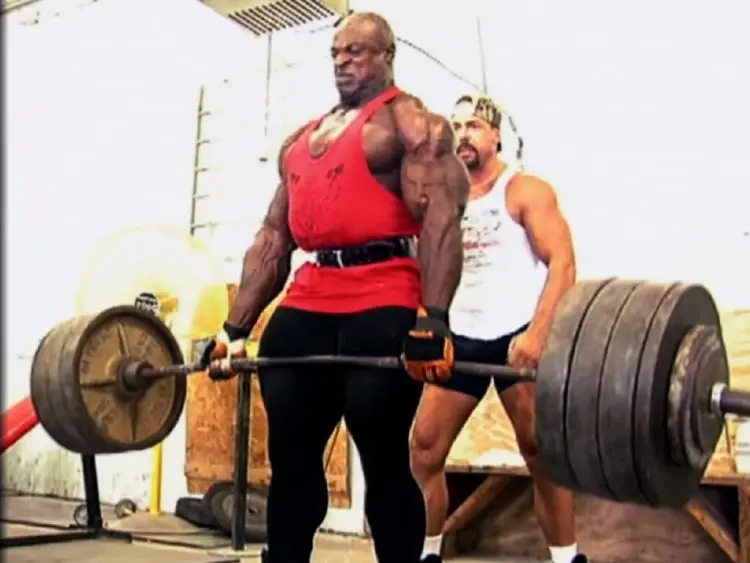
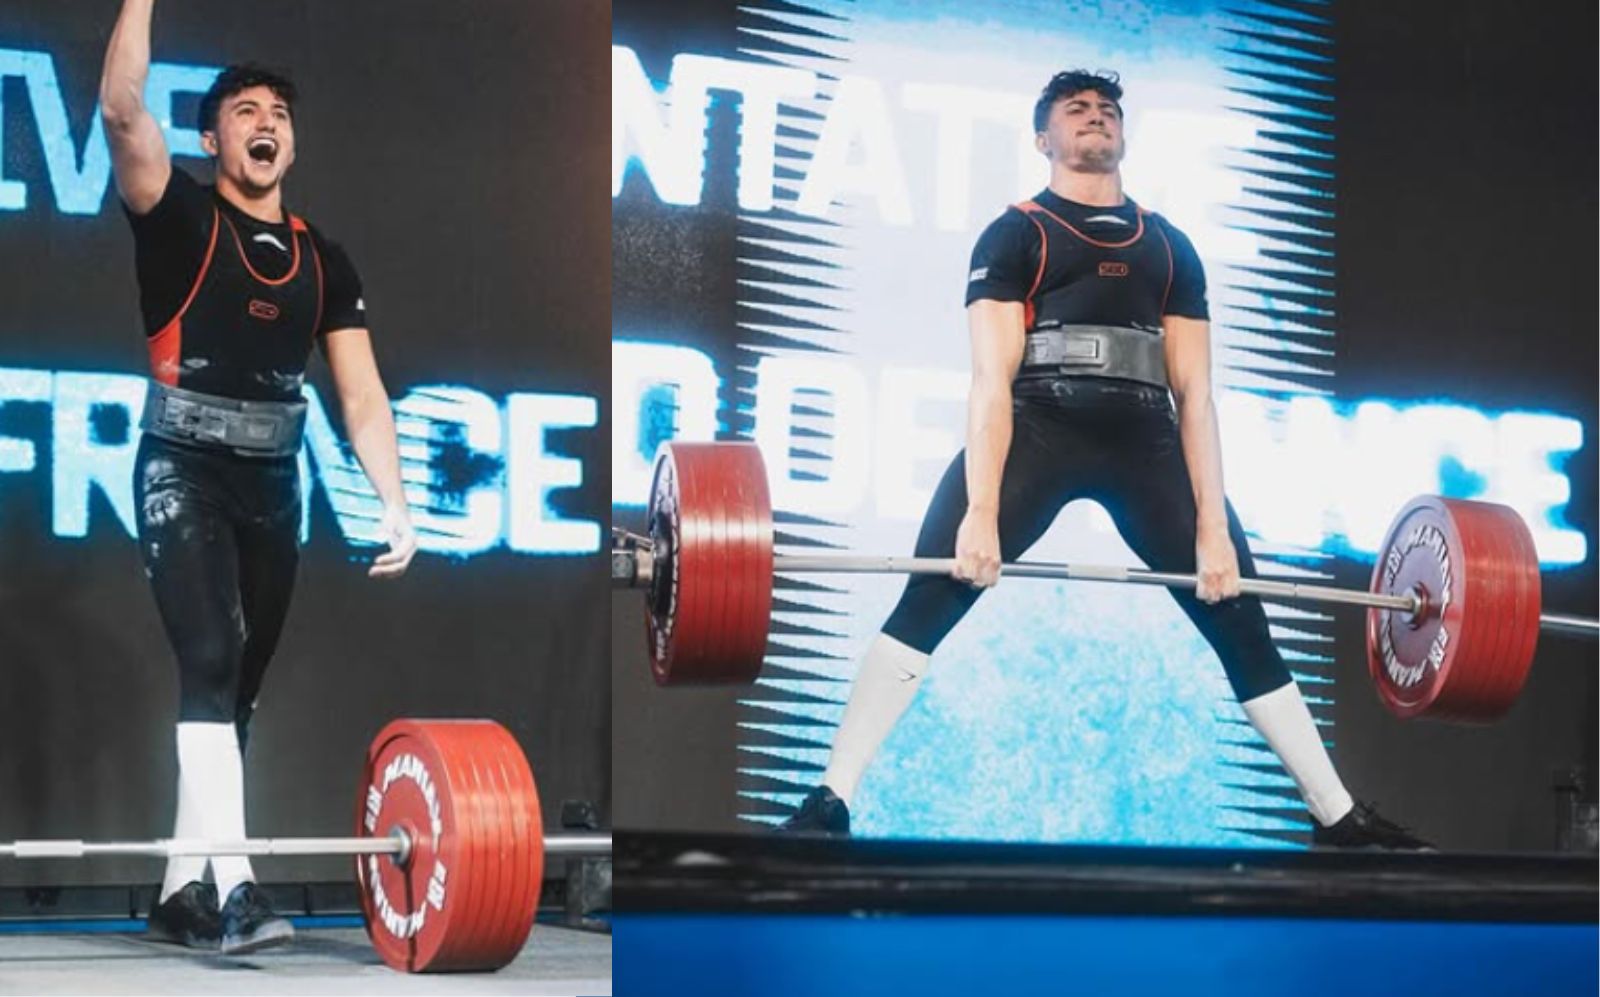
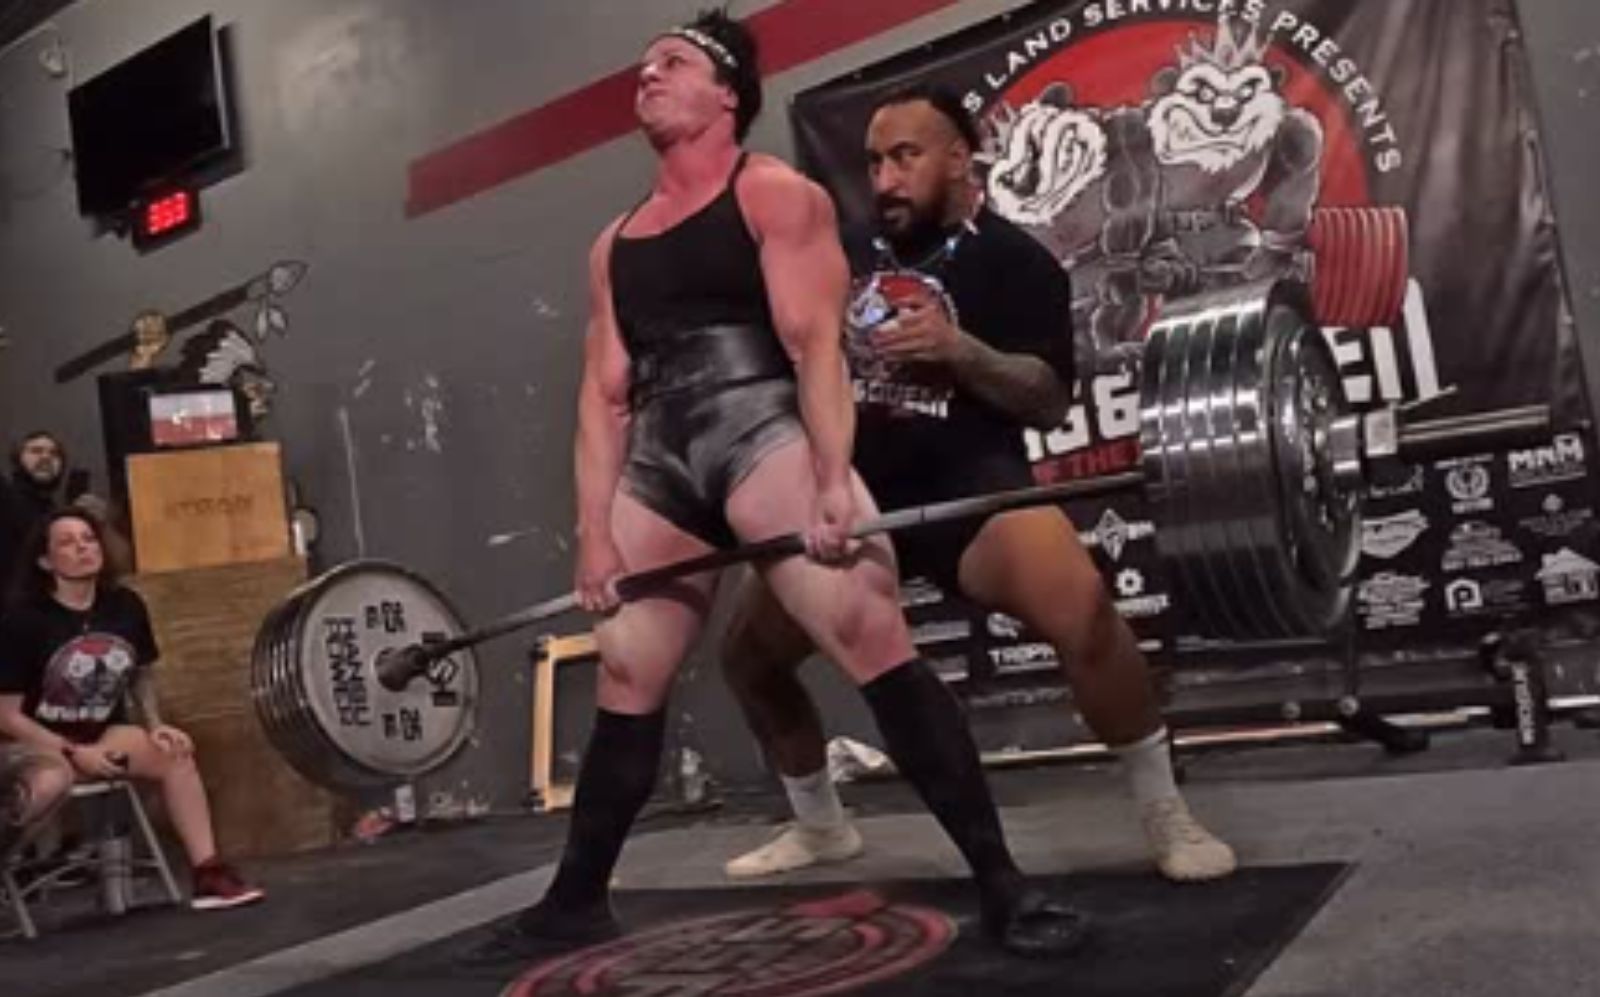
Deadlifts are so-called because you lift the weight from a dead stop. Deadlifts are usually done using a barbell, but there are variations that use dumbbells, kettlebells, and devices called trap or hex bars. Deadlifts can be done using a hip to shoulder-width stance (conventional deadlifts) and with a wide stance (sumo deadlifts).
Read more about the different types of deadlifts here.
Level Up Your Fitness: Join our 💪 strong community in Fitness Volt Newsletter. Get daily inspiration, expert-backed workouts, nutrition tips, the latest in strength sports, and the support you need to reach your goals. Subscribe for free!
Athletes from all sports do deadlifts to build strength and power, while bodybuilders use them to increase back and posterior chain mass. They’re also a great glute exercise, so they’re popular with anyone interested in sculpting a bigger, firmer butt.
Deadlifts regularly feature in strongman competitions and are the final lift contested in powerlifting. Powerlifting meets are often decided on the last deadlift of the day.
As well as being a superior strength-training exercise, the deadlift also mirrors the best way to lift just about anything off the floor, from garbage cans to shopping bags to your kids. They teach you to lift using your legs while maintaining a naturally arched lumbar spine and braced core. This is a task most people face at some point, so you might as well learn to do it right!
Deadlift Anatomy Basics
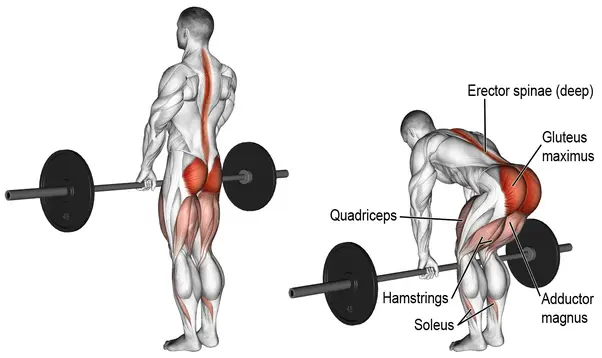
It’s almost easier to list the muscles NOT used in a deadlift as this is very much a whole-body exercise. From your heels to the base of your skull via your arms, core, and back – almost every muscle on your body is used when deadlifting. From bottom to top, the main muscles involved in the deadlift are:
- Gastrocnemius and soleus – calf muscles
- Hamstrings – rear of the thigh
- Quadriceps – front of the thigh
- Gluteus maximus – bottom/butt muscles
- Erector spine – muscles on either side of your spine
- Core muscles – deep muscles surrounding your internal organs
- Rhomboids and trapezius – muscles of the upper back
- Latissimus dorsi – side upper back muscles
- Deltoids – muscles of the shoulder
- Biceps and triceps – front and back of the upper arm
- Forearm flexors – gripping muscles
In terms of workout economy, deadlifts get a lot of work done in a very short space of time. Add a few sets of press-ups, dips, or bench presses to your workout, and you’ve pretty much covered every major muscle in your body.
Deadlift Equipment Essentials
Theoretically, you can deadlift just about anything, but for instructional purposes, we’re going to focus on the conventional barbell deadlift.
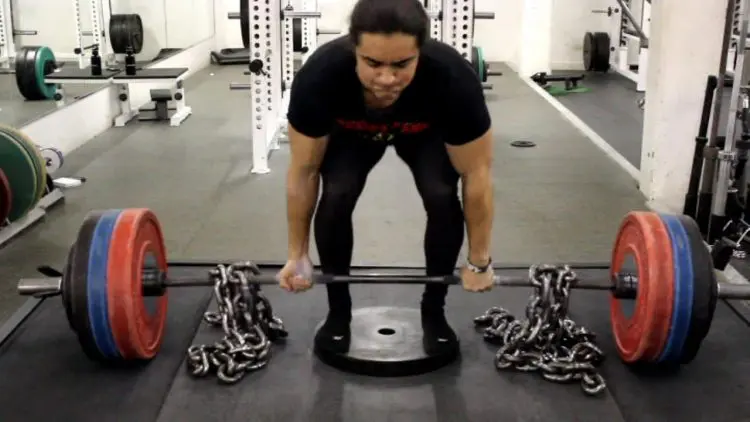
To make deadlifts as safe as possible, you need to raise your barbell so that it is about nine inches/23 centimeters off the floor. You can either place it on a couple of sturdy boxes, some stacked weight plates, or use full-sized lightweight training plates to achieve this.
Once you are strong enough, you can simply use 20kg (45-pound) Olympic bumper weight plates on the bar as this creates the proper height.
While you can deadlift with the bar closer to the ground, this is not a good idea as, for most lifters, it can lead to a rounded lower back. The exception to this is deficit deadlifts – discussed here.
Clothing-wise, make sure your legwear allows you to bend forward without restriction. I have burst the backside of numerous pairs of shorts and pants when deadlifting, so please learn from my (embarrassing) mistakes!
For footwear, initially, any kind of athletic shoe will do, but as you get more proficient, you’ll find that shoes with little or no cushioning and low heels are best. Soft, spongy shoes are great for running and other high-impact activities, but for deadlifts, they compress and deform, which can make you very unstable. That’s not something you want when wrestling with a heavy barbell.
Also, thick shoes mean you have to lift the weight further. This might not seem important right now, but every inch matters once you start lifting serious weight.
Olympic lifting shoes can also be problematic, as they push you forward onto your toes. This will affect your balance, increases the chances that you’ll round your back, and also turn what should be a posterior chain-dominant exercise into one that works your quads more.
Many exercisers prefer to deadlift in their socks, and powerlifters wear minimalist deadlift slippers for all the reasons listed above. You might not need to go to such extremes, but, for best results, firm, flat shoes are generally best for deadlifting.
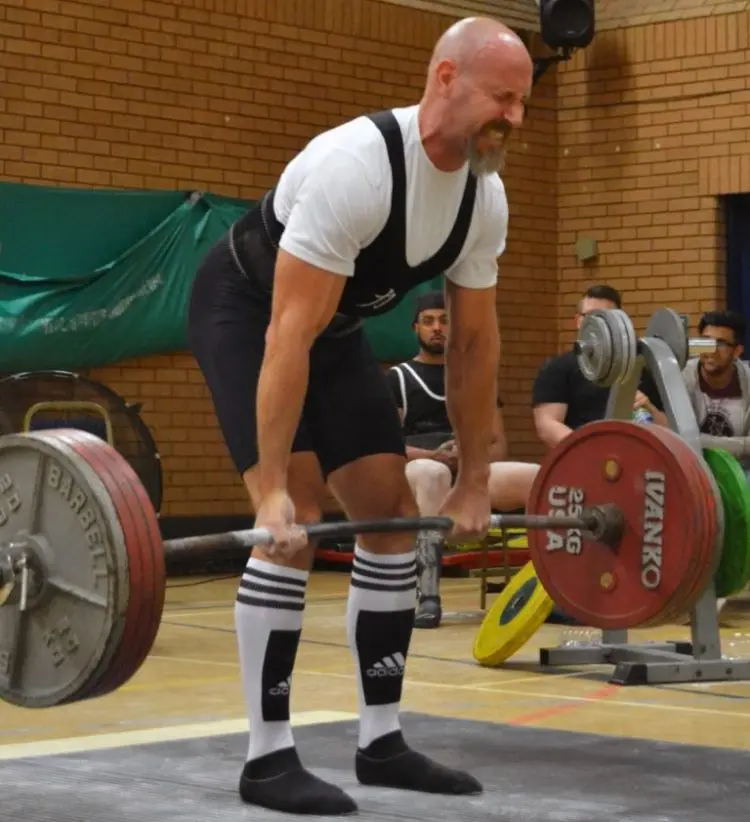
As grip plays such an important part in successful deadlifting, you may want to use chalk to make sure your hands are dry and won’t slip during your set. After all, you can’t lift what you can’t hold. No chalk? No problem! Just dry your hand on a towel before you start.
Gloves are generally NOT recommended for deadlifts. Wearing gloves effectively increases the diameter of the bar, making it harder to grip. Wearing gloves may help stop your hands from slipping, but this benefit is lost because your gloves make the bar thicker and harder to hold. However, for light deadlifts and to avoid calluses, you could still get a decent workout while wearing weightlifting gloves.
Eventually, you may find you can deadlift more weight than you can comfortably hold. Chalk and a mixed grip, plus some targeted grip training can help with this problem. But the most immediate solution is to use lifting straps, which you can read all about here.
Some lifters like to wear a belt for deadlifts. Weightlifting belts increase intra-abdominal pressure for greater lumbar stiffness and back support. Using a belt may help you lift more weight. However, unless you are lifting hefty weights, a belt is probably unnecessary. Save belt use for when you really need it, and only after you have mastered deadlifting without a one.
Deadlift Form Step-By-Step Guide
There is no denying the power of deadlifts. Whether you want to build muscle or get strong, they really should be part of your workouts. However, done incorrectly, they can cause severe back injuries. Because of the potential for lifting heavy weights, you must deadlift with proper form.
Enjoy the benefits while keeping the risk of injury to a minimum by taking the time to learn how to deadlift correctly. Start with light weights so that, if you make a mistake, you won’t hurt yourself.
Only add weight to the bar when you are confident that your technique is perfect. Light deadlifts done right are usually more productive than heavy deadlifts done badly. (Yes, I’m talking about you, Trump Jnr!)
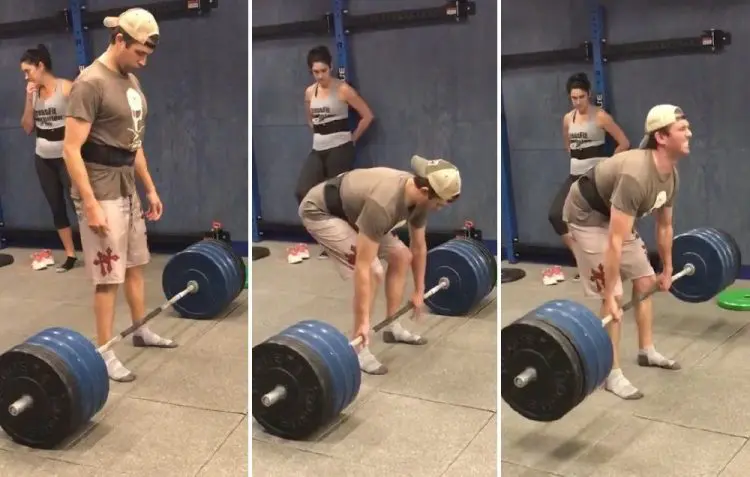
Follow these steps to pull off (pun intended) the perfect deadlift.
Step 1– Set your barbell up so that it’s about nine inches above the floor. Remember, if you’re using standard-sized Olympic plates, the bar should already be at the correct height. If it isn’t, use whatever means necessary to achieve the right level.
Step 2– Stand in the middle of the bar. Position your feet so that they are around hip-width apart. Keep your feet parallel or, if preferred, turn them very slightly outward. The bar should be directly over the middle of your feet and around two inches from your shins.
Step 3– Lean forward and grasp the bar with a shoulder-width overhand grip. This means your palms should be facing your legs. A wider grip is not recommended as it merely increases the distance you have to lift the weight. Wrap your hands tightly around your bar and put your thumb on top of your first two fingers. This reinforces your grip and prevents slippage.
Step 4– With straight arms, lift your chest, arch your lower back, and pull your shoulders down and back. Your hips should be below shoulder height. Angle your head so that you are looking at the floor around three meters (10 feet) in front of you.
Step 5– Take a big lung full of air, brace your abs, and get ready for blast-off. Take the slack out of the bar so that your entire body feels coiled like a spring, ready to explode.
Step 6– Without bending your arms, press your feet into the floor and extend your knees and hips simultaneously. As you break the bar away from the floor, drive your hips forwards, continue extending your knees and stand up.
Level Up Your Fitness: Join our 💪 strong community in Fitness Volt Newsletter. Get daily inspiration, expert-backed workouts, nutrition tips, the latest in strength sports, and the support you need to reach your goals. Subscribe for free!
DO NOT let your hips rise faster than your shoulders. This increases the distance between the weight and your base of support and puts more stress on your lower back than necessary. Your shoulders (and therefore the bar) should rise at the same speed as your hips.
At the top of the movement, make sure your knees are locked out, and your hips are extended. Pause for a second and admire the view!
Now it’s time to put the bar back down. Lowering the weight is easier as gravity is now your friend. However, you must put the weight down with good technique to minimize your risk of injury.
Step 7– With your arms still straight, chest lifted, and shoulders pulled down and back, push your hips backward and then bend your knees. Moving your hips first means that the bar will miss your knees as you lower it to the ground.
Step 8– Lower the bar down the front of your legs. Control your descent, but there is no need to go super-slow. However, don’t drop it either. When the bar touches the floor, allow it to settle so you can reset your grip and back position before doing another rep.
Breathing for Deadlifts
In general, you should inhale as you lift the weight and then exhale as you lower it. However, once the weight gets heavy, and you are working in the lower rep ranges, you will find it necessary to breathe between reps.
This breathing pattern increases intra-abdominal pressure and lumbar support but also increases blood pressure. If you have any blood pressure issues, use lighter weights for this exercise and follow the inhale/raise, exhale/lower breathing pattern.
A Note on Deadlift Grip
So far, we have specified a pronated or palms-down grip. Many lifters choose to use what is known as a mixed grip, where one hand faces forward, and one faces backward. This generally allows the lifter to use more weight as it stops the bar from rolling out of your fingers.
On the downside, the supinated or forward-facing hand puts the biceps of that arm in a very stretched position which can lead to elbow pain and injury. Also, a mixed grip can result in shoulder and upper back imbalances.
If you do choose to use a mixed grip. Try to alternate sides on a set-by-set basis or, better still, only use the mixed grip for your hardest sets.
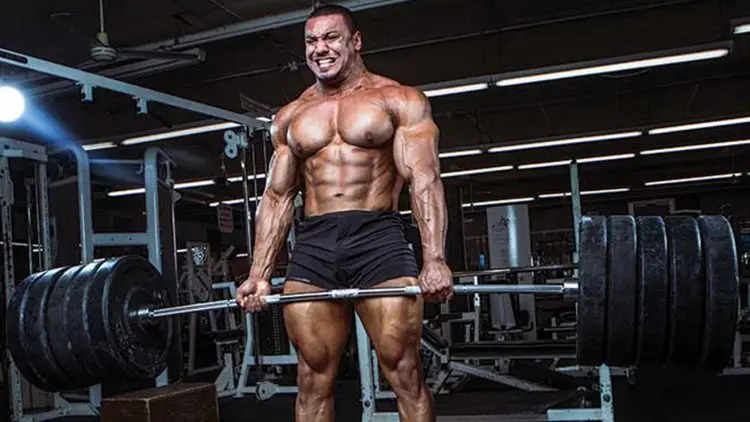
Common Deadlift Faults
Following our instructions, you should be well on your way to becoming a deadlift ace. It may take some time to become a faultless deadlifter but, with practice, you should be able to master this valuable exercise.
That said, you may still experience one or more of the following problems. Correct these faults early on in your deadlifting career, as once you get into bad habits, they can be tough to fix.
Common deadlift faults include:
Rounded lower back– Remember to keep your chest up and shoulders back. Keep the weight close to your legs, and do not let your hips rise faster than your shoulders. You may also benefit from some specific lower back strengthening exercises. A rounded lumbar spine can cause severe lower back pain.
Falling forwards during the lift– Make sure your weight is on your heels and that you can wiggle your toes inside your shoes at all times. Try deadlifting in shoes with a lower heel or, if your gym allows it, in bare feet.
Losing your balance at the top of the lift– Don’t lean back excessively at the top of the movement. Simply stand up straight with the weight held over your feet. There is no benefit to leaning back at the top of your deadlift.
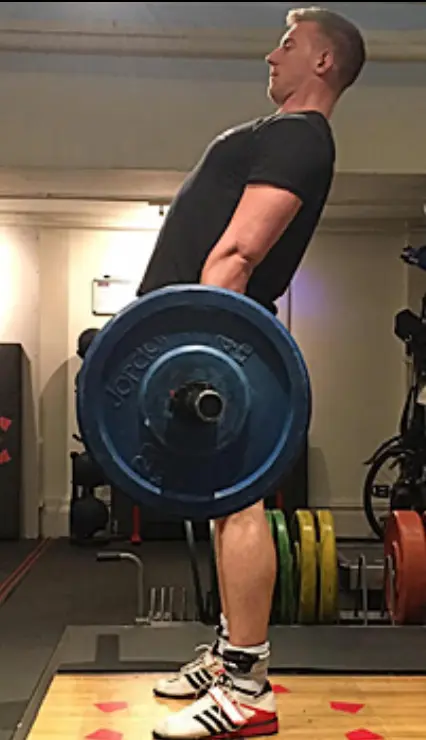
Read more about deadlifting faults and how to fix them in this in-depth guide.
Programming the Deadlift
There are no hard and fast rules on where the deadlift should go in your workouts. Because it’s such a full-body exercise, there are several programming options, and it’s up to you to experiment to determine which is best for you.
Your options are:
Deadlifts as part of your back workout – Deadlifts are a superb lat, trap, rhomboid, and erector spinae exercise, which is why a lot of bodybuilders include deadlifts in their back workouts. Do them near the beginning of your training session, when your energy and strength are their highest.
Deadlifts as part of your leg workout – Working your quads, hamstrings, and glutes, you could also do deadlifts as part of your leg workout. While squats and leg presses are more quad-dominant, deadlifts are similarly beneficial.
Have a deadlift day – If you are training for strength or powerlifting, you will probably benefit from dedicating an entire workout to deadlifts and any accessory exercises that will increase your performance. In this instance, deadlifts should be your first and main exercise, followed by a few supplemental movements, such as good mornings, Romanian deadlifts, and leg curls.
Deadlifts only workout – Deadlifts are such an all-encompassing exercise that you could have a great workout doing nothing else. After all, deadlifts work virtually every muscle in your body. Check out our One Lift A Day (OLAD) workout for more details on single lift training.
Regarding sets and reps, your deadlift workout should match your training goal. i.e.:
| Training Goal | Endurance | Hypertrophy | Strength/Power |
| Intensity | Low | Moderate | High |
| Load | <67% of 1RM | 67-85% of 1RM | >85% of 1RM |
| 1RM = 1-repetition maximum and is the maximum amount of weight that can be lifted once but not twice |
|||
| Repetitions per set | 13-20 | 6-12 | 1-5 |
| Recovery between sets | 30-60 seconds | 1-2 minutes | 3-5 minutes+ |
That said, deadlifts usually work best when done for low reps with moderate to heavy weights. High-rep sets often lead to technique faults like lower back rounding, and your grip is more likely to fail. These issues are less common for low-rep deadlifts.
Good set and rep schemes for deadlifts include:
- 5 sets of 5 reps
- 4 sets of 4 reps
- 8 sets of 3 reps
- 10 sets of 2 reps
- 15-20 sets of 1 rep (EMOM – every minute, on the minute)
Alternatively, once you are a proficient deadlifter, consider following a specialized deadlifting program, like this one: 9 Weeks to a Bigger Deadlift
Deadlift Form – Wrapping Up
As exercises go, the deadlift is tough to beat. Only power cleans and squats come close to working so many muscle groups at the same time. However, to do deadlifts, all you need is a barbell and a few yards of space. To do squats safely, you really need a power rack, and power cleans can be a tricky exercise to master.
A lot of people are nervous about doing deadlifts, and it’s easy to understand why. Done incorrectly, they can cause serious back pain. However, performed right, deadlifts will strengthen your entire back and posterior chain beyond your wildest dreams, so it’s an exercise worth mastering.
The key to successful deadlifts is starting light and honing your technique until it’s perfect. Only then should you start lifting more weight. Doing too much too soon is a fast track to snap city!
So, check your ego, be patient, and take all the time necessary to become a deadlift master. That way, you’ll be able to enjoy all the benefits of this awesome strength and muscle builder with fewer risks.

