It’s no secret that leg days are the most dreaded workout worldwide. You might claim that you love training your wheels, but let’s be honest, deep down, you’re probably lying to yourself.
Honestly, it’s no different for me. I’ve been training for almost 17 years, but my legs still lag. Although squats and lunges helped me sculpt my quads and glutes, my lower body endurance wasn’t anywhere close to where I wanted it to be.
Jacked legs are great, but if you want to boost your functionality in daily activities and sports, you’ve to focus on your leg endurance.
I’ve tried running, but it left me with sore knees and bored me out of my mind. Then, I found a solution that built power without pounding my joints: rucking.
In this article, I’ll take you through my seven-day rucking experiment, unpacking how it transformed my legs and made me reanalyze how I approach exercise programming. You’ll also learn about the optimal backpack setup and how to adapt this to your own routine. We have a lot to unpack, so sit tight and read on.
What is Rucking?

For the uninitiated, rucking involves walking with a weighted backpack for a set distance or time. Although rucking has been gaining a lot of traction lately, it is nothing new.
Soldiers have rucked for centuries, hauling heavy loads on their backs to train for carrying heavy equipment in the field. Hikers also prepare for long treks in the same way. This builds grit and resilience. Contrary to what most people think, rucking isn’t just a lower-body exercise. It’s a full-body challenge.
Rucking has become a major event in CrossFit, and it’s now a regular part of WODs.
Walking with a backpack builds endurance through sustained effort. A heavier bag delivers greater quad, hamstring, and calf engagement.
I took rucking too lightly initially, but the intense burn it delivered completely changed my opinions about it. The best part? It delivers these results without the high-impact stress of running.
Why Rucking Beats Running for Leg Strength

I don’t know about you, but my knees never feel good after a 5-mile run. They are always creaky, tender, begging for ice. Running is a high-impact activity, meaning both your feet leave the ground at the same time, creating a forceful impact when returning to the ground.
A scientific review published in the Orthopedic Journal of Sports Medicine concluded that runners face higher risks of osteoarthritis due to repetitive stress. (1)
On the flip side, rucking is a low-impact exercise, as one of your feet is on the ground at all times, minimizing joint strain. Remember, your joints aren’t disposable, and you must take proper care of them to ensure longevity.
Rucking engages all your lower body muscles and stabilizers for optimal strength gains.
Running might build speed, but rucking should be your go-to choice if you’re trying to build endurance. The sustained effort of carrying weight over a distance trains your legs to keep going.
Rucking is incredibly accessible. All you need to do is grab a backpack, add weights (sandbags, water bottles, even books), and start walking. This exercise will fire up muscles in your lower body that you didn’t know existed and strengthen your quads, hamstrings, and calves.
Rucking engages slow-twitch muscle fibers for endurance and fast-twitch for strength.
Since you can ruck anywhere at any time, it leaves you no excuse to miss a training session, irrespective of whether it’s raining outside or you’re traveling. I started rucking with a beat-up backpack and 15 pounds of dumbbells.
Don’t let the ripped CrossFitters make you believe that rucking is just for elite athletes. Its scalability makes it optimal for trainers of all experience levels chasing stronger and more durable legs.
I’ve coached everyone from desk jockeys to bodybuilders, and rucking fits them all.
My 7-Day Rucking Experiment

As a veteran personal trainer, I have tried every leg workout under the sun. Rucking, though, hooked me for its simplicity and effectiveness.
My setup for this seven-day challenge was very straightforward. It included a 20-pound backpack stuffed with sandbags, and I walked 2-3 miles daily on a mix of terrains, including city sidewalks, park trails, and a few hills.
Here is a day-by-day breakdown of my experience:
Day One: Diving in with grit
I was very excited for the first day of this challenge, and I decided to start with 20 pounds in my bag. I did this because I had previous experience doing weighted pull-ups and parallel bar dips, and was confident I could handle the additional resistance.
Truth be told, the first mile felt very odd; my quads and calves fired up way faster than I had expected.
I have very stiff hamstrings, and I spend a decent amount of time warming them up before every lower-body session to ensure optimal functionality. However, I could feel my hamstrings locking up by the second mile.
But I noticed something surprising: my glutes fired with every step, probably even more than in my recent squat sessions.
By the end of the workout, my traps ached from the straps, and my lower back chafed a little due to the friction.
Day Two and Three: Soreness meets stubbornness
Delayed onset muscle soreness (DOMS) hit hard on the second day, and my calves made walking hard. I decided to stick to the 2-mile goal but adjusted my bag’s strap to prevent chafing.
My quads fired up from the very first step, and I could feel my core kicking in to stabilize.
I noticed my posture shift as I was walking upright to balance the load and take the strain off my lower back.
Since I only had seven days to make it count, I decided to turn things up a notch. I pushed for 3 miles on a hill to challenge my stamina. My legs were still a little sore, but I didn’t let that slow me down.
I felt much more comfortable on Day Three, and my pace and cadence improved.
Day Four: Hitting my stride
The fourth day was the biggest breakthrough as I tackled 3 miles with ease, mixing trails and pavement. My hamstring and quad stiffness were significantly lower, and I could move faster while maintaining perfect technique.
I must add that increasing the distance goal leads to significant changes in time commitment. These workouts previously took 30 minutes, but I walked for 45 minutes on Day Four.
Consistency, dedication, and discipline are the most important factors when it comes to achieving your dream physique. I used this time to listen to my favorite podcasts. It helped clear my mind and boost my motivation.
Day Five: Confidence takes root
I felt unstoppable on the fifth day and clocked in the three miles in under 40 minutes. The terrain included a mix of hills and pavements, firing up my quads, glutes, and calves, all in a single walking workout, something I had never imagined possible.
That said, picking up the pace did leave me winded by the end of the training session. I prioritized post-workout refueling to ensure my muscles had all the raw materials they needed to recover and thrive.
Day Six: Pushing the limits
There is a very steep hill near my home, and I decided to challenge it on the sixth day. I experienced one of the most intense glute pumps in a very long time, but I conquered the hill, which is all that matters.
The soreness was almost gone now, and three miles felt like nothing. However, I was mindful of not getting ahead of myself and limited myself to this distance.
Day Seven: A leg-strength revolution
The final workout of a challenge always brings out the best in me, and this session was no different.
I was expecting soreness from the previous workout, but I completely avoided it, which is a sign that my recovery improved significantly. The final workout comprised three miles and mixed terrain, and I completed it in 48 minutes flat.
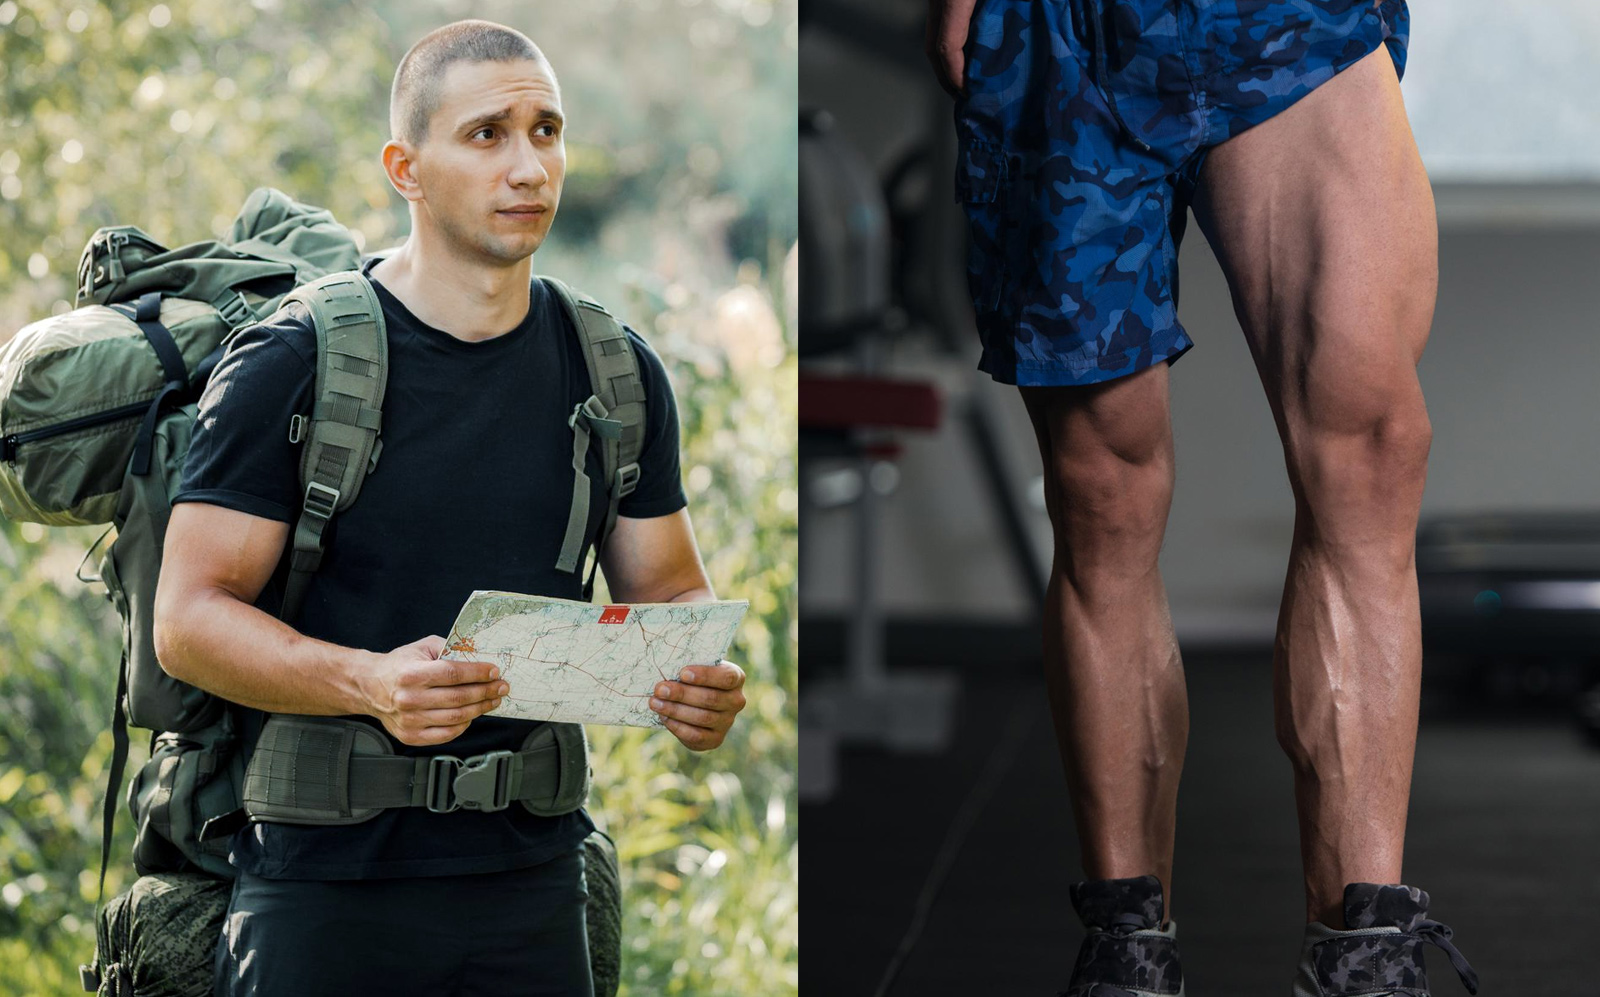
Although seven days is too short a time to expect significant performance and aesthetic improvements, my legs felt like steel, and I noticed visible lines and separations in my quads. My hamstring stiffness was also no longer as big an issue.
I took a day off after completing this rucking challenge and hit a new squat personal best in the very first workout. There could be no bigger proof of the effectiveness of this exercise.
Benefits of Rucking Beyond Leg Strength

Rucking is a total-body beast. I’ve seen rucking sculpt clients from head to toe. This seven-day challenge made my abs feel sore from doing nothing more than balancing that pack on my back. This benefit alone is good enough for me to make this exercise a constant in my routine, as I find traditional core training too boring.
It also pushes you to constantly check your form, as leaning forward or back can strain your neck and lower back.
Walking for long distances with a heavy bag is a form of steady-state cardio that spikes your heart rate, putting you in an optimal calorie and fat-burning zone. My rucking workouts left me energized, not drained, which was great, as I train early in the morning.
In my opinion, the mental benefits of rucking are incredibly underrated. Research shows that exercising in the open can reduce stress, anxiety, and depression while boosting mood, self-esteem, and cognitive function. (2)
Real-World Strength
Rucking is a functional exercise, meaning it mimics real-world movement, like carrying groceries, hiking with gear, or lugging kids’ sports bags. Even after a week of performing this exercise, I felt a drastic improvement in my everyday performance. Hoisting heavy objects to the first floor didn’t leave me breathless anymore.
Common Mistakes to Avoid When Rucking

After rucking completely transformed my lower body strength and endurance, I’ve started incorporating it into my clients’ training routines. That said, I see people commit the same errors, which hinders their results. Here are the things you should be mindful of:
Piling on Too Much Weight
Many lifters let their egos get the better of them. They’ll start with a 50-pound pack on their first day, even when they cannot walk right with a 10-pound bag. This increases the risk of muscle sprains, injuries, and burnout.
You should always begin with a 10-20-pound ruck and increase the resistance as your muscles start adapting.
Improper Form Can Cause Lower Back Strain
Besides using too much weight, wearing a sloppy backpack is one of the biggest reasons for poor form. A loose or ill-fitting pack spells trouble. It digs into your shoulders, chafes your back, and can lead to imbalance. Choose a comfortable bag that is snug and has a waist belt to distribute weight.
Stop the exercise whenever you notice your shoulders slouching or your back rounding. Take a short breather and resume. Don’t shy away from lowering the load, if necessary. There is no shame in it.
Skipping Warm-Up and Cool-Down
Walking with a heavy backpack is no joke. Starting a rucking session cold is a recipe for stiff joints and pulled muscles. Begin with a 5-10 minute dynamic stretching routine to prime the muscles and boost performance.
Similarly, end with a five-minute cool-down to flush out the metabolites from the muscle tissues and promote recovery.
Conclusion
Rucking’s low-impact nature, simplicity, and versatility make it my top pick for building leg strength and endurance without running or hampering your joint health. This seven-day experiment has made me believe that you can transform your lower body without hitting the gym and sweating it out on a treadmill.
I highly recommend trying rucking if you haven’t already. Start small and slowly increase the training intensity and volume as you gain more experience. Best of luck!
References:
- Dhillon J, Kraeutler MJ, Belk JW, Scillia AJ, McCarty EC, Ansah-Twum JK, McCulloch PC. Effects of Running on the Development of Knee Osteoarthritis: An Updated Systematic Review at Short-Term Follow-up. Orthop J Sports Med. 2023 Mar 1;11(3):23259671231152900. doi: 10.1177/23259671231152900. PMID: 36875337; PMCID: PMC9983113.