

10 Best Atlas Stones Alternatives for Limited Equipment
Atlas Stones are done standing. Ranked closest by our scoring: the Atlas Stone Trainer and the Keg Load.
Updated Ranked by our 12-factor similarity model How it works
Original Exercise: Atlas Stones
- Primary muscle
- Lower Back
- Equipment
- Other
- Difficulty
- Advanced
- Type
- Compound
Secondary muscles: Abdominals, Adductors, Biceps, Calves, Forearms, Glutes, Hamstrings, Middle Back, Quadriceps, Traps
How to perform Atlas Stones
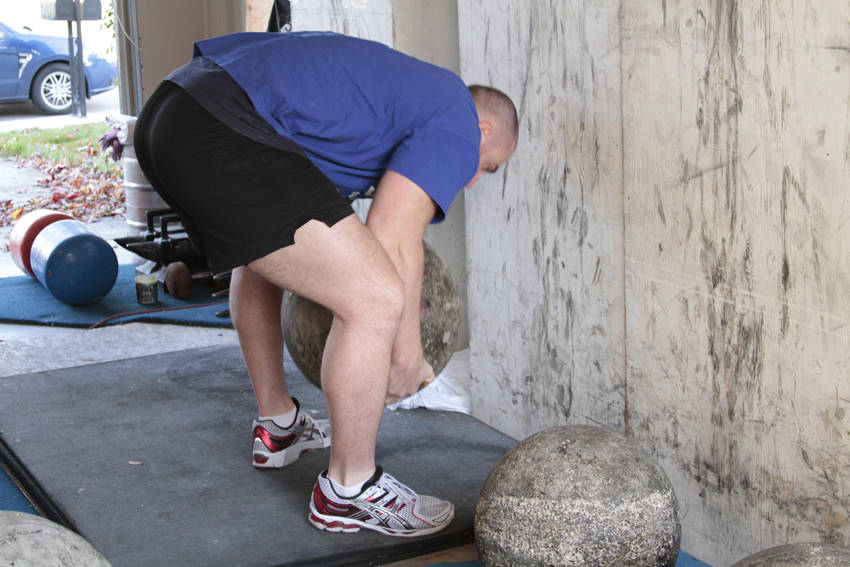
- Begin with the atlas stone between your feet. Bend at the hips to wrap your arms vertically around the Atlas Stone, attempting to get your fingers underneath the stone. Many stones will have a small flat portion on the bottom, which will make the stone easier to hold.
- Pulling the stone into your torso, drive through the back half of your feet to pull the stone from the ground.
- As the stone passes the knees, lap it by sitting backward, pulling the stone on top of your thighs.
- Sit low, getting the stone high onto your chest as you change your grip to reach over the stone. Stand, driving through with your hips. Close distance to the loading platform, and lean back, extending the hips to get the stone as high as possible.
Ranked Atlas Stones Alternatives
10 substitutes, ranked by how closely each one matches Atlas Stones on movement pattern, muscles worked, equipment and body position. The higher the score, the less you change. Open "How to perform this exercise" on a card for the steps; every card title links to that exercise's own alternatives page.
Best match 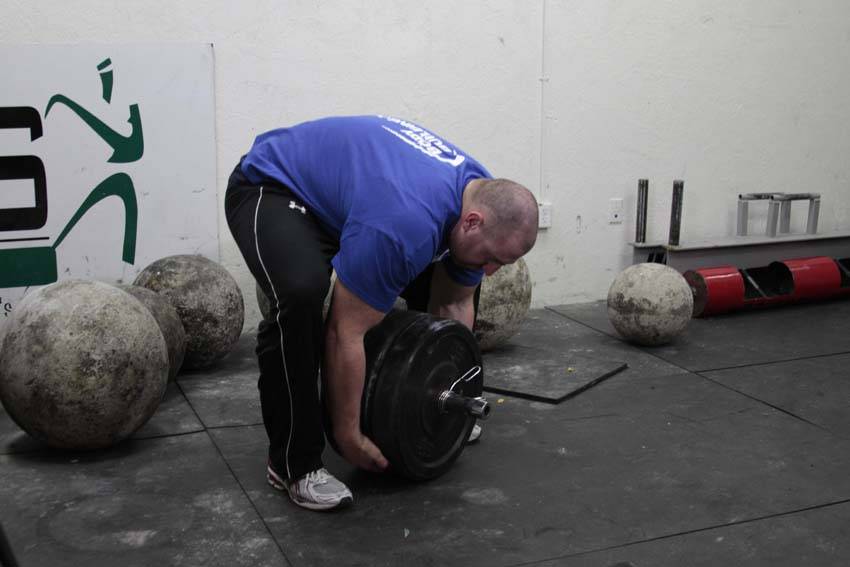
1. Atlas Stone Trainer
99% match- Lower Back
- Other
- Advanced
- Compound
A straight swap when you want to keep working the lower back.
How to perform this exercise
- This trainer is effective for developing Atlas Stone strength for those who don't have access to stones, and are typically made from bar ends or heavy pipe.
- Begin by loading the desired weight onto the bar. Straddle the weight, wrapping your arms around the implement, bending at the hips.
- Begin by pulling the weight up past the knees, extending through the hips. As the weight clears the knees, it can be lapped by resting it on your thighs and sitting back, hugging it tightly to your chest.
- Finish the movement by extending through your hips and knees to raise the weight as high as possible. The weight can be returned to the lap or to the ground for successive repetitions.
Sets and reps: 3 to 5 sets of 5 to 8 reps.
Why this matches
- Primary muscle: lower back, the same as Atlas Stones
- Body position: standing, the same as Atlas Stones
2. Keg Load
75% match- Lower Back
- Other
- Advanced
- Compound
Pick this when you want to work the lower back one side at a time.
How to perform this exercise
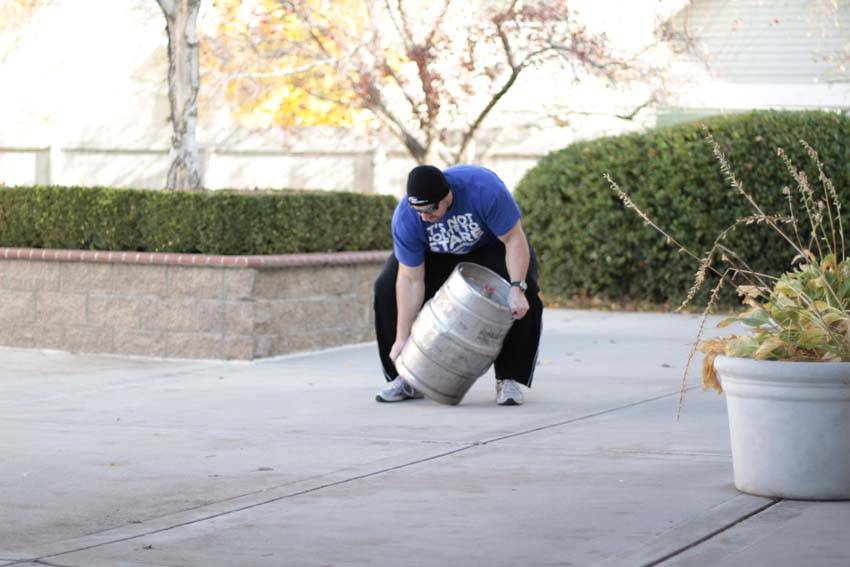
- To load kegs, place the desired number a distance from the loading platform, typically 30-50 feet.
- Begin by grabbing the close handle of the first keg, tilting it onto its side to grab the opposite edge of the bottom of the keg. Lift the keg up to your chest.
- The higher you can place the keg, the faster you should be able to move to the platform. Shouldering is usually not allowed. Be sure to keep a firm hold on the keg. Move as quickly as possible to the platform, and load it, extending through your hips, knees, and ankles to get it as high as possible.
- Return to the starting position to retrieve the next keg, and repeat until the event is completed.
Sets and reps: 3 to 5 sets of 5 to 8 reps on each side.
Why this matches
- Primary muscle: lower back, the same as Atlas Stones
- Body position: standing, the same as Atlas Stones
3. Standing Dumbbell Upright Row
74% match- Traps
- Dumbbell
- Intermediate
- Compound
A looser match: it works the traps rather than the lower back.
How to perform this exercise
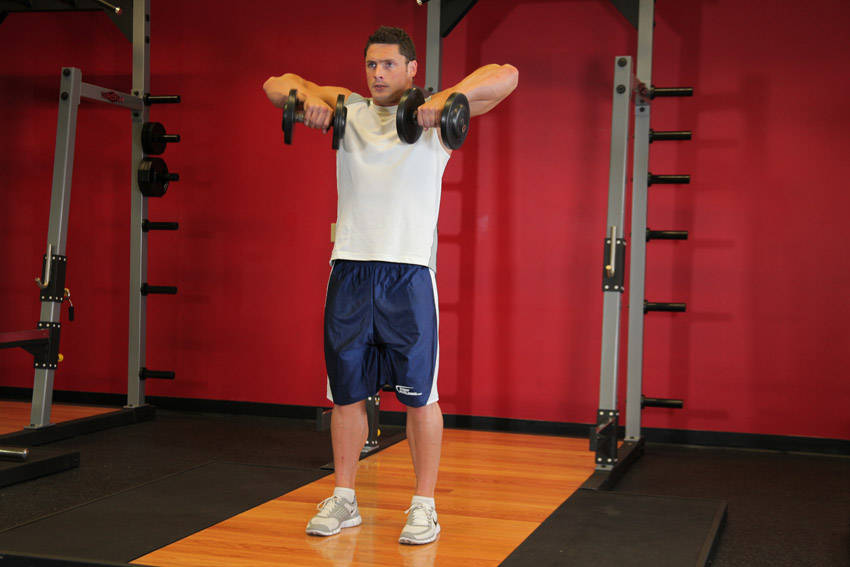
- Grasp a dumbbell in each hand with a pronated (palms forward) grip that is slightly less than shoulder width. The dumbbells should be resting on top of your thighs. Your arms should be extended with a slight bend at the elbows and your back should be straight. This will be your starting position.
- Use your side shoulders to lift the dumbbells as you exhale. The dumbbells should be close to the body as you move it up and the elbows should drive the motion. Continue to lift them until they nearly touch your chin. Tip: Your elbows should drive the motion. As you lift the dumbbells, your elbows should always be higher than your forearms. Also, keep your torso stationary and pause for a second at the top of the movement.
- Lower the dumbbells back down slowly to the starting position. Inhale as you perform this portion of the movement.
- Repeat for the recommended amount of repetitions.
Sets and reps: 3 or 4 sets of 6 to 10 reps.
Why this matches
- Primary muscle: traps, not lower back
- Equipment: free weights, the same as Atlas Stones
- Body position: standing, the same as Atlas Stones
- Balance: easier to stay steady on than Atlas Stones
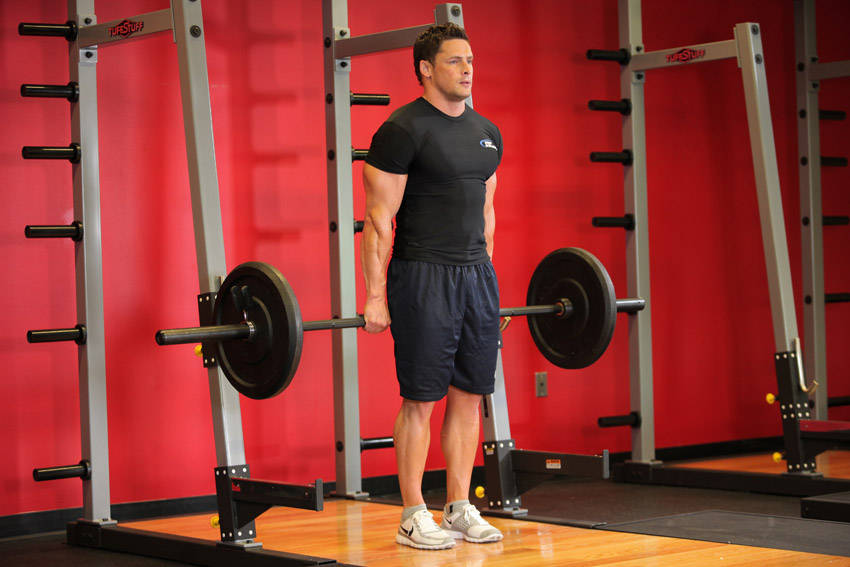
4. Barbell Shrug Behind The Back
72% match- Traps
- Barbell
- Beginner
- Isolation
How to perform this exercise
- Stand up straight with your feet at shoulder width as you hold a barbell with both hands behind your back using a pronated grip (palms facing back). Tip: Your hands should be a little wider than shoulder width apart. You can use wrist wraps for this exercise for better grip. This will be your starting position.
- Raise your shoulders up as far as you can go as you breathe out and hold the contraction for a second. Tip: Refrain from trying to lift the barbell by using your biceps. The arms should remain stretched out at all times.
- Slowly return to the starting position as you breathe in.
- Repeat for the recommended amount of repetitions.
Sets and reps: 3 sets of 10 to 15 reps.
Why this matches
- Primary muscle: traps, not lower back
- Equipment: free weights, the same as Atlas Stones
- Body position: standing, the same as Atlas Stones
- Balance: easier to stay steady on than Atlas Stones
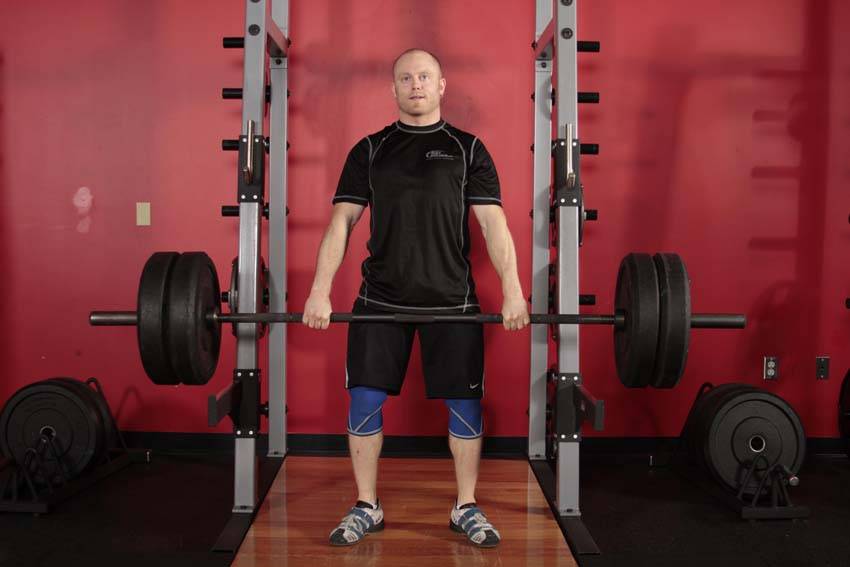
5. Clean Shrug
68% match- Traps
- Barbell
- Intermediate
- Compound
How to perform this exercise
- Begin with a shoulder width, double overhand or hook grip, with the bar hanging at the mid thigh position. Your back should be straight and inclined slightly forward.
- Shrug your shoulders towards your ears. While this exercise can usually by loaded with heavier weight than a clean, avoid overloading to the point that the execution slows down.
Sets and reps: 3 or 4 sets of 6 to 10 reps.
Why this matches
- Primary muscle: traps, not lower back
- Equipment: free weights, the same as Atlas Stones
- Body position: standing, the same as Atlas Stones
- Balance: easier to stay steady on than Atlas Stones
6. Barbell Pendlay Row
65% match- Upper Back
- Barbell
- Advanced
- Compound
A looser match: it works the upper back rather than the lower back.
How to perform this exercise
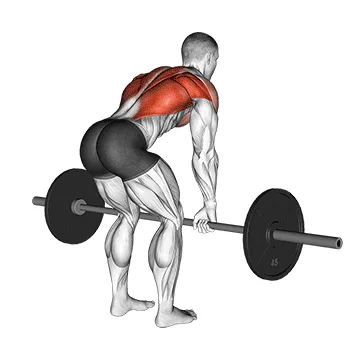
- Stand with your feet shoulder-width apart and your knees slightly bent.
- Bend forward at the hips, keeping your back straight and your chest up.
- Grasp the barbell with an overhand grip, slightly wider than shoulder-width apart.
- Pull the barbell towards your upper abdomen, squeezing your shoulder blades together.
- Lower the barbell back down to the starting position.
- Repeat for the desired number of repetitions.
Sets and reps: 3 to 5 sets of 5 to 8 reps.
Why this matches
- Primary muscle: upper back, not lower back
- Equipment: free weights, the same as Atlas Stones
- Body position: standing, the same as Atlas Stones
- Balance: easier to stay steady on than Atlas Stones
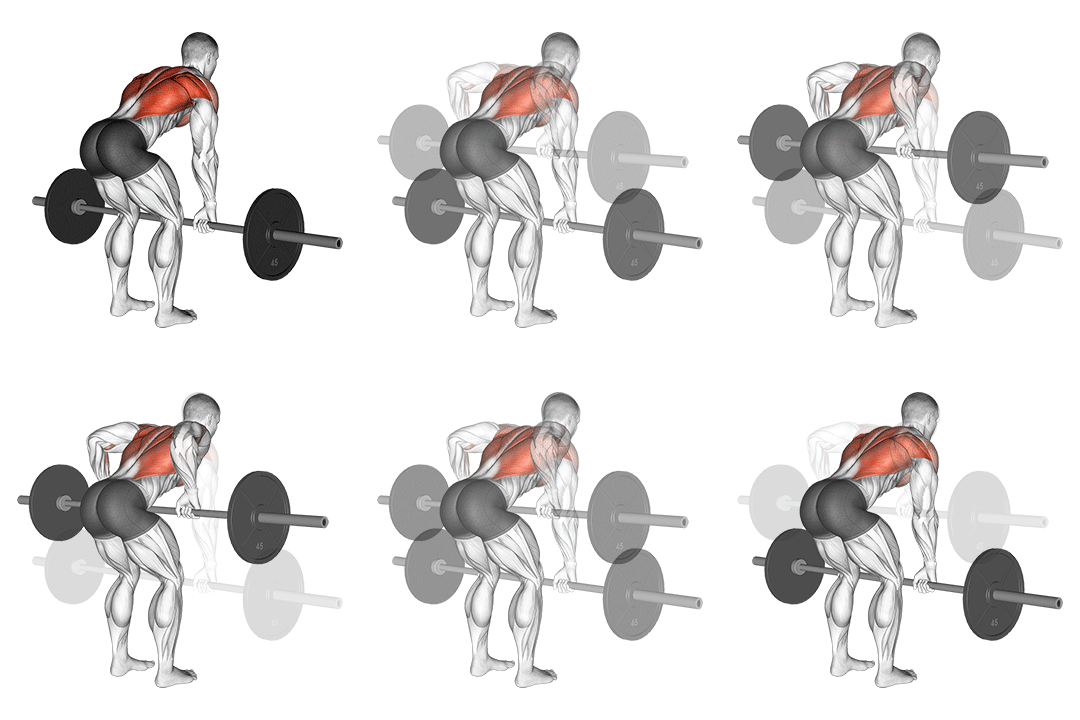
7. Barbell Bent Over Row
65% match- Upper Back
- Barbell
- Intermediate
- Compound
How to perform this exercise
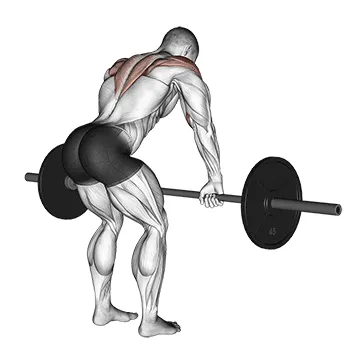
- Stand with your feet shoulder-width apart and knees slightly bent.
- Bend forward at the hips while keeping your back straight and chest up.
- Grasp the barbell with an overhand grip, hands slightly wider than shoulder-width apart.
- Pull the barbell towards your lower chest by retracting your shoulder blades and squeezing your back muscles.
- Pause for a moment at the top, then slowly lower the barbell back to the starting position.
- Repeat for the desired number of repetitions.
Sets and reps: 3 to 5 sets of 5 to 8 reps.
Why this matches
- Primary muscle: upper back, not lower back
- Equipment: free weights, the same as Atlas Stones
- Body position: standing, the same as Atlas Stones
- Balance: easier to stay steady on than Atlas Stones
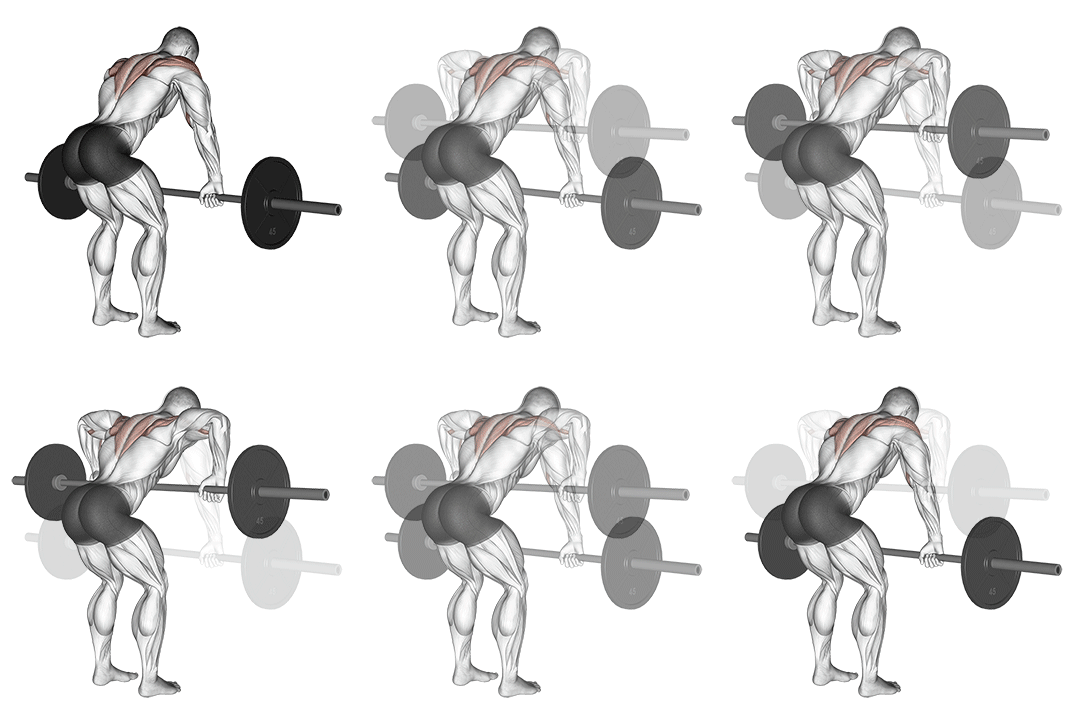
8. Barbell Rear Delt Row
65% match- Delts
- Barbell
- Intermediate
- Compound
How to perform this exercise
- Stand with your feet shoulder-width apart and knees slightly bent.
- Hold a barbell with an overhand grip, hands slightly wider than shoulder-width apart.
- Bend forward at the hips, keeping your back straight and chest up.
- Pull the barbell towards your chest, squeezing your shoulder blades together.
- Pause for a moment at the top, then slowly lower the barbell back to the starting position.
- Repeat for the desired number of repetitions.
Sets and reps: 3 to 5 sets of 5 to 8 reps.
Why this matches
- Primary muscle: delts, not lower back
- Equipment: free weights, the same as Atlas Stones
- Body position: standing, the same as Atlas Stones
- Balance: easier to stay steady on than Atlas Stones
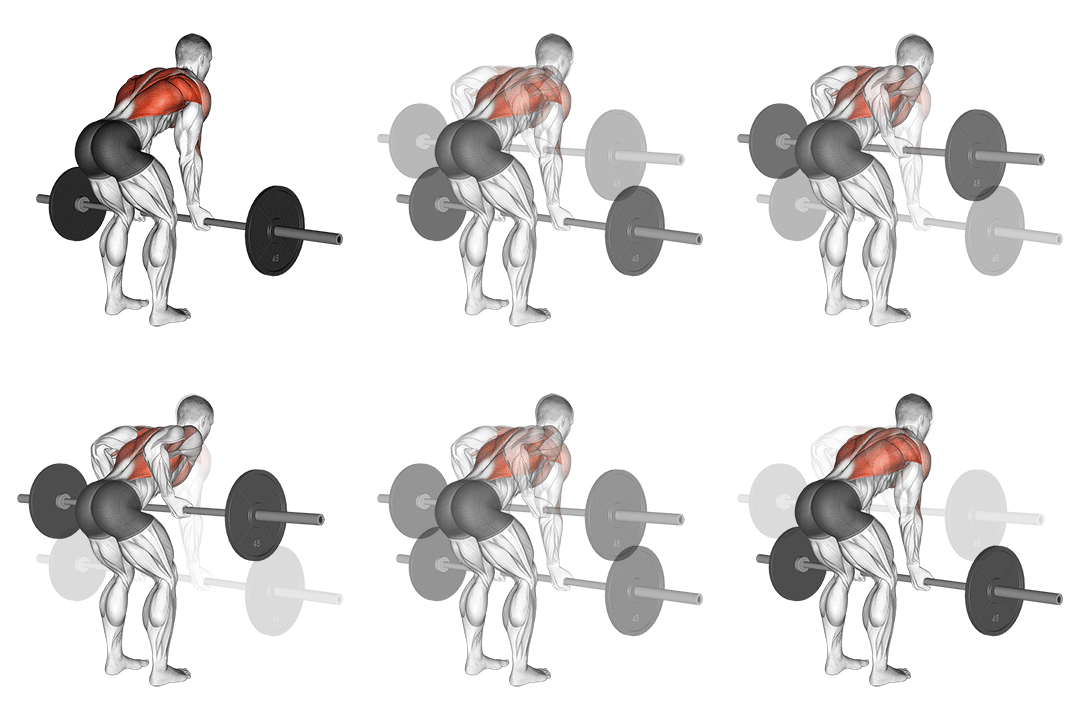
- Lats
- Barbell
- Intermediate
- Compound
How to perform this exercise
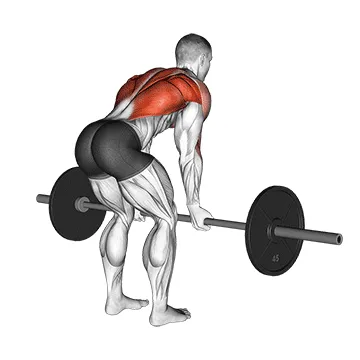
- Stand with your feet shoulder-width apart and knees slightly bent.
- Hold a barbell with an overhand grip, palms facing down, and hands slightly wider than shoulder-width apart.
- Bend forward at the hips, keeping your back straight and chest up, until your torso is almost parallel to the floor.
- Pull the barbell towards your lower chest, squeezing your shoulder blades together.
- Pause for a moment at the top, then slowly lower the barbell back to the starting position.
- Repeat for the desired number of repetitions.
Sets and reps: 3 to 5 sets of 5 to 8 reps.
Why this matches
- Primary muscle: lats, not lower back
- Equipment: free weights, the same as Atlas Stones
- Body position: standing, the same as Atlas Stones
- Balance: easier to stay steady on than Atlas Stones
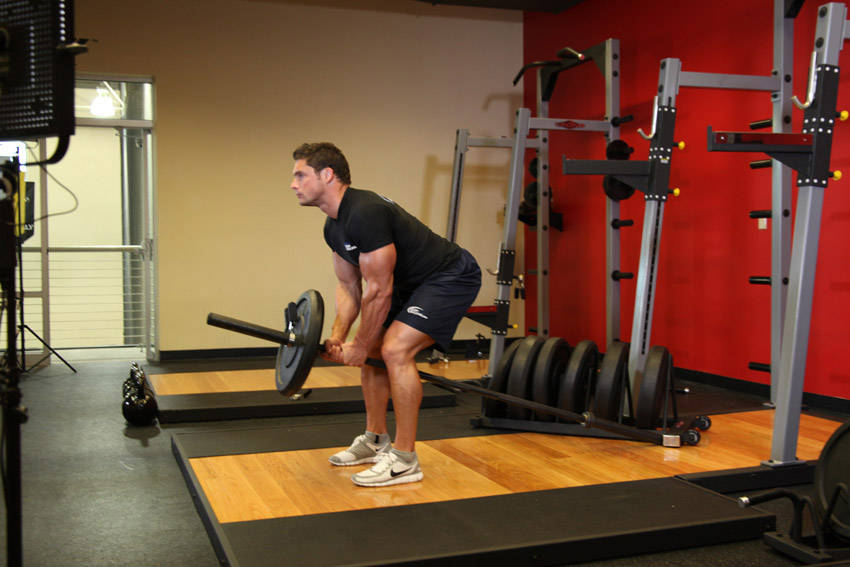
10. Bent Over Two-arm Long Bar Row
65% match- Middle Back
- Barbell
- Intermediate
- Compound
How to perform this exercise
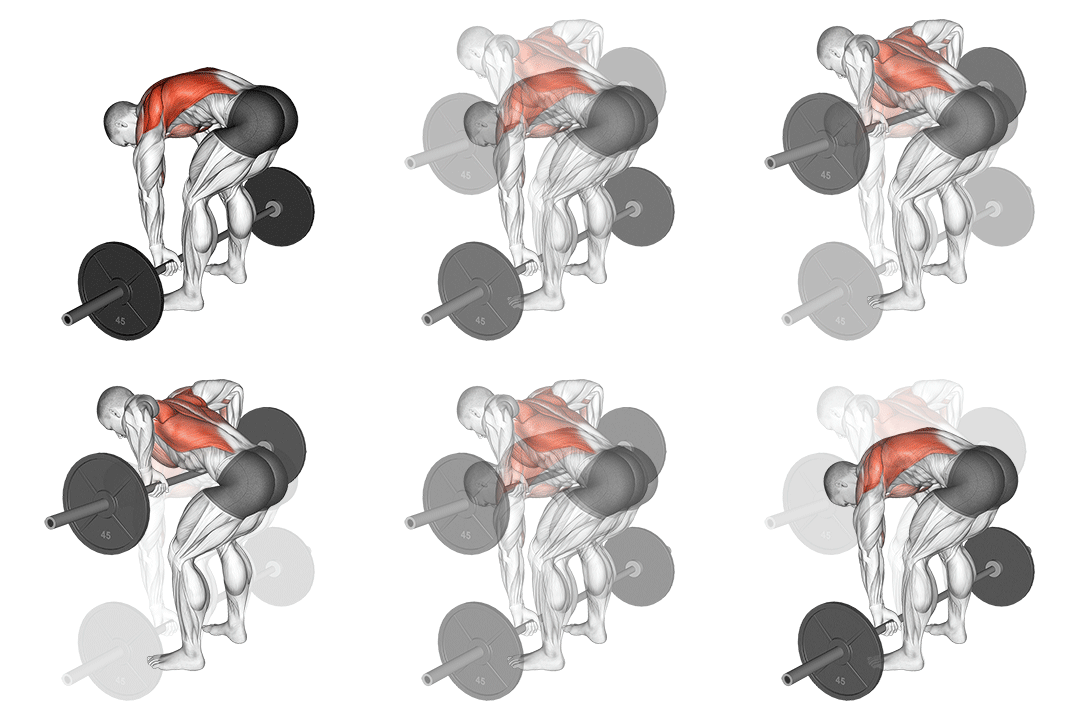
- Put weight on one of the ends of an Olympic barbell. Make sure that you either place the other end of the barbell in the corner of two walls; or put a heavy object on the ground so the barbell cannot slide backward.
- Bend forward until your torso is as close to parallel with the floor as you can and keep your knees slightly bent.
- Now grab the bar with both arms just behind the plates on the side where the weight was placed and put your other hand on your knee. This will be your starting position.
- Pull the bar straight up with your elbows in (to maximize back stimulation) until the plates touch your lower chest. Squeeze the back muscles as you lift the weight up and hold for a second at the top of the movement. Breathe out as you lift the weight. Tip: Use a stirrup or double handle cable attachment by hooking it under the end of the bar.
- Slowly lower the bar to the starting position getting a nice stretch on the lats. Tip: Do not let the plates touch the floor. To ensure the best range of motion, I recommend using small plates (25-lb ones) as opposed to larger plates (like 35-45lb ones).
- Repeat for the recommended amount of repetitions.
Sets and reps: 3 or 4 sets of 6 to 10 reps.
Why this matches
- Primary muscle: middle back, not lower back
- Equipment: free weights, the same as Atlas Stones
- Body position: standing, the same as Atlas Stones
- Balance: easier to stay steady on than Atlas Stones
Why You Might Need an Atlas Stones Alternative
You might substitute Atlas Stones when you lack odd implements, have a lower-back injury, or need safer progressive overload. Stones load the posterior chain, lats and forearms through a rounded carry and hip extension pattern; substitutes recreate those demands without a spherical stone. For safety, choose movements that limit end-range lumbar flexion, hinge at the hips, keep the bar or bag close to your body and pull with the lats engaged. Substitutes let you vary load, control tempo and reduce shear forces on the spine while still training the erector spinae, glutes and hamstrings effectively.
Atlas Stones FAQ
What muscles does Atlas Stones work?
Atlas Stones primarily load the posterior chain: erector spinae, glutes and hamstrings, plus the lats and forearms for holding and pulling the stone. Biomechanically it demands powerful hip extension and torso stabilization; cue a braced core and hip drive to maximize lower-back and glute activation.
Can I build muscle without doing Atlas Stones?
Yes. You can build substantial lower-back and posterior chain muscle with deadlifts, trap-bar lifts, sandbag progressions and heavy unilateral hinges. Prioritize progressive overload, full hip extension and consistent sets and reps while cueing tight core bracing to load the erector spinae safely.
Find Alternatives for Any Exercise
Search the exercise database and filter the ranked substitutes by the equipment you own.
Similarity scores compare exercise metadata such as movement pattern, muscles, equipment and body position. They are not a safety rating or a check that you own the equipment. Learn about our methodology