


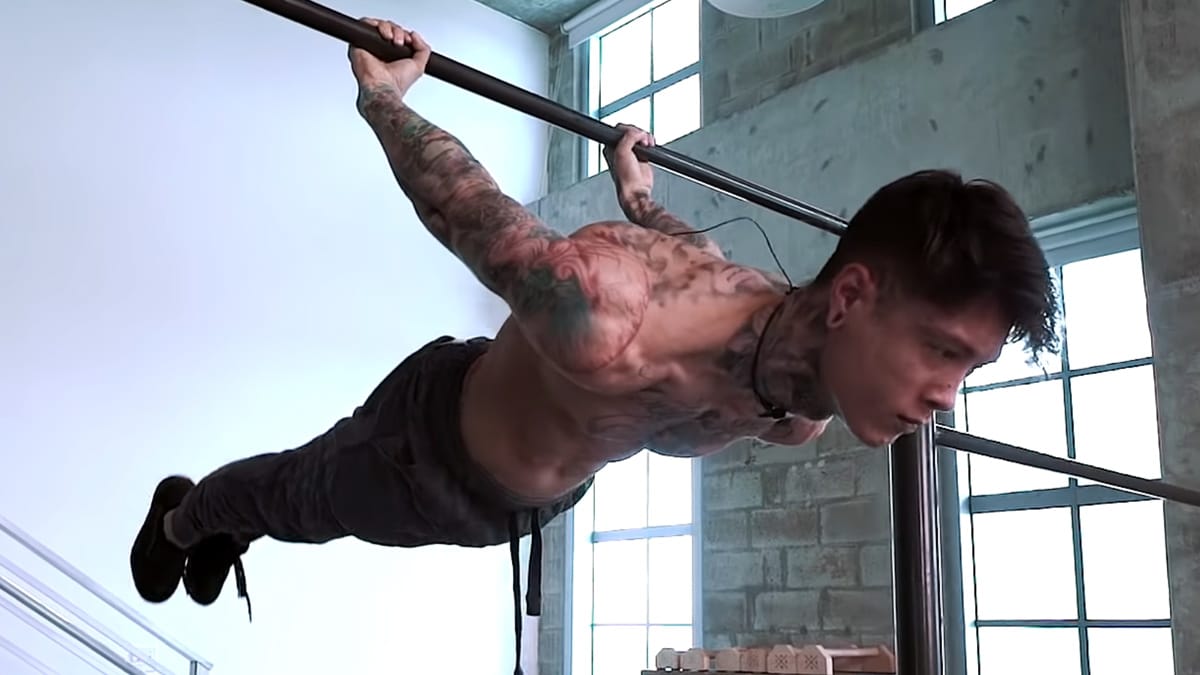
A back lever is a straight-arm hold under a bar or rings, face down, with the body level with the floor. It puts a heavy stretch on the shoulders and biceps, so it is built step by step. Along with the front lever and the planche, it is one of the three classic lever holds in calisthenics. This page shows you which step of the progression you are on, how to do the hold and what it works.
The back lever progression, step by step
Pass each step before you spend time on the next. The pass mark is the number to hit with strict form.
-
1

Pull-up base
Pass: 5 strict pull-ups
Start every rep from straight arms and pull the shoulders down before the elbows bend.
-
2
German hang and skin the cat
Pass: 30 s German hang without pain
Turn over slowly and stop where the shoulders feel a strong stretch, not pain. The range grows over weeks.
-
3
Tuck back lever
Pass: 30 s tuck back lever
Lower into it from an inverted hang with straight arms. Stop when the back is level and hold there.
-
4
Advanced tuck back lever
Pass: 10 s advanced tuck back lever with a flat back
Open the hips so the thighs sit at a right angle to the torso, and keep the back flat.
-
5
Straddle back lever
Pass: 5 s straddle back lever
A wider straddle is easier. Narrow the legs as you get stronger.
-
6
Full back lever
Pass: 5 s full back lever, legs together
Squeeze the glutes and hold one straight line from neck to toes. Bent hips are the usual first fault.
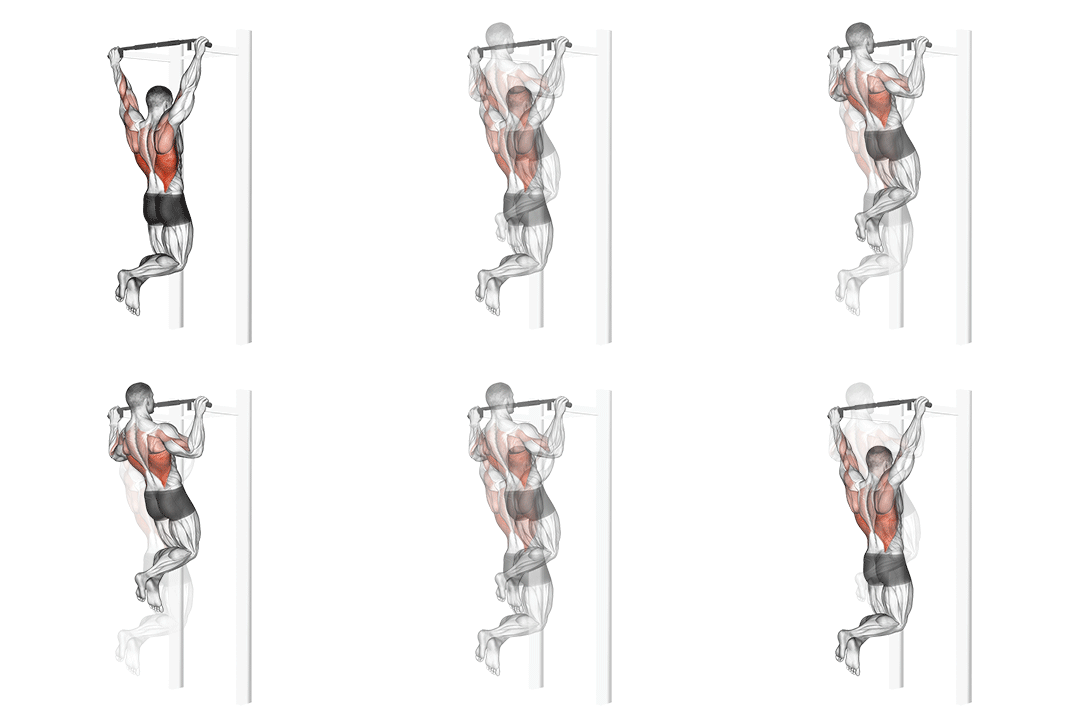


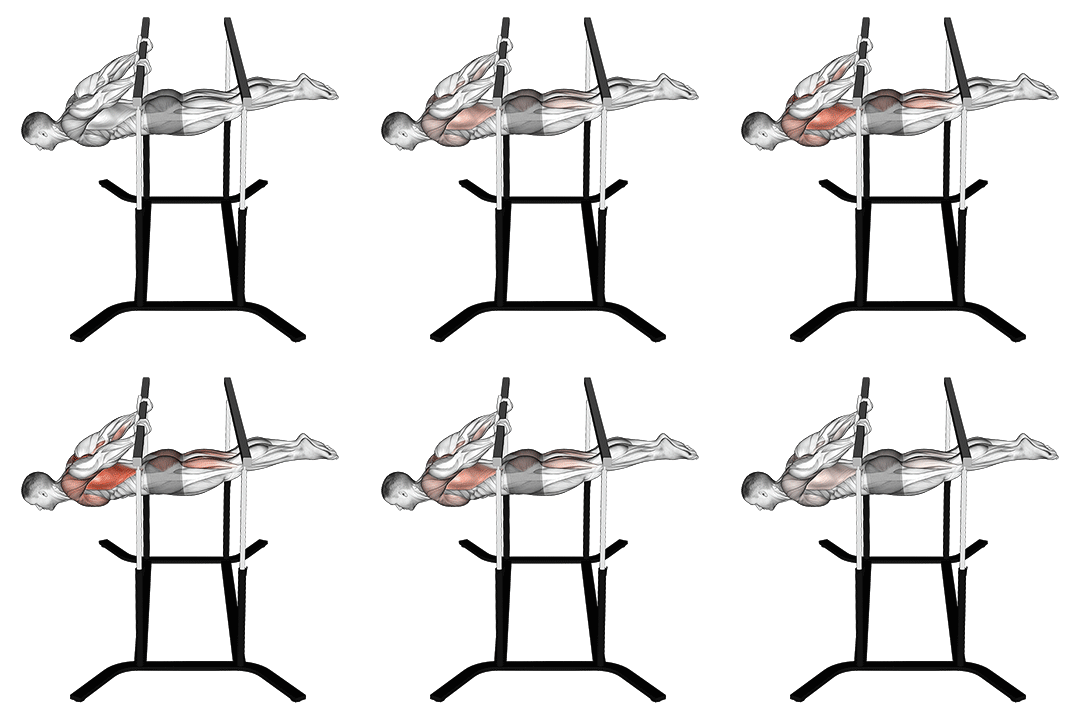
How to do a back lever
- Hang from a pull-up bar or rings with an overhand grip, hands about shoulder-width apart.
- Brace your core, pull your knees to your chest and tip backwards so your hips rise above your head.
- Pass your legs between your arms and keep turning until you hang upside down, then keep going slowly so your body lowers behind you.
- Stop when your body is level with the floor, face down, with your arms locked straight.
- Squeeze your glutes and hold one straight line from your neck to your toes.
- Reverse the movement under control to come out of it.
At each new step, practise slow lowers into the position before you try to hold it. Lower in slowly every time. Dropping into the bottom puts a sudden load on the shoulders and biceps. Put mats under the bar in case your grip goes, and have someone watch your body line: upside down, it is hard to tell whether your hips are bent.
Common back lever mistakes
Forcing the German hang
Dropping into the bottom or pushing past a pain-free stretch strains the shoulder. Turn over slowly and let the range come over weeks.
Bent elbows
Bending the arms makes the hold easier but builds the wrong strength. Lock the elbows from the first tuck.
Bent or sagging hips
The body should form one line from neck to toes. Shorten the lever until you can hold that line.
Rushing the holds
GMB advises solid negatives before pauses at each step. Forcing the pause first slows progress.
Train the back lever safely
- Warm up the shoulders and elbows before every session.
- The straight-arm position stretches the biceps to full length. Add hold time slowly.
- Overhand (palms away) and underhand (palms toward you) grips load the biceps and shoulders differently. Pick one and keep it while you learn.
- Stop for shoulder or elbow pain and drop a level. See a doctor if pain persists.
Muscles worked in the back lever
The back lever works the shoulders, chest and biceps hardest, with the back and core holding the body in line.
- Shoulders and chest: the front delts and the chest hold the straight arms back against your body weight.
- Biceps: work under a long stretch, because the arms stay straight behind you. This is why the hold is built slowly.
- Lats, traps and rhomboids: keep the shoulder blades set so the shoulders stay stable.
- Abs and obliques: stop the midsection from sagging toward the floor.
- Lower back and glutes: keep the hips from bending, so the body stays in one line.
- Forearms: hold your grip in an unusual, upside-down position.
Benefits of the back lever
The back lever builds straight-arm strength in the shoulders, chest and biceps, which few other exercises train. The German hang and skin the cat on the way to it also build shoulder range.
Exercises that build toward the back lever
- Skin the cat and German hang: the first steps of the ladder above. They teach the turn-over and open the shoulders.
- Pull-ups: build the grip and the shoulder strength to control the turn. See our pull-up guide.
- Plank: teaches you to hold a straight body line. See our plank guide.
- Hollow body hold: builds the braced core the hold needs. See our hollow body hold guide.
For the face-up version of the skill, see our front lever guide.
How long does it take to learn the back lever?
No reliable source gives a timeline. GMB says many people find the back lever easier to reach than the front lever, and that taller people need more training because their feet sit further from the shoulders.
Back lever FAQ
Can a beginner do a back lever?
Not straight away. You need a pull-up base and a pain-free German hang first. The check above tells you which step to start on, and most people begin at the first two.
Should I learn the back lever on a bar or on rings?
Either works. A bar is steadier. Rings let the hands turn, which many people find easier on the elbows and shoulders.
How often should I practise the back lever?
Two or three short sessions a week is plenty while you learn, with a rest day between them. The biceps and shoulders need that time to adapt to the stretch.
Where the back lever pass marks come from
- GMB Fitness, Front Lever & Back Lever Tutorial
- Steven Low (author of Overcoming Gravity), The Fundamentals of Bodyweight Strength Training
- Steven Low (author of Overcoming Gravity), How to program for advanced isometric movements after a plateau
- Steven Low (author of Overcoming Gravity), Prilepin tables for bodyweight strength isometric and eccentric exercises
- GMB Fitness, How To Build Up To Pull-Ups: A 3-Step Bodyweight Progression
- GMB Fitness, Gymnastic Ring Training: Risks & Benefits
- r/bodyweightfitness wiki, Recommended Routine
Pass marks are FitnessVolt coaching standard v1, based on these sources. They show readiness to practise the next step, not a guarantee.
Interested in measuring your progress? Check out our strength standards for Bench Press, Squat, Deadlift, and more exercises.