


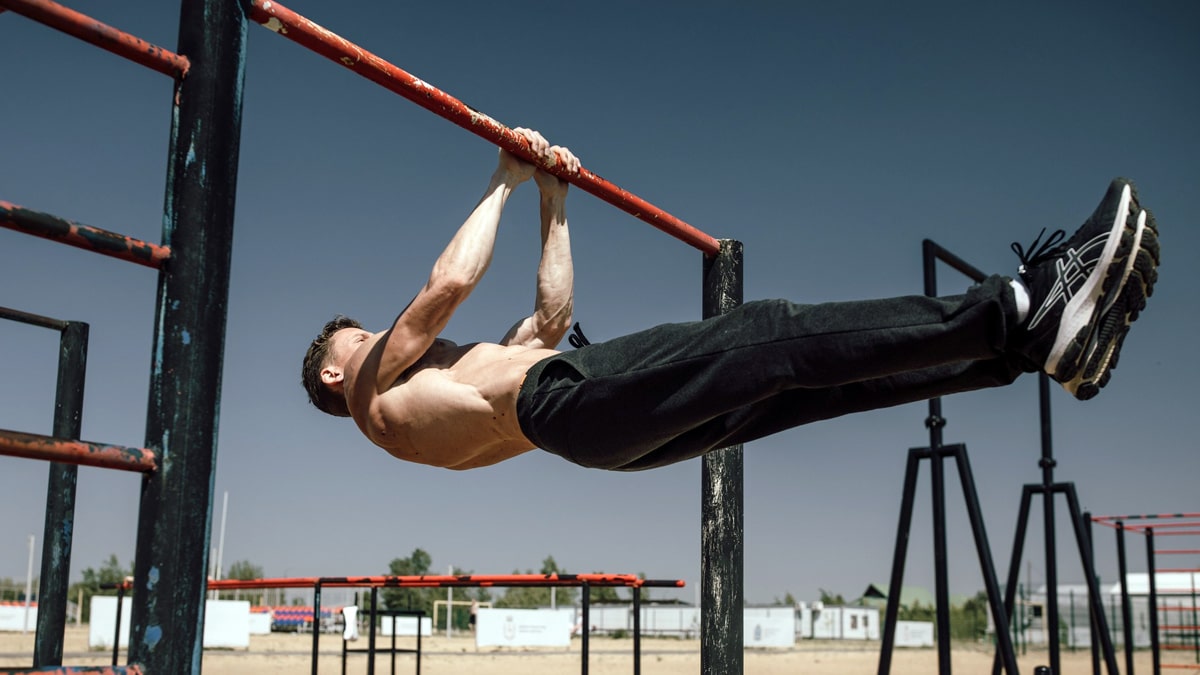
A front lever is a straight-arm hold under a bar or rings, with the body face up and level with the floor. Your lats and core do most of the work. Along with the back lever and the planche, it is one of the three classic lever holds in calisthenics. This page shows you which step of the progression you are on, how to do each step, and what the hold trains.
The front lever progression, step by step
Pass each step before you spend time on the next. The pass mark is the number to hit with strict form.
-
1

Pull-ups and active hangs
Pass: 8 strict pull-ups
Learn to pull the shoulders down and back with straight arms. That is the shoulder action of the lever.
-
2
Tuck front lever
Pass: 30 s tuck front lever
Keep the elbows completely straight and push the bar down toward your hips.
-
3
Advanced tuck front lever
Pass: 10 s advanced tuck front lever with a flat back
Open the hips so the thighs sit at a right angle to the torso, and flatten the back.
-
4
One-leg front lever
Pass: 10 s one-leg front lever each side
Extend one leg fully and keep the other tucked. Swap legs each set.
-
5
Straddle front lever
Pass: 5 s straddle front lever
A wider straddle is easier. Narrow it as you get stronger.
-
6
Full front lever
Pass: 5 s full front lever, legs together
Squeeze the glutes and point the toes. Hips that drop are the usual first fault.
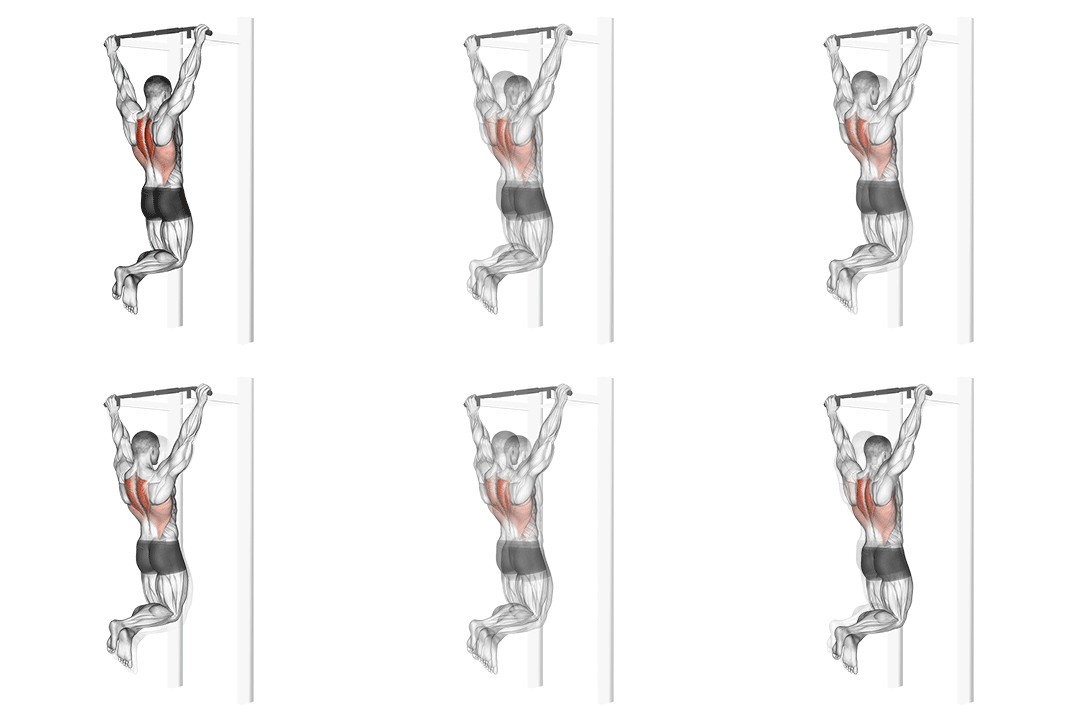


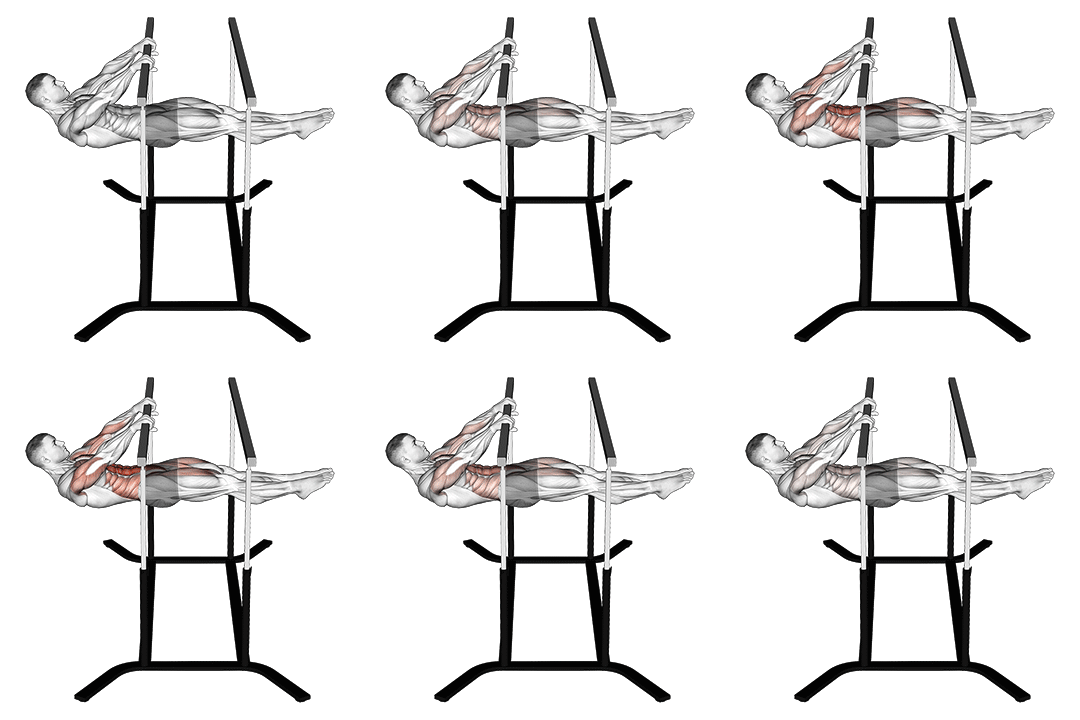
How to do a front lever
- Hang from a pull-up bar with an overhand grip, hands about shoulder-width apart.
- Keep the arms straight and pull the shoulder blades down and back.
- Brace the core, squeeze the glutes and keep the legs together.
- Push the bar down toward your hips, as you would in a straight-arm lat pulldown, and lean back as the hips and legs rise.
- Stop when your body is level with the floor, in one straight line from head to toes, and hold.
- Lower slowly back to the hang.
Keep your head neutral. Tipping it back or tucking the chin strains the neck. At each step, lower slowly into the position before you try to hold it, then build the hold time while keeping the body line.
Common front lever mistakes
Hips sag
The legs drop below the shoulders and the hold stops being level. Shorten the lever until you can hold the line.
Bent elbows
Pulling with bent arms turns the hold into a row. Lock the elbows and push the bar down.
Swinging into position
Momentum hides weakness. Start each hold from a still hang or lower into it.
Rushing the holds
GMB advises solid negatives before pauses at each step. Forcing the pause first slows progress.
Train the front lever safely
- Warm up the shoulders before every session.
- Straight-arm holds load the elbows and biceps tendon. Add hold time slowly.
- Stop for shoulder pain and drop a level. See a doctor if pain persists.
Muscles worked in the front lever
- Lats: the main muscles. They pull your arms down toward your hips and keep your body up.
- Teres major: helps the lats hold the arms in place.
- Rear delts and lower traps: keep the shoulders pulled down and back.
- Abs and obliques: stop the midsection from sagging or twisting.
- Lower back and glutes: keep the body in one straight line.
- Forearms: hold your grip on the bar.
Benefits of the front lever
The front lever builds straight-arm pulling strength in the lats and core, which ordinary pull-ups do not train. It also teaches you to tense the whole body at once, and that skill carries over to other bar and ring work. All you need is a bar.
Exercises that build toward the front lever
If the tuck front lever is out of reach, build the base with these. They cover the grip, the pulling strength and the core strength the lever needs.
- Dead hangs: hang from the bar with straight arms and the body still. They build grip and shoulder strength. See our dead hang guide.
- Pull-ups: strong lats and shoulder blades are the base of every lever. See our pull-up guide.
- Inverted rows: a row under a bar at hip height, with the body straight from head to heels. See our inverted row guide.
- Plank: teaches you to hold a straight body line. See our plank guide.
- Hollow body hold: the same body shape as the lever, lying on the floor. See our hollow body hold guide.
Once you can hold the lever, front lever raises (pulling up into the lever and lowering out of it) add a harder, moving version. See our front lever raises guide. For the face-down version of the skill, see the back lever guide.
How long does it take to learn the front lever?
No reliable source gives a timeline. GMB calls the levers advanced skills that take dedicated effort, and notes that taller people need more training because their legs sit further from the shoulders.
Front lever FAQ
Is the front lever a beginner or an advanced exercise?
Advanced. It needs strong lats and a strong core before even the tuck version feels steady. Start with the step the check above gives you.
Should I learn the front lever on a bar or on rings?
On a bar. Rings move, so they add a balance problem on top of the strength problem. Move to rings once the hold is solid on the bar.
Is the front lever harder than the back lever?
For most people, yes. In the back lever your arms sit behind you and the shoulders are more locked in place. The front lever needs the shoulders, arms and core to hold the level line together, with less help from the joint position.
Where the front lever pass marks come from
- r/bodyweightfitness wiki, Row Progression
- r/bodyweightfitness wiki, Pull-up Progression
- GMB Fitness, Front Lever & Back Lever Tutorial
- Steven Low (author of Overcoming Gravity), The Fundamentals of Bodyweight Strength Training
- USA Gymnastics, Shoulder Maintenance 101
- r/bodyweightfitness wiki, Recommended Routine
Pass marks are FitnessVolt coaching standard v1, based on these sources. They show readiness to practise the next step, not a guarantee.
Interested in measuring your progress? Check out our strength standards for Bench Press, Squat, Deadlift, and more exercises.